Policy as Code for Environments
Harness provides governance using Open Policy Agent (OPA), Policy Management, and Rego policies.
You can create a policy and apply it to all environments in your Account, Org, or Project. The policy is evaluated on environment-level events:
- On Save — evaluated when an environment is created or updated.
For more details, see the Harness Governance Quickstart.
Prerequisites
- Harness Governance Overview
- Harness Governance Quickstart
- Policies use the OPA authoring language Rego. For more information, see OPA Policy Authoring.
Step 1: Add a policy
-
In Harness, go to Account Settings → Policies → New Policy.
-
Enter a Name for your policy and click Apply.
-
Add your Rego policy in the editor.
You can write your own Rego policy or use a sample from the Library panel. Select the Library tab, choose Entity: Environment from the dropdown, and pick one of the built-in samples:
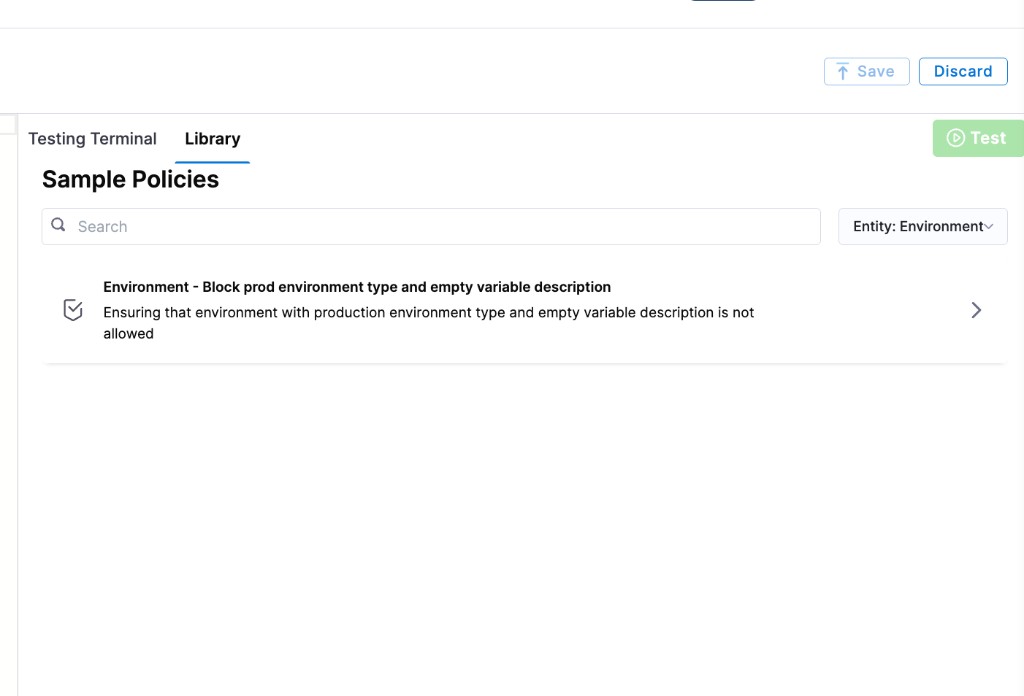
Harness ships a sample policy for environments:
- Environment – Block prod environment type and empty variable description: Prevents creating a production environment that has an empty variable description.
Below is an example Rego policy you can use as a starting point.
Block production environment type and empty variable descriptions
package environment

deny[msg] {
  input.environmentEntity.type == "Production"
  msg := "Production type environment is not allowed"
}

deny[msg] {
  input.environmentEntity.variables[_].description == ""
  msg := "Variable description is required but not provided"
}
- Click Save.
Step 2: Add the policy to a policy set
After creating your policy, add it to a Policy Set before it can be enforced on environments.
-
Go to Policies → Policy Sets → New Policy Set.
-
Enter a Name and optional Description for the Policy Set.
-
In Entity type, select Environment.
-
In On what event should the Policy Set be evaluated, select On Save.
-
Click Continue.
noteExisting environments are not automatically evaluated against new policies. Policies are applied only when an environment is saved (created or updated).
-
In Policy evaluation criteria, click Add Policy.
-
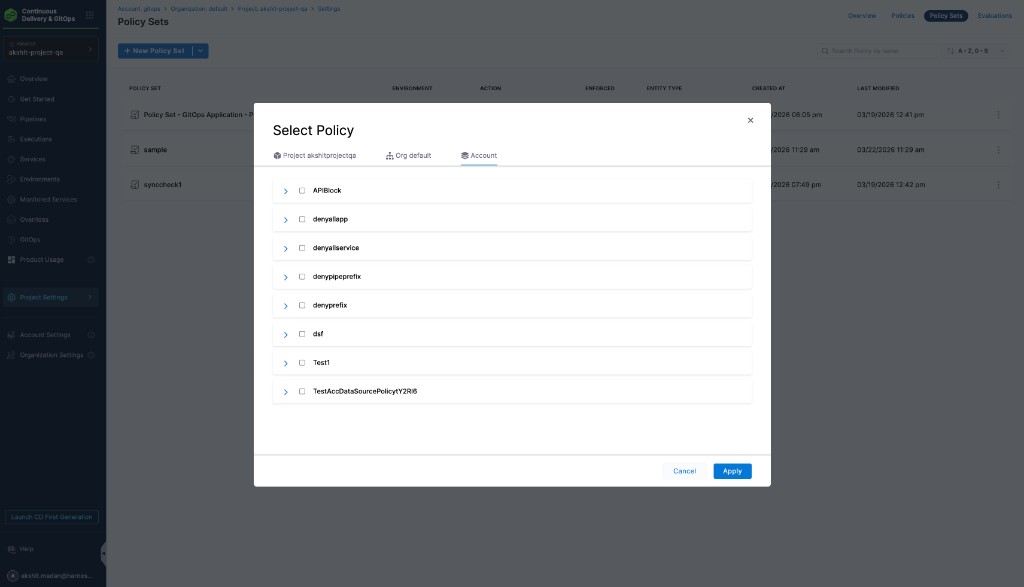
In the Select Policy dialog, choose the scope (Project, Org, or Account) and select the policy you created.
-
Select the severity and action for policy violations:
- Warn & continue — a warning is displayed if the policy is not met, but the environment is saved and you can proceed.
- Error and exit — an error is displayed and the environment is not saved if the policy is not met.
-
Click Apply, then click Finish.
-
The Policy Set is automatically set to Enforced. To disable enforcement, toggle off the Enforced button.
Step 3: Apply the policy to an environment
After creating and enforcing your Policy Set, it is automatically evaluated whenever an environment is saved.
-
Go to Deployments → Environments → New Environment (or edit an existing environment).
-
Configure the environment and click Save.
-
Based on your selection in the Policy Evaluation criteria:
- If the environment meets the policy, it is saved successfully.
- If the environment violates the policy and the severity is Warn & continue, it is saved with a warning.
- If the environment violates the policy and the severity is Error and exit, the save is blocked and an error is displayed.
OnSave enforcement for Git-backed environments
When an environment is stored in Git, commits made directly to the Git repository bypass the Harness UI save flow. Harness now evaluates onSave policies when a Git-backed environment changes via a webhook, and surfaces the result on the environment detail page. An Environment Validation Failed badge appears in the environment header when the latest commit violates an onSave policy. If a pipeline execution references this environment, Harness fails the execution when the environment is resolved.
Go to Enforce onSave policies on Git entities to understand how this enforcement works across all Git-backed entity types.