For the complete documentation index, see llms.txt. This page is also available as Markdown.

Manage an Argo CD configuration in Git with Harness GitOps

Manage an Argo CD configuration as if it were a GitOps application.

You can define Argo CD applications, projects, and settings declaratively by using Kubernetes manifests, and you can manage these manifests in Harness GitOps just as you would a Harness GitOps application.

This topic walks you through setting up Harness GitOps to manage Argo CD configurations stored in your Git repository.

Create the GitOps application

A Harness GitOps application consists of a GitOps repository, cluster, and application settings.

To add the GitOps application for your Argo CD configuration, do the following:

  1. Install a Harness GitOps agent on the destination cluster.

  2. In Harness GitOps, add a GitOps repository for the repository where your Argo CD configurations are stored. For steps on how to do this, go to Add a Harness GitOps repository.

    Click to view full size image
  3. Add a Harness GitOps cluster for the destination cluster where you installed the Harness GitOps agent.

    Click to view full size image
  4. Add a Harness GitOps application for the Argo CD configuration.

    1. Use the Harness GitOps repository added earlier.

    2. In Path, select or add the path to the Argo CD configurations.

    Click to view full size image

    If the repository directory has subordinate directories, select Directory Recurse.
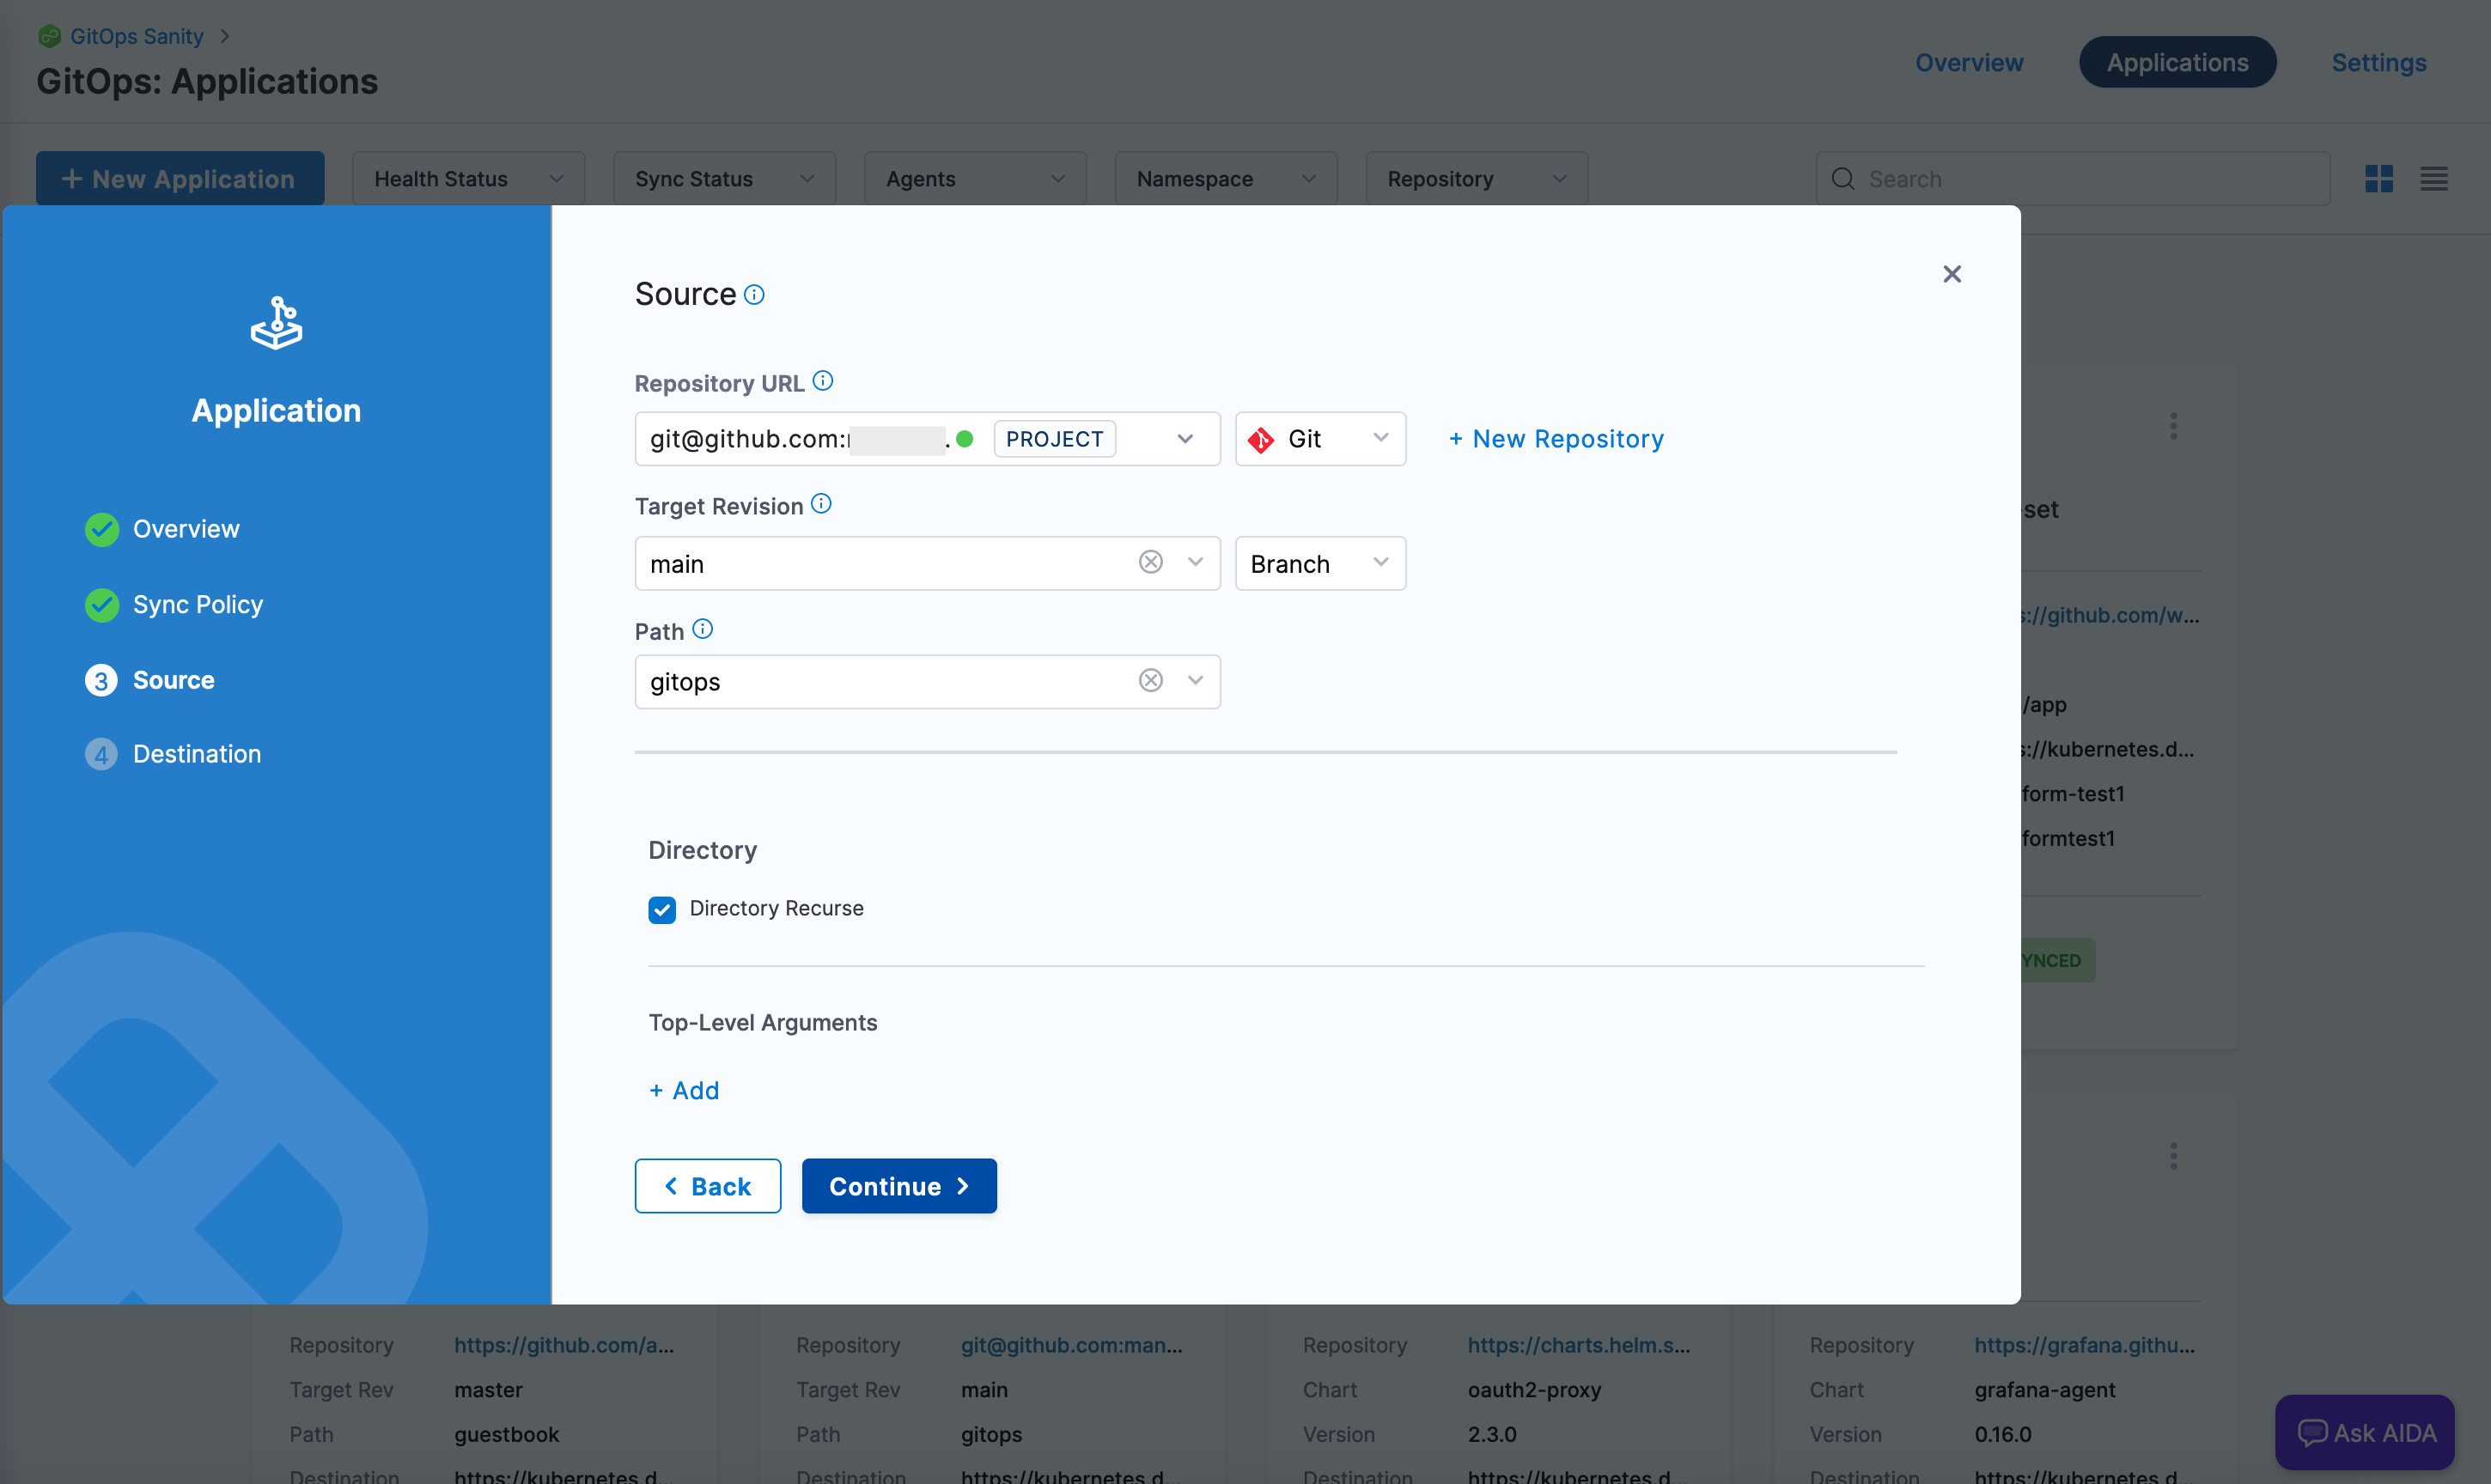
    Click to view full size image

    1. Use the Harness GitOps cluster added earlier. In Namespace, provide the namespace where the agent is installed.

  5. Save the Harness GitOps application.

  6. If the sync policy is manual, sync the application manually.

Once these steps are complete, you should be able to see the newly created GitOps entities in the Harness project that you configured in Git.

Git Configuration Files

Most entities, such as ConfigMaps, repository credentials, and applications will work without requiring modifications. Some entities, namely clusters, repositories, and AppProject, need some Harness-specific values added to the existing Argo-provided templates.

Sample repository configuration

Here's a sample repository configuration:

Sample cluster configuration

Here's a sample cluster config:

Additional fields for clusters and repositories

Here are the additional fields required for clusters and repositories:

  • stringData.project or data.project, whose value is the AppProject name. Provide this field only if you want the entity to reside within the scope of a Harness project or organization.

  • stringData.name or data.name, whose value is the name of the entity in Harness.

The remaining fields remain the same as in Argo CD.

Sample Argo AppProject configuration

Here's a sample configuration for the Argo CD AppProject:

FORMAT OF THE HARNESS ACCOUNT ID

A Harness account ID is a MongoDB document ID that could start with an underscore (_). This ID is not a valid Kubernetes label according to the syntax and character set documentation for Kubernetes labels. Therefore, Harness GitOps creates a hash of the account ID. The hash is of the form b.<harness-account-id>.e.

Additional fields required for the Argo CD AppProject

Following are the additional fields required for the AppProject:

  • metadata.labels.accountId, whose value is the Harness account identifier.

  • metadata.labels.orgId, whose value is the Harness organization identifier.

  • metadata.labels.projectId, whose value is the Harness project identifier.

The remaining fields remain the same as in Argo CD.

By default, Harness creates an AppProject for you when you create the repository and cluster at the beginning of this procedure. The name of this AppProject is available on the agent details page, under Mapped Harness Project. If you are creating a new AppProject, remember to add the mapping for the Argo project to the Harness project in the GitOps Agent, and then use the value of metadata.name in the project field of the entity configurations. The UI requires that information to show the entities.

You can use all other entity configurations without modifying them.

Sample application

Here's a sample application:

Last updated

Was this helpful?