Create Incidents
When you spot a problem, whether from a customer report, degraded performance, or a teammate flagging something, you can declare an incident in Harness AI SRE.
The AI-powered Quick Start feature analyzes your problem description and auto-populates incident fields, so you can get an incident up and running in seconds.
Create Incidents from the UI
- Step by Step
- Interactive Guide
Step 1: Access Incident Creation
-
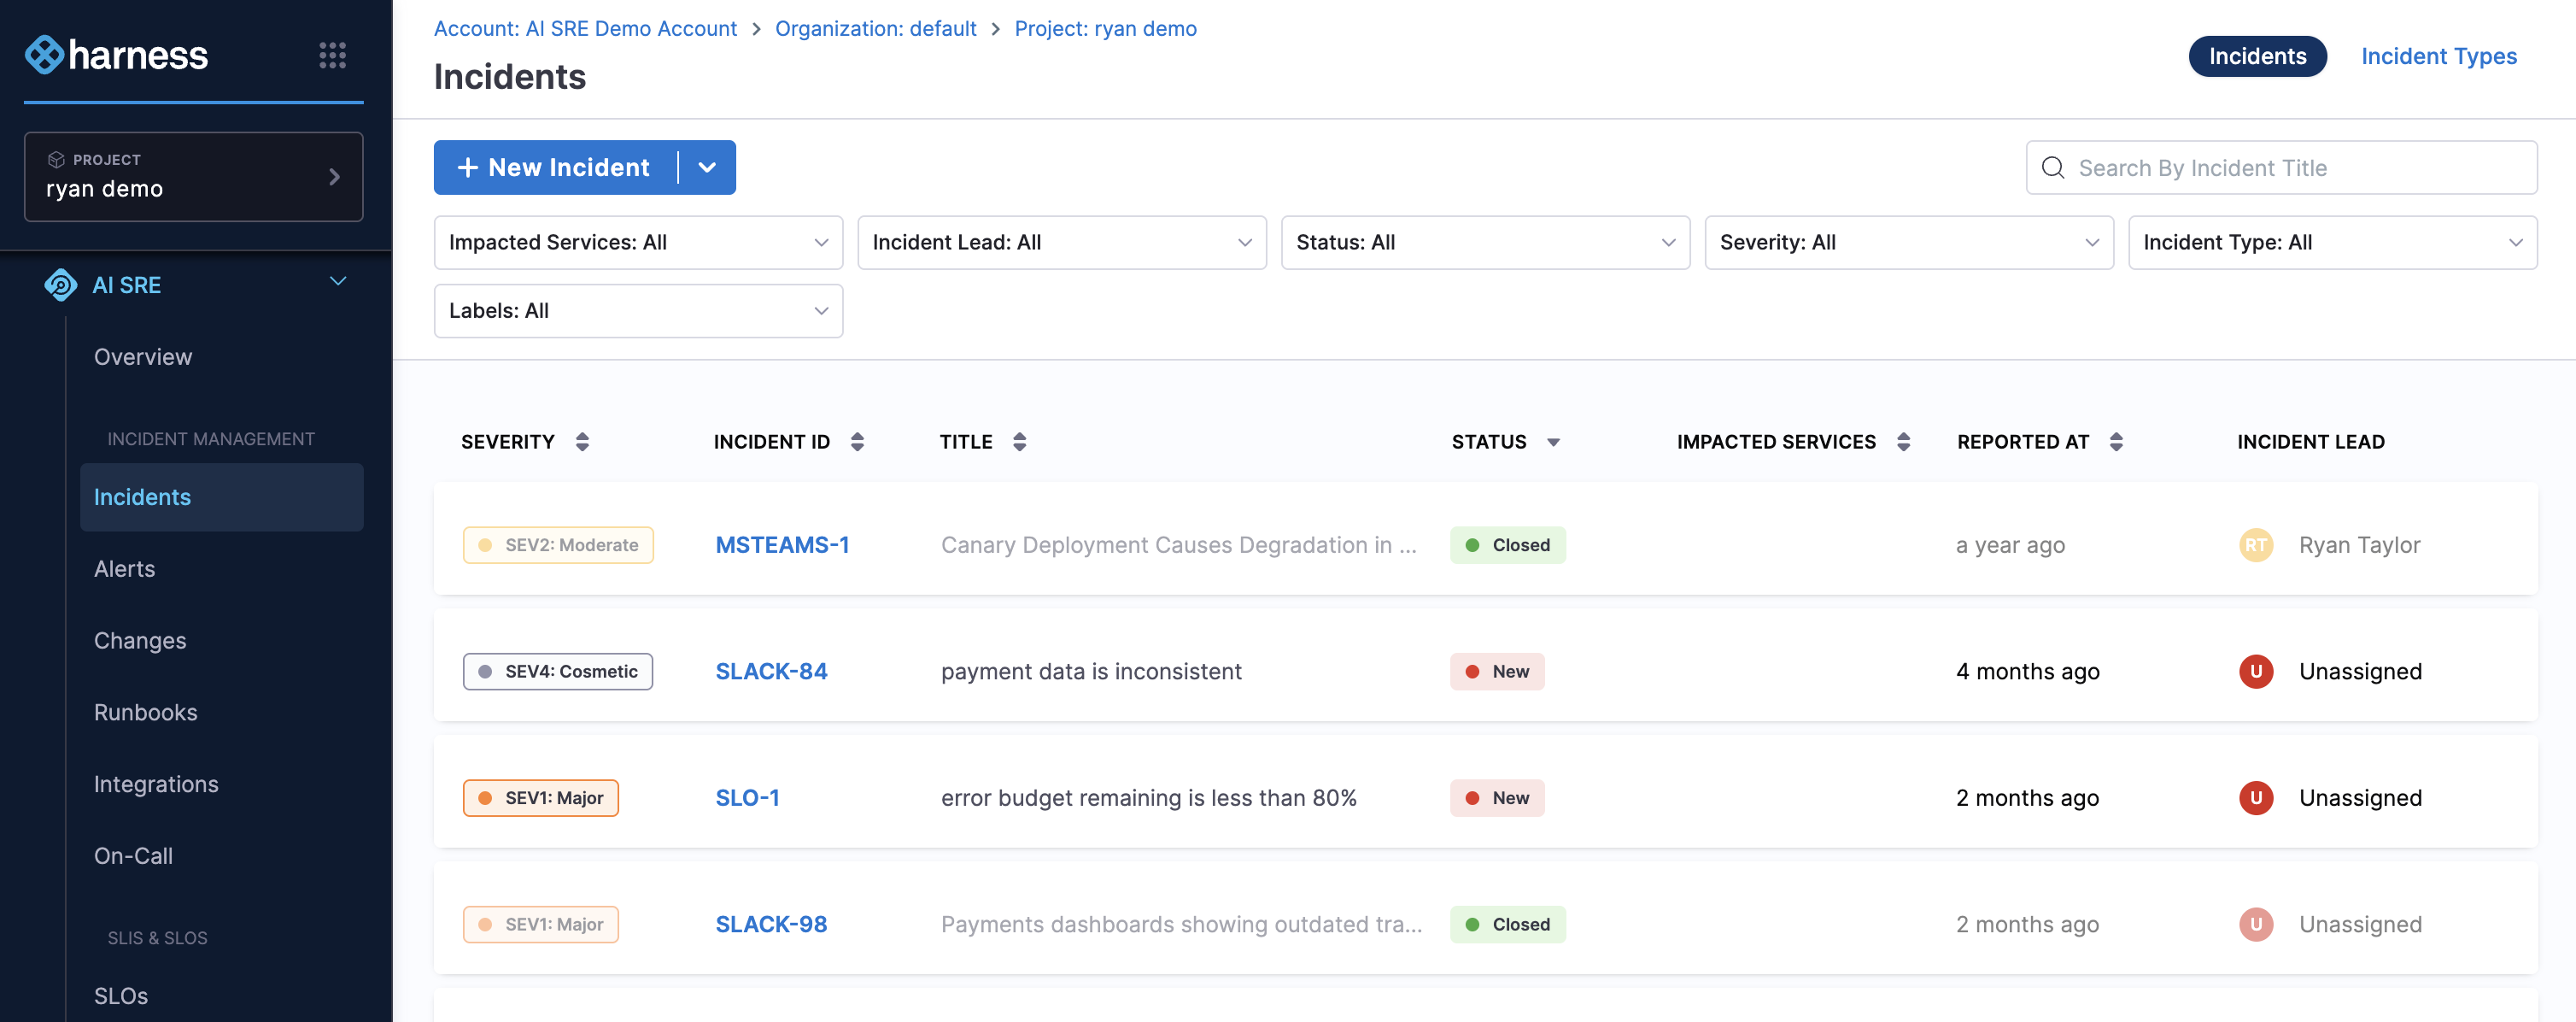
Navigate to Incidents from the left panel.
-
Choose your creation method:
- Click New Incident for a blank incident.
- Select an Incident Type from the dropdown next to "New Incident" to use a pre-configured template.
Step 2: Select Incident Type
-
Choose the appropriate Incident Type from the available options.
-
This will pre-populate relevant fields and associate appropriate runbooks.
-
If you are unsure which type to pick, check with your team lead, incident types are configured by your administrator to match your organization's response processes.
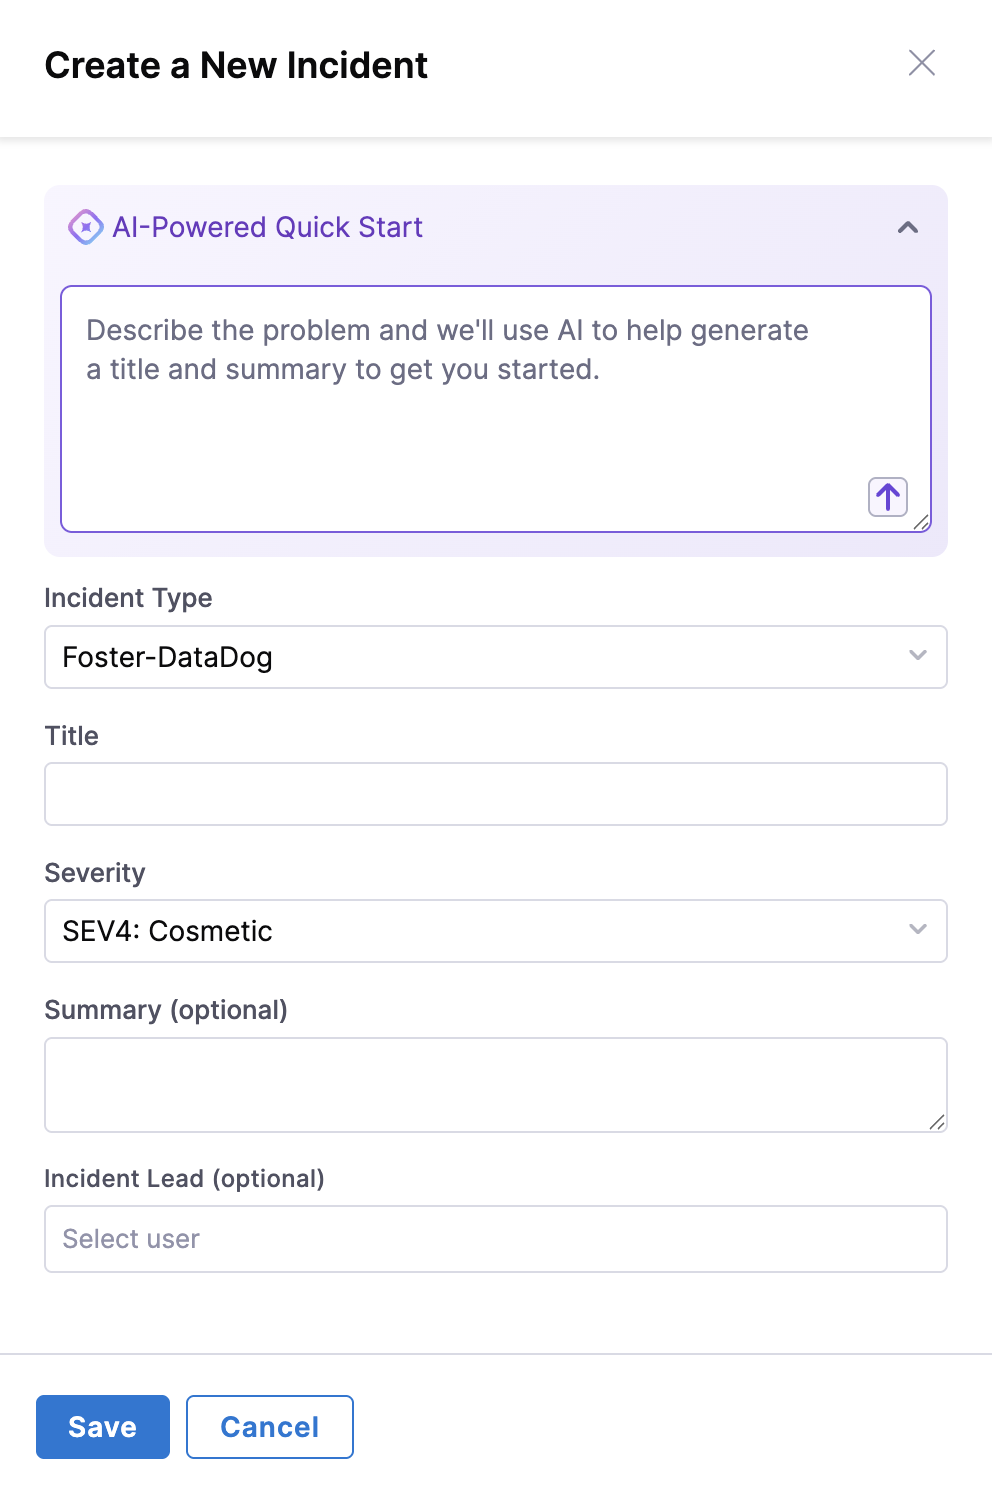
Step 3: Describe the Problem
- Use the Quick Start block to describe the problem in plain language.
- Provide a clear, concise description including affected services, symptoms, and impact.
- The AI system will analyze your description and suggest field values automatically.
Step 4: Generate Incident Fields
- Click the up arrow to process your description.
- AI will automatically populate incident fields (severity, priority, etc.) based on what you wrote.
Step 5: Review and Customize
- Review all auto-generated field values.
- Manually adjust anything that needs correction:
- Title and description
- Severity and priority levels
- Assignee
- Any custom fields specific to the incident type
- Click Save to create the incident.
Follow this interactive guide to create an incident with AI-powered assistance.
Create Incidents from Slack
You can also create incidents directly from Slack using the /harness new command. This is especially useful during on-call shifts when you want to stay in your communication tool.
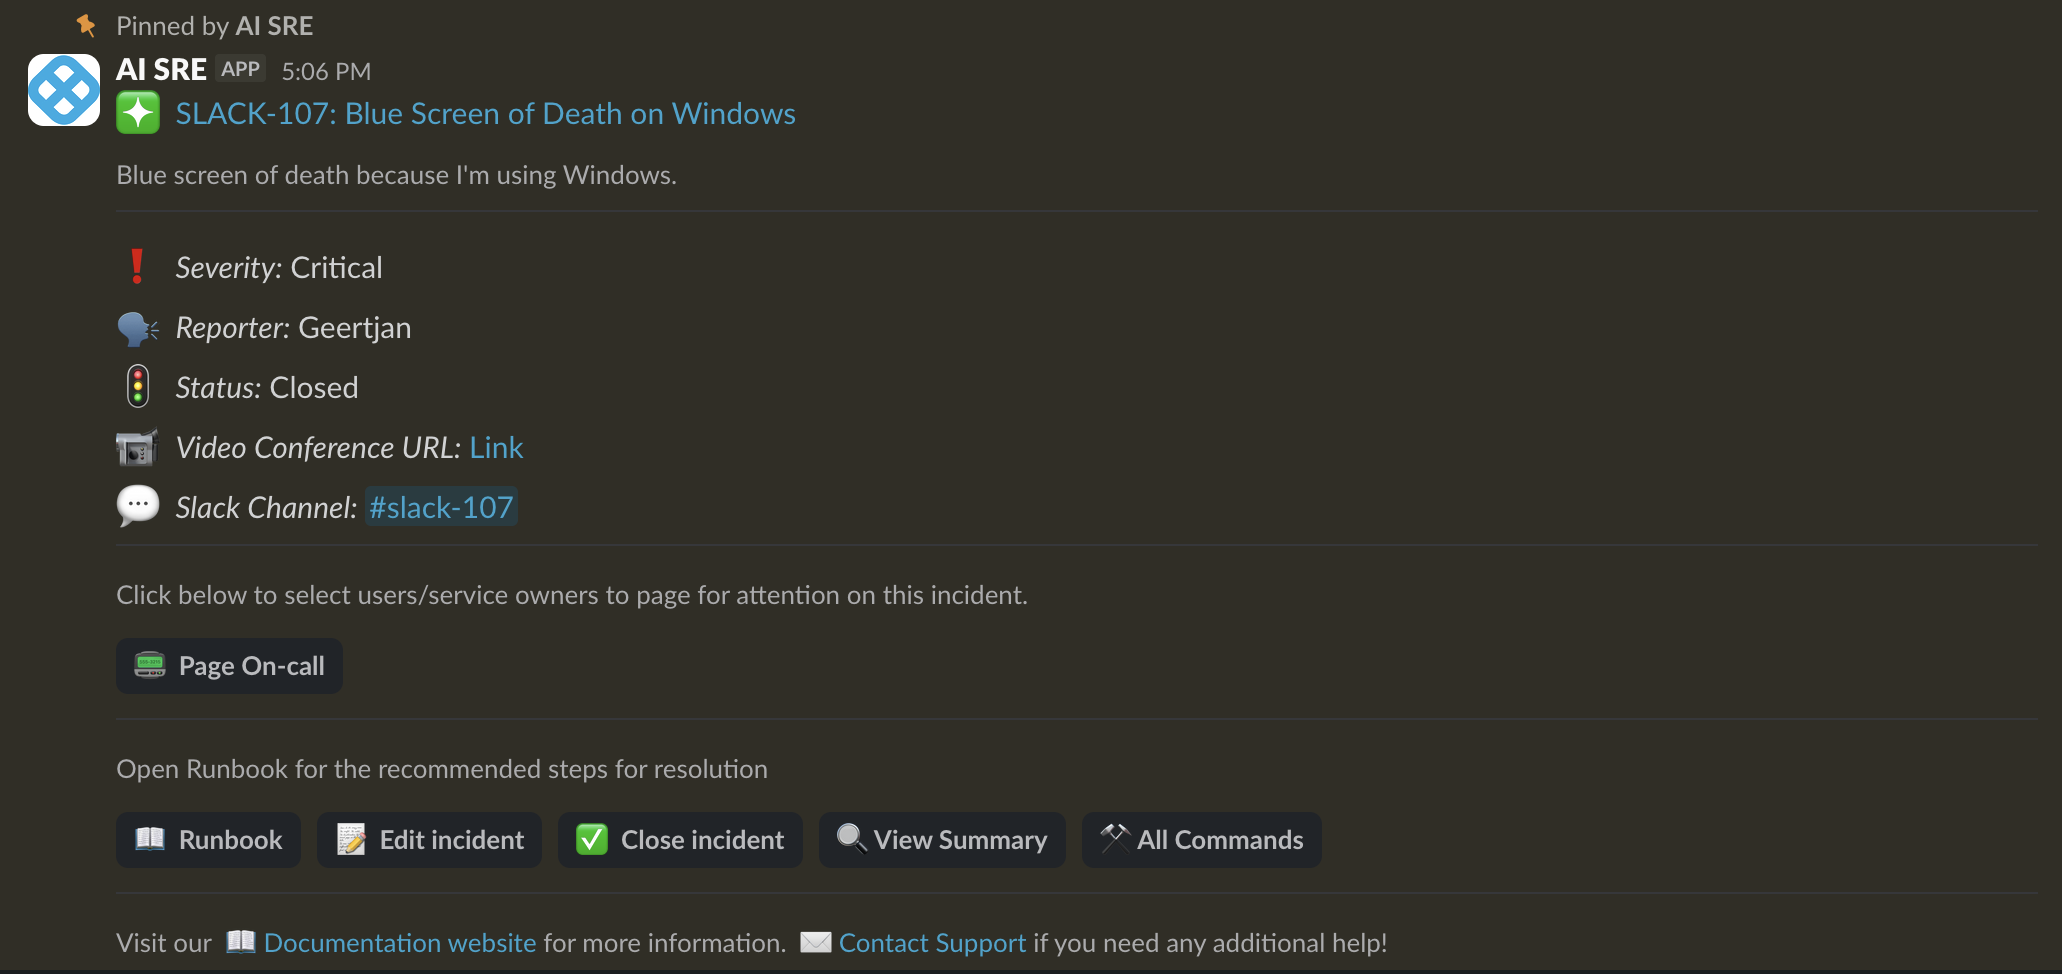
Go to Managing Incidents in Slack for the full command reference.
Best Practices for Incident Creation
- Choose the right incident type, Select the most specific type available to get the right runbooks and field configuration.
- Write a clear description, Good Quick Start descriptions lead to more accurate AI field suggestions. Include what's affected, what you are observing, and when it started.
- Verify auto-generated fields, Always review and adjust AI-suggested values to ensure accuracy.
- Set correct severity levels, Align severity with actual business impact and response time requirements.
What Happens Next
Once you save the incident:
- An incident channel is automatically created in your communication tool (Slack or Teams).
- Relevant team members are notified based on the incident type's configuration.
- Any runbooks associated with the incident type may be auto-attached.
- The Incident Details page opens, where you'll manage the incident through resolution.
To learn how to work through an active incident, Go to Managing an Active Incident.