nuget-quickstart
Prerequisites
- Ensure you have the NuGet CLI (
nuget) installed on your local machine. - Access to a Harness account with appropriate permissions to create registries and connectors.
Create a NuGet artifact registry
- Interactive Guide
- Step-by-Step
- Navigate to the Artifact Registry module in your Harness project.
- Click on New Artifact Registry.
- In the Registry Type dropdown, select NuGet Registry.
- Provide a Registry Name.
Your registry name must start with a letter and can include lowercase alphanumerics, _, . and -.
- Optionally, add a Description and Labels for better organization.
- Choose visibility between Public and Private.
- Click Create Registry to finalize.
This registry will serve as your private NuGet registry within Harness.
Configure an Upstream Proxy (Optional)
An upstream proxy allows your registry to fetch NuGet packages from external sources if they are not available locally.
- Interactive Guides
- Step-by-Step
Create an upstream proxy
Configure the upstream proxy in your registry
Create an upstream proxy
- In the Artifact Registry module, click the dropdown next to New Artifact Registry and select Upstream Proxy.
- Choose Nuget Registry as the proxy type.
- Click Create Proxy to establish the connection.
Configure the upstream proxy in your registry
- In the Artifact Registry module, select an existing Artifact Registry.
- Select the Configuration tab.
- Under Advanced (Optional), select Configure Upstream.
- Select from the list of compatible proxies to add them to your registry.
- Click Save to save the configuration.
If a NuGet package isn’t found in your Harness registry, the upstream proxy can fetch it from an external source like NuGet.org, helping to reduce duplication and ensure reliable access to public packages.
Install and Use NuGet Packages
- Nuget
- Dotnet
- Visual Studio
Configure Authentication
Step 1
Add the Harness Registry as a package source:
nuget sources add -Name harness -Source https://pkg.harness.io/pkg/<account-id>/<nuget-registry-name>/nuget/index.json -Username john.doe@harness.io -Password <TOKEN>
nuget setapikey <TOKEN> -Source harness
Note: For Nuget V2 Client, use this url: https://pkg.harness.io/pkg/<account-id>/<nuget-registry-name>/nuget/
Step 2
Generate an identity token for authentication
Install Package
Install a package using nuget:
nuget install <ARTIFACT_NAME> -Version <VERSION> -Source harness
Publish Package
Publish your package:
nuget push <PACKAGE_FILE> -Source harness
Note: To publish your package with nested directory, refer below command
nuget push <PACKAGE_FILE> -Source https://pkg.harness.io/pkg/<account-id>/<nuget-registry-name>/nuget/<SUB_DIRECTORY> -ApiKey <TOKEN>
Configure Authentication
Step 1
Add the Harness Registry as a package source:
dotnet nuget add source https://pkg.harness.io/pkg/<account-id>/<nuget-registry-name>/nuget/index.json --name harness --username john.doe@harness.io --password <TOKEN> --store-password-in-clear-text
Note: For Nuget V2 Client, use this url: https://pkg.harness.io/pkg/<account-id>/<nuget-registry-name>/nuget/
Step 2
Generate an identity token for authentication
Install Package
Add a package using dotnet:
dotnet package add <ARTIFACT_NAME> --version <VERSION> --source harness
Publish Package
Publish your package:
dotnet nuget push <PACKAGE_FILE> --api-key <TOKEN> --source harness
Note: To publish your package with nested directory, refer below command
dotnet nuget push <PACKAGE_FILE> --source https://pkg.harness.io/pkg/<account-id>/<nuget-registry-name>/nuget/<SUB_DIRECTORY> --api-key <TOKEN>
Configure Nuget Package Source in Visual Studio
Step 1
Open your project in Visual Studio, then navigate to the NuGet Package Manager settings:
- Click on Tools in the top menu
- Select NuGet Package Manager
- Click on Package Manager Settings
Step 2
In the Options window that appears, click on Package Sources in the left panel.
You will see the location of your NuGet.Config file displayed at the top of this window. Take note of this location as you can also directly edit this file if needed.
Step 3
In the Package Sources window:
- Click the + button to add a new package source
- Set the Name to
harness - Set the Source to
https://pkg.harness.io/pkg/<account-id>/<nuget-registry-name>/nuget/index.json - Click Update and then OK
Step 4
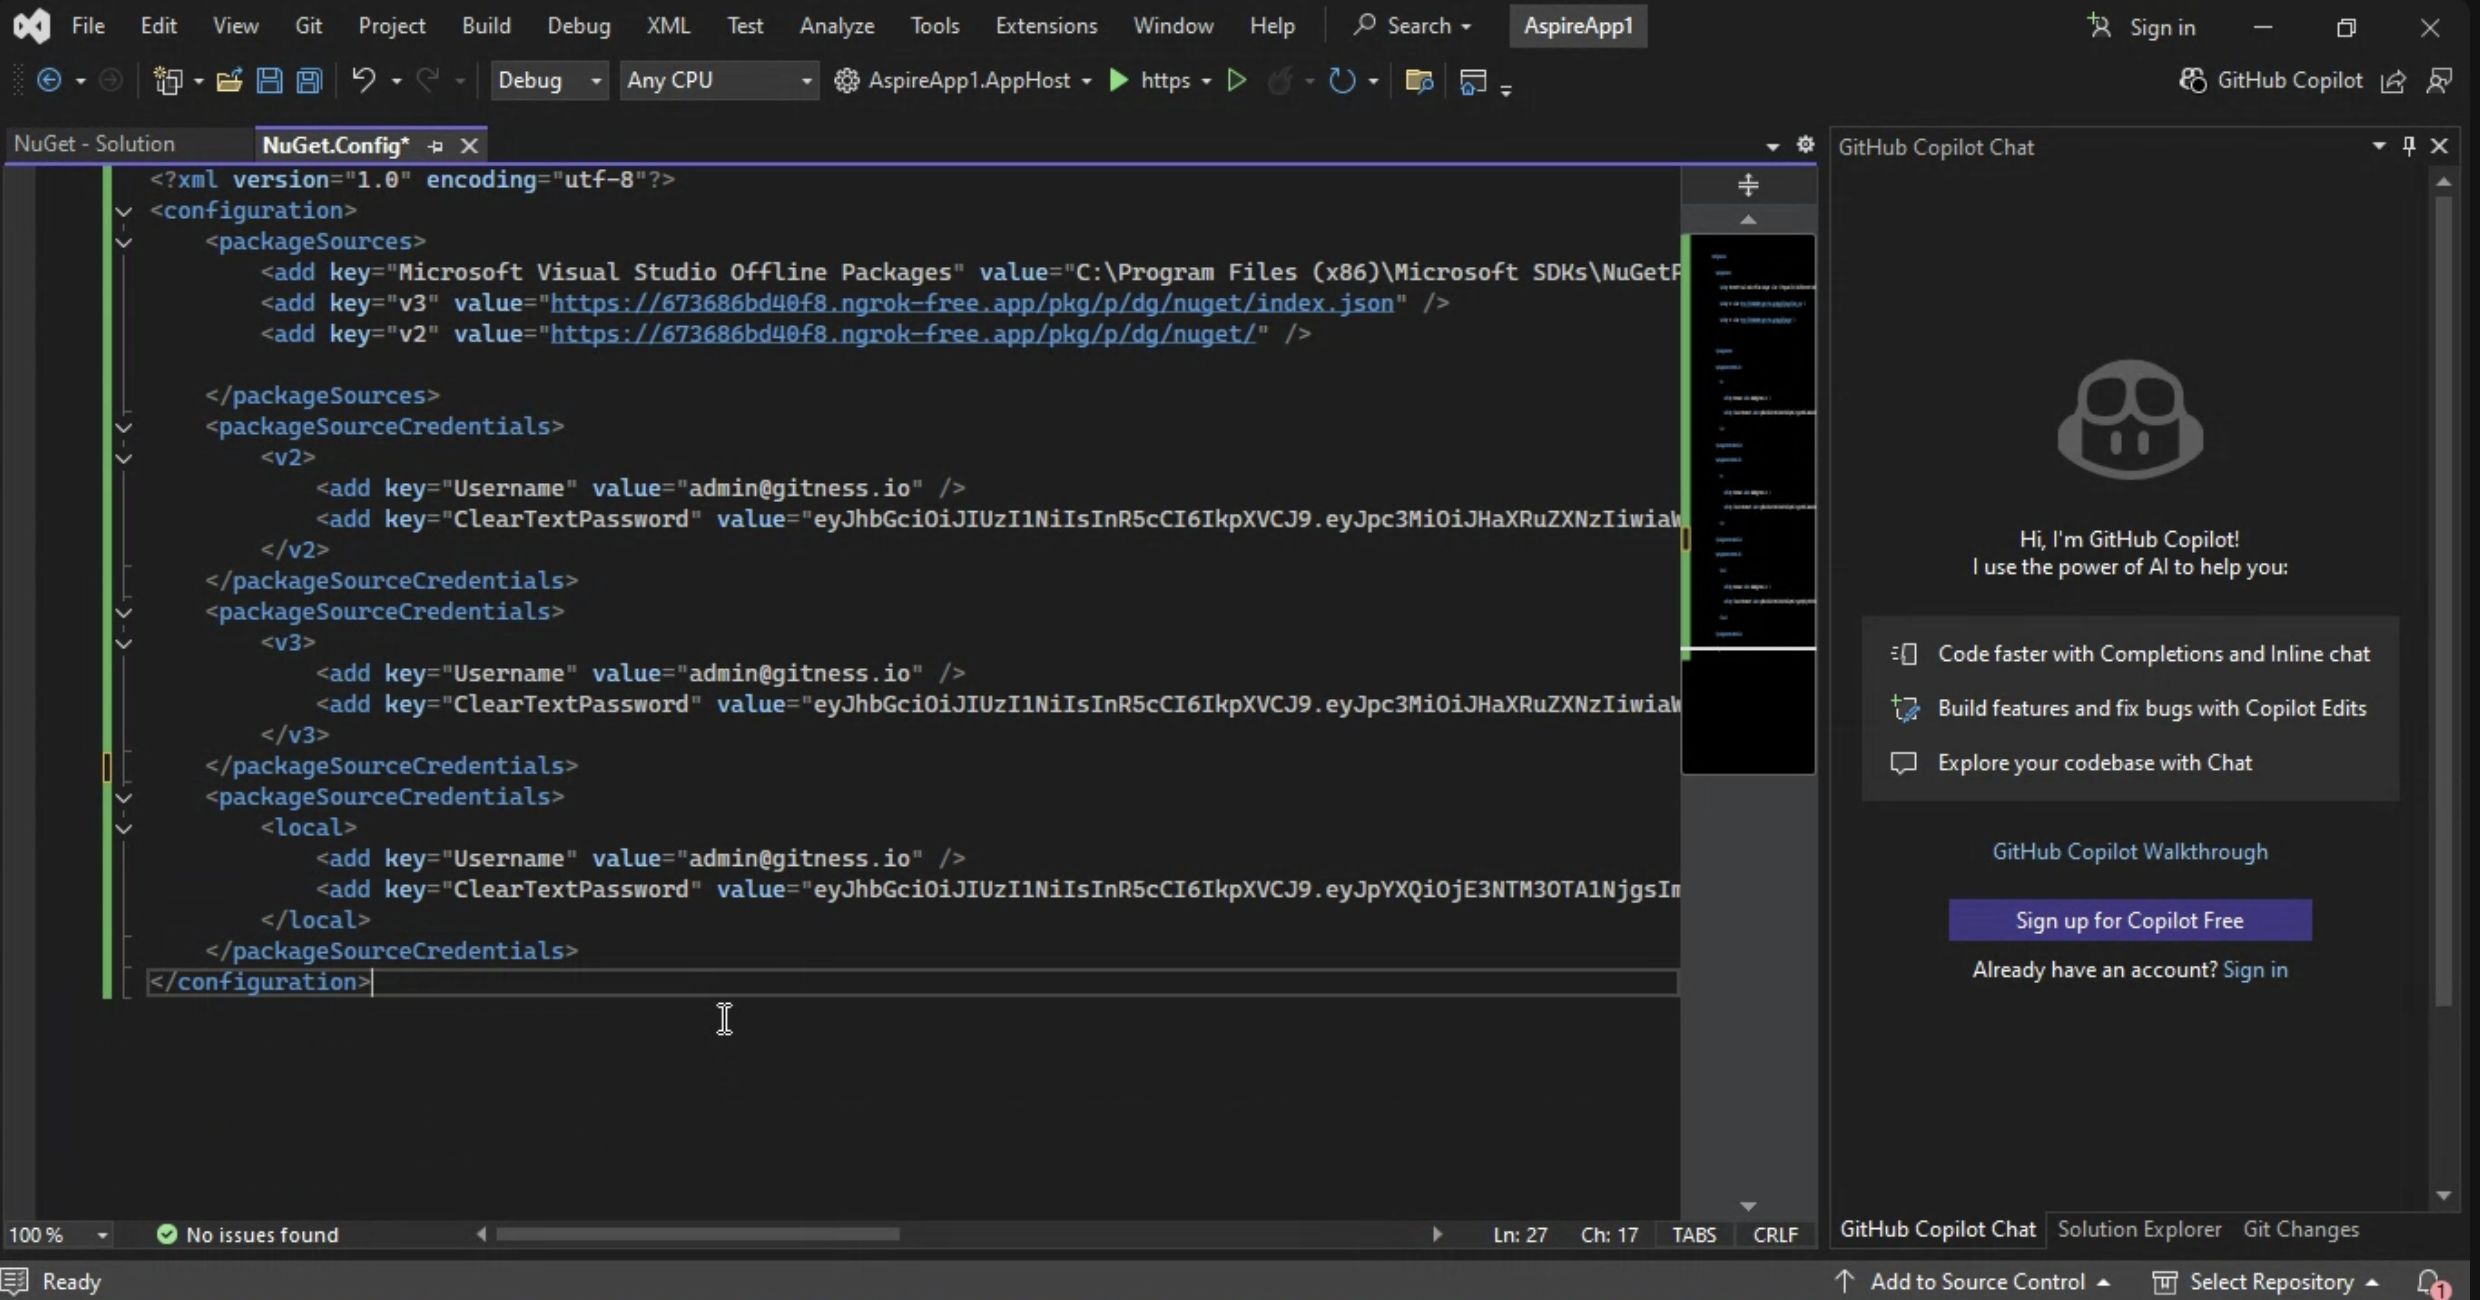
Locate and open your NuGet.Config file (shown at the top of the Package Sources window) and ensure it contains the following configuration:
<?xml version="1.0" encoding="utf-8"?>
<configuration>
 <packageSources>
     <clear />
     <add key="harness" value="https://pkg.harness.io/pkg/<account-id>/<nuget-registry-name>/nuget/index.json" />
 </packageSources>
 <packageSourceCredentials>
     <harness>
         <add key="Username" value="john.doe@harness.io" />
         <add key="ClearTextPassword" value="<TOKEN>" />
     </harness>
 </packageSourceCredentials>
</configuration>
You can get this configuration from your Harness client setup details.
Step 5
Generate an identity token for authentication in the Harness platform and replace <TOKEN> in the configuration with your actual token.