Application Maps
This topic describes application maps, their significance, and how to create, edit, and delete them.
Before you begin
What is an Application Map?
An application map is a resource on the Harness Platform (also known as the control plane) used to bind multiple interacting discovered services into a single object, thereby allowing the users to act (test, monitor, and so on) on a group of services.
Why is an Application Map Required?
Application maps help:
- Test and monitor a group of services.
- Determine the resilience coverage and resilience score for the overall application map and its constituent services.
- Manage experiments associated with them.
- Perform trend analysis.
How to Use an Application Map?
Once you have a list of discovered services, Harness CE creates an application map (using auto-suggestion or manual service selection) based on your requirements. You can refer to the real-time topology view to get the connectivity representation.
You can create, edit, and delete application maps.
Create Application Map
-
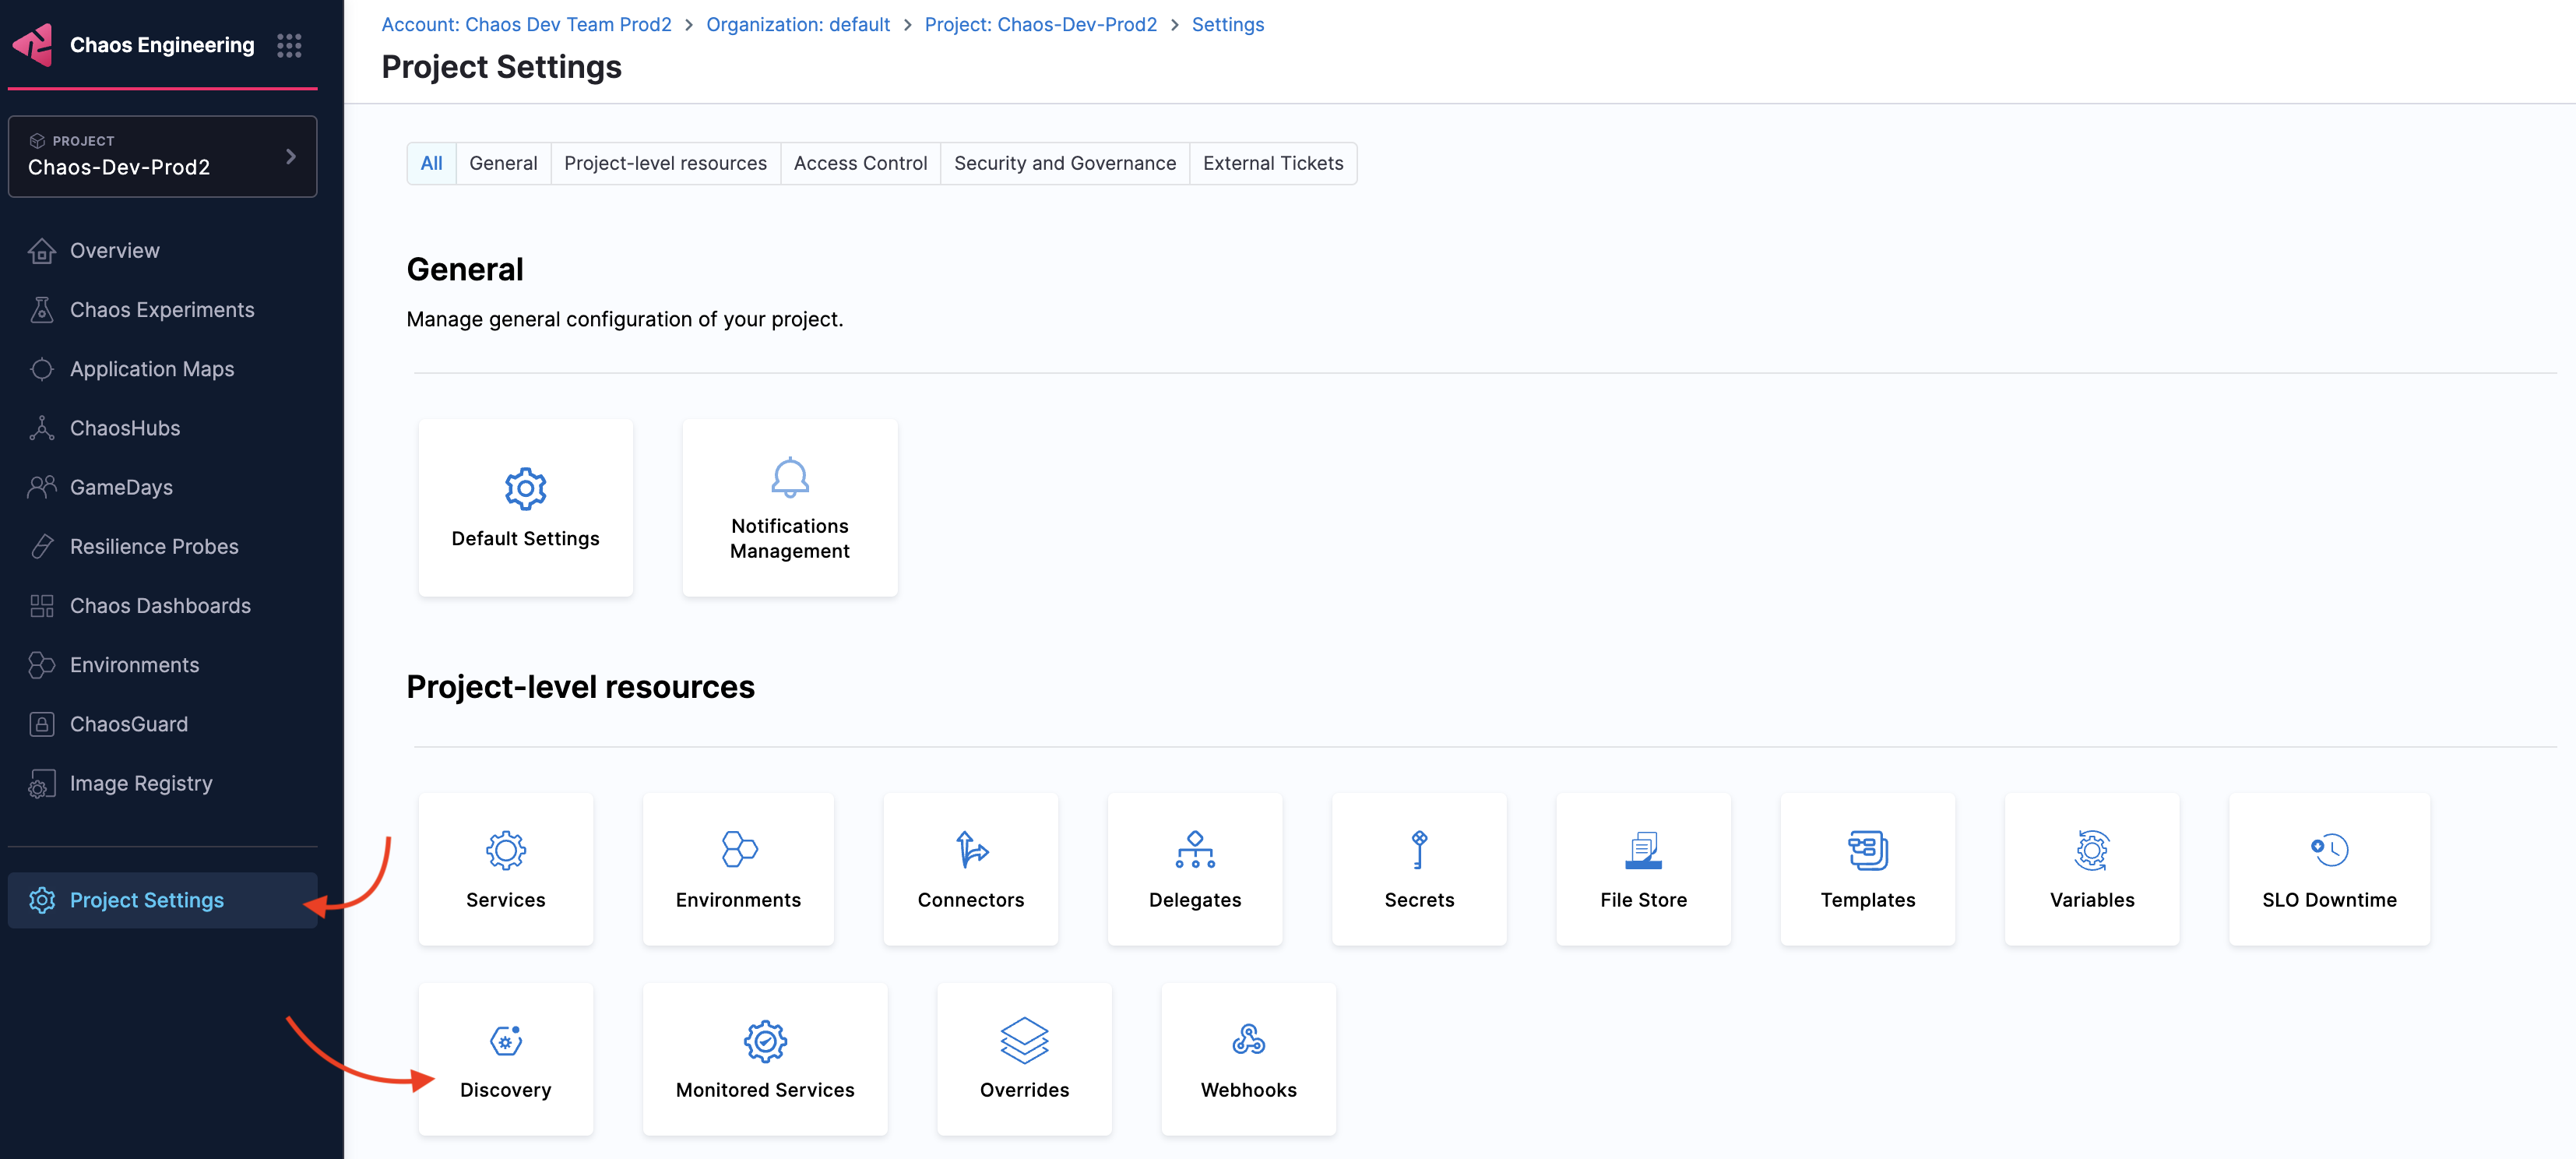
To create an application map, select Project Settings, and then select Discovery.
-
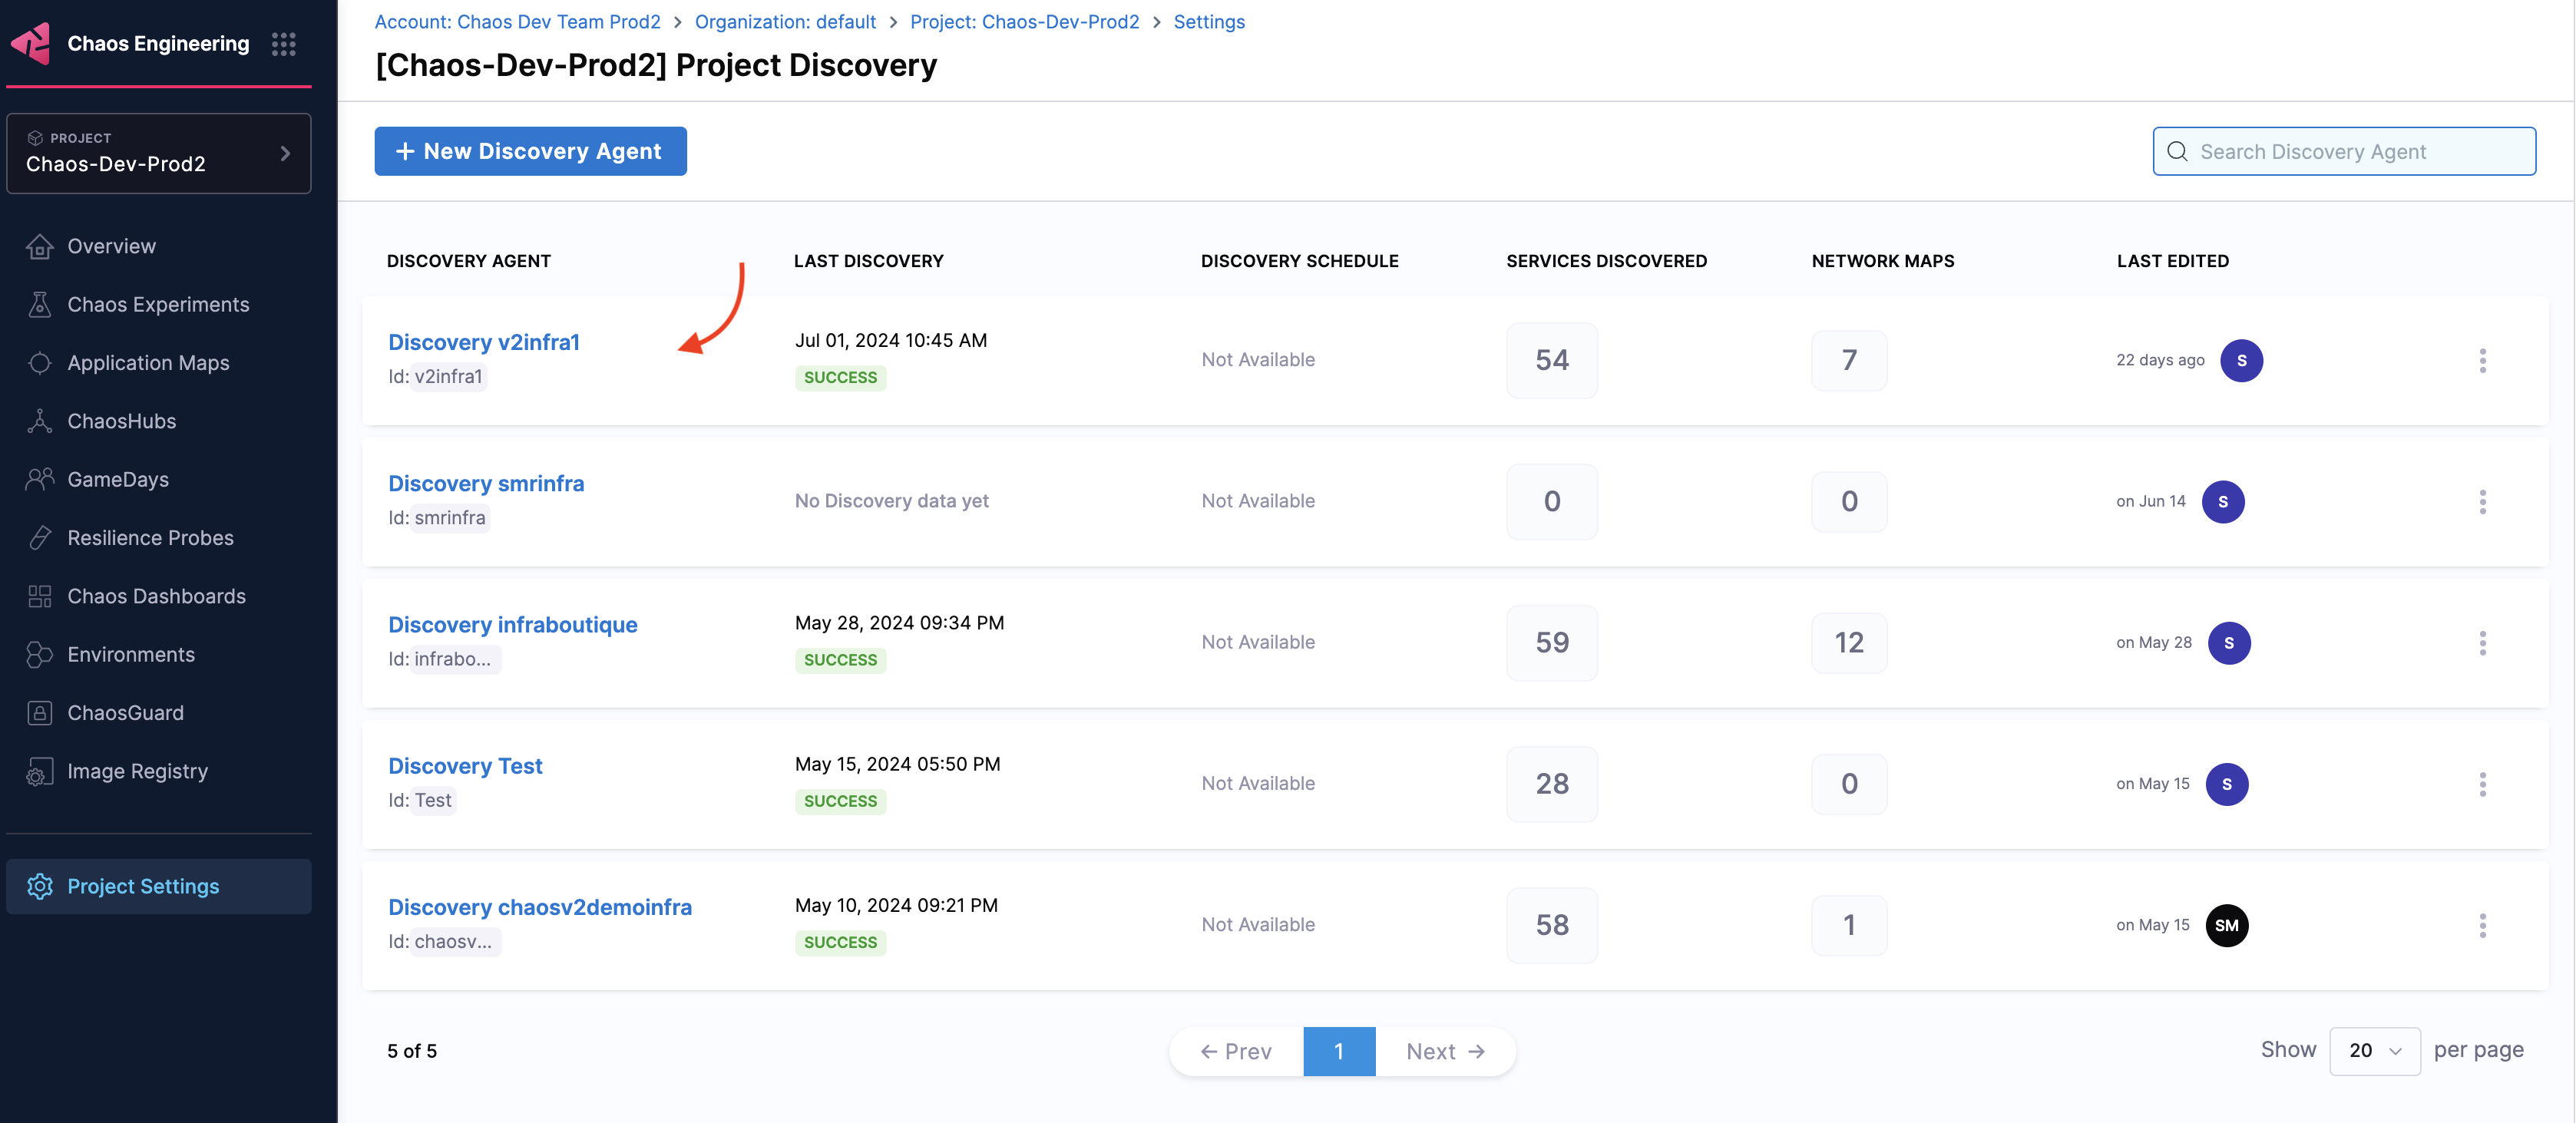
Select one of the discovery agents or create a new discovery agent. In this example, select a discovery agent that you created earlier.
-
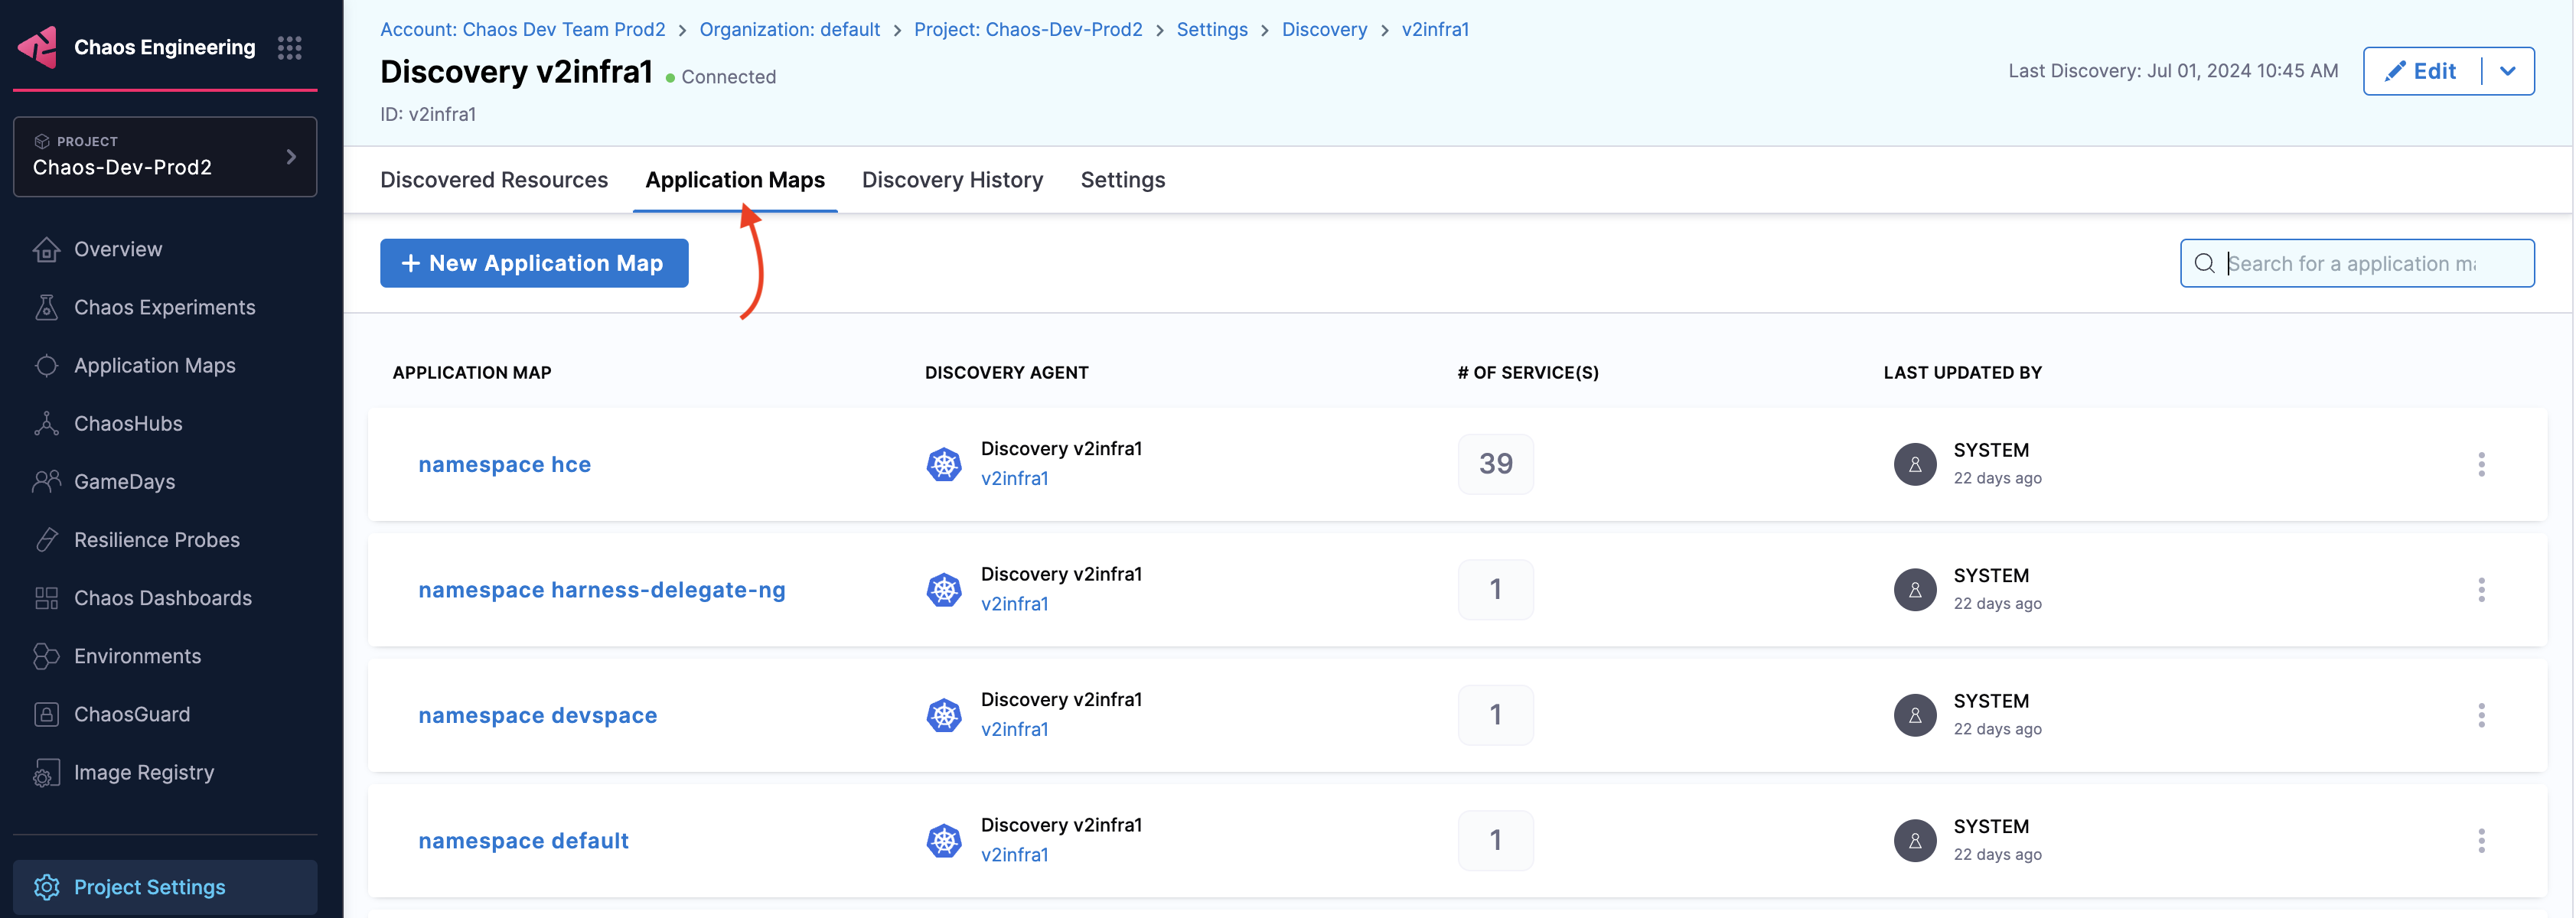
Once you select a discovery agent, navigate to the Application Maps tab and select New Application Map.
-
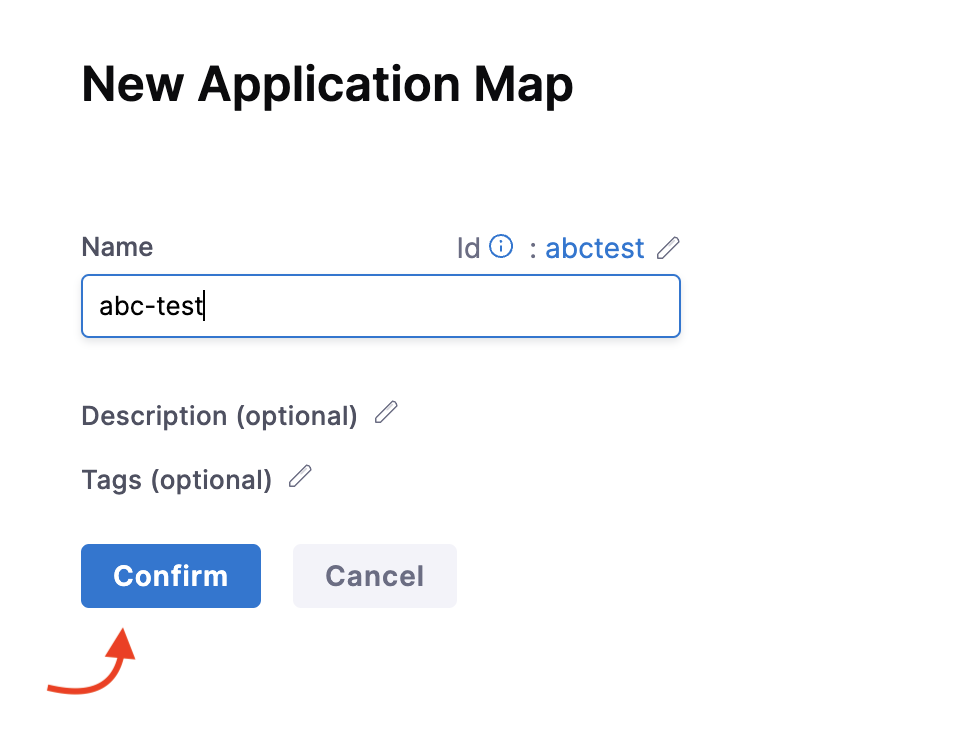
Specify a name, description (optional), and tags (optional). Select Continue.
-
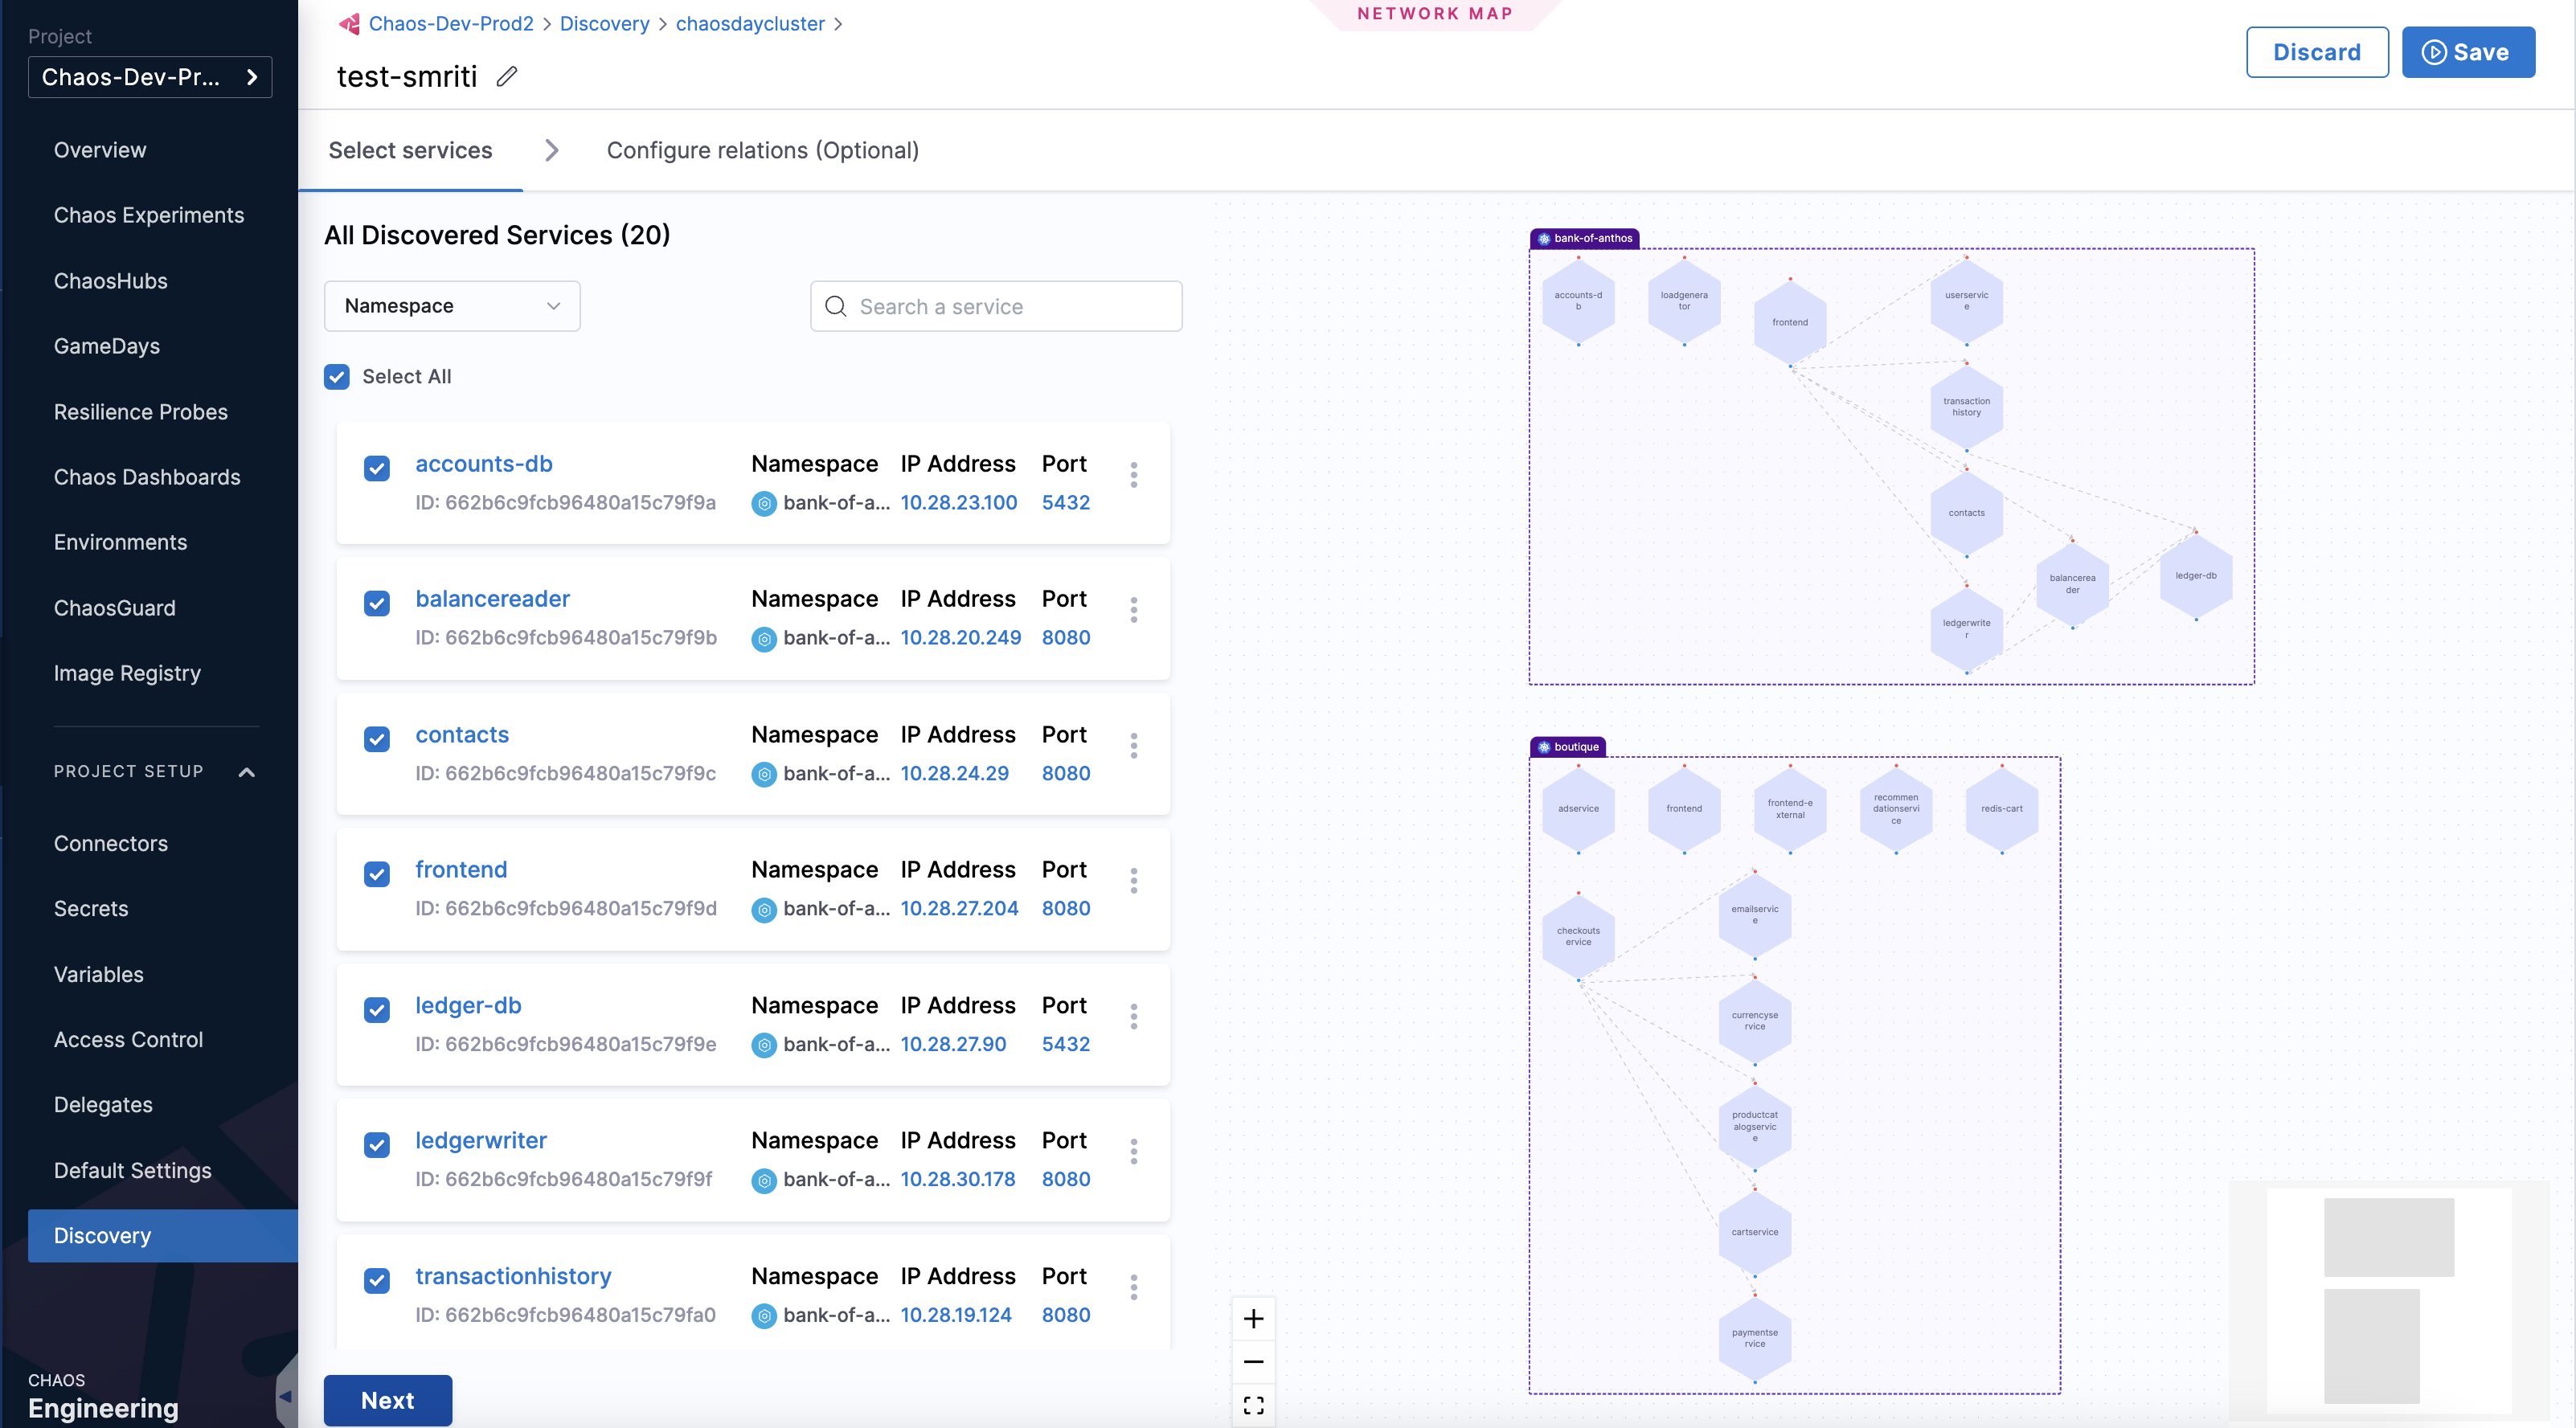
Select one or more discovered services that you wish to use and select Next.
-
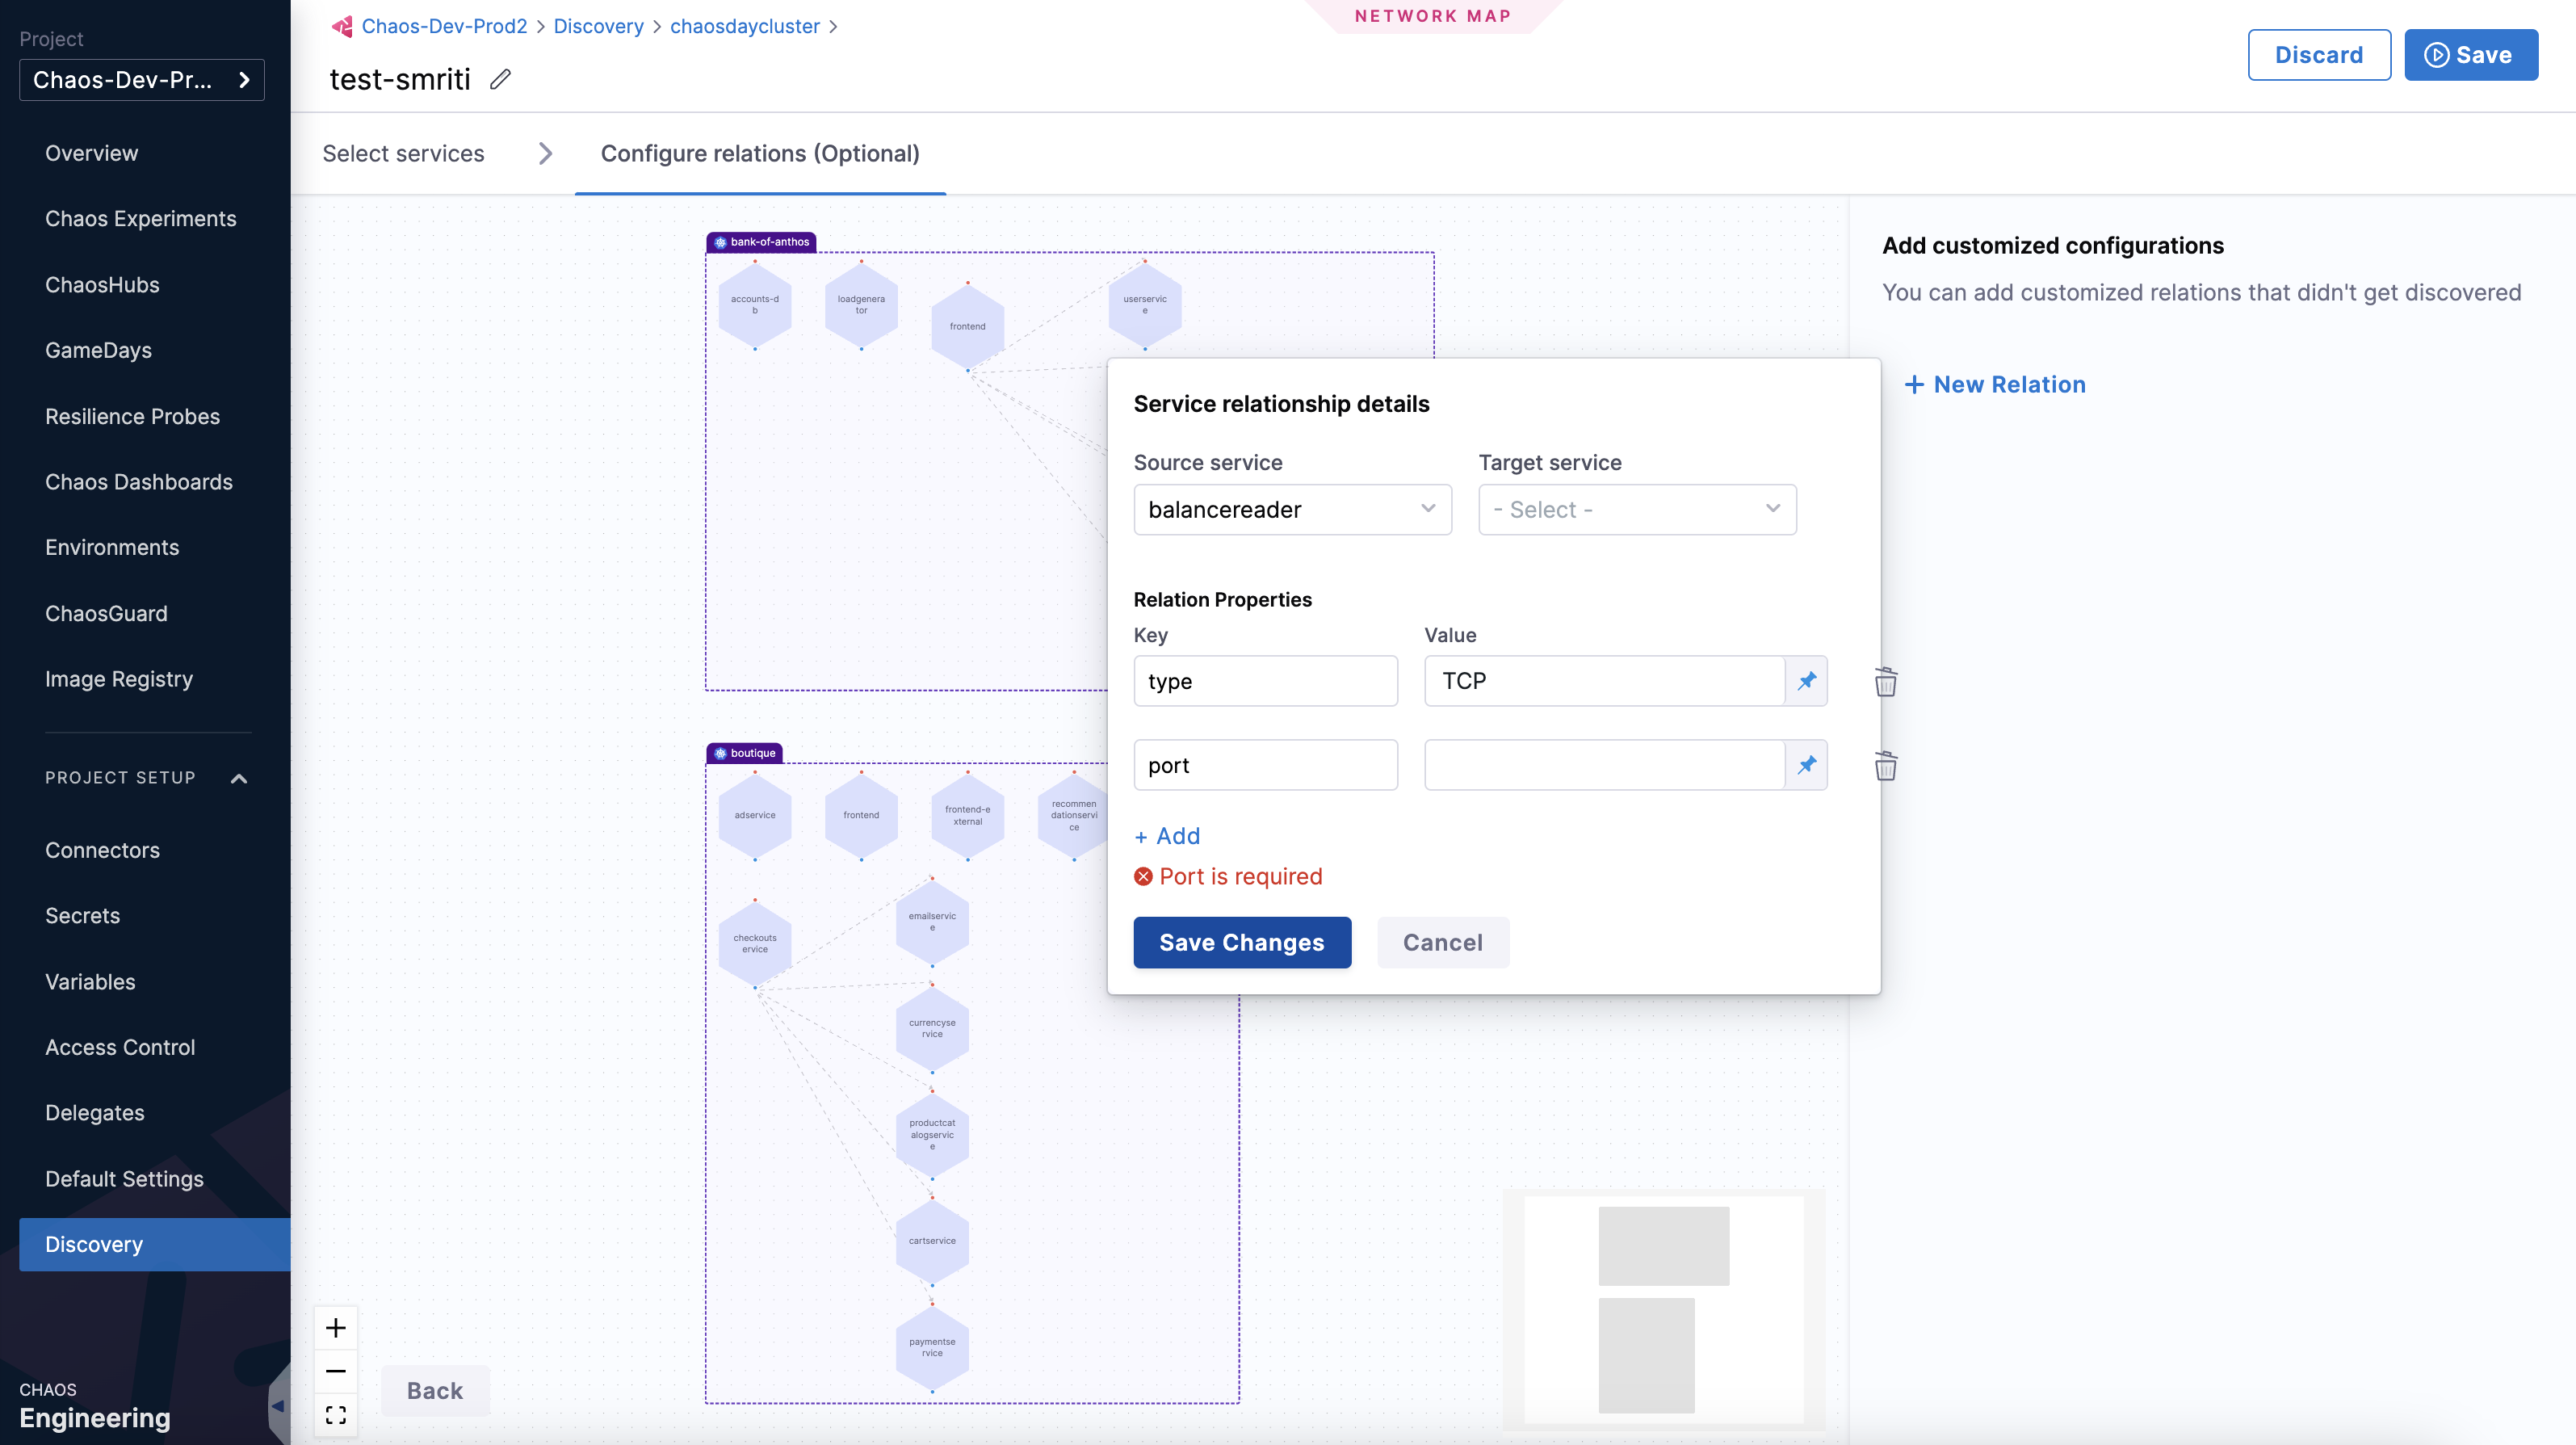
Optionally, add service relationship details and select Save Changes.
-
Select Save.

Edit Application Map
-
To edit an application map, select More Options (⋮), then select Edit. Make the necessary changes and select Save.

Delete Application Map
-
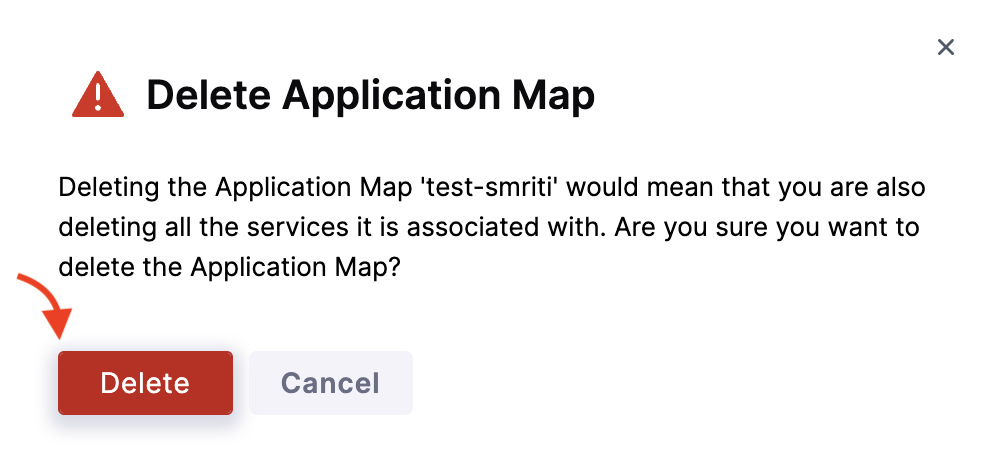
To delete an application map, select More Options (⋮), then select Delete.

-
To confirm the deletion, select Delete.
