Create ServiceNow tickets in CD stages
This topic describes how to create ServiceNow tickets in CD stages.
Harness provides the ability to create and manage ServiceNow change requests, incident tickets, change tasks, and problem type from your pipeline step using the ServiceNow Create step.
You can add the Create ServiceNow step to a Harness CD stage or an Approval stage and do the following:
- Automatically create change requests in ServiceNow to track updates to your build, test, and production environments by adding a ServiceNow Create step in your pipeline.
- Automatically create and assign tickets in ServiceNow to triage and resolve incidents quickly in case of pipeline failures.
Important notes
- While it's not a strict limitation, some users can forget that when you use a ServiceNow Create step, it creates a new, independent ServiceNow ticket every time it is run (as opposed to updating the same issue).
- Remember that you should only add ServiceNow Create to a stage if you want to create a new ServiceNow ticket on every run of the stage.
- You must add a Harness ServiceNow connector before or during the Create ServiceNow step setup.
- Make sure you have the following roles:
itilfor end-to-end integration with Harness platform.
Important notes for using templates
- You must install the Integration for Harness Software Delivery Platform app in your ServiceNow instance from the ServiceNow store before using templates to create ServiceNow tickets.
- Make sure you have the following roles:
x_harne_harness_ap.integration_user_roleto access templates.itilfor end-to-end integration with Harness platform.
Required ServiceNow integration app for Harness templates
The Integration for Harness Software Delivery Platform app is required to create ServiceNow tickets using Harness templates. You can install the latest version of the Integration for Harness Software Delivery Platform app in your ServiceNow instance from the ServiceNow store.
For more information, go to the ServiceNow installation guide.
Important note for using the ServiceNow API
The ServiceNow API only allows date time and time values in the UTC timezone. Consequently, input for any datetime/time fields in Harness ServiceNow steps must be provided in UTC format, irrespective of time zone settings in your ServiceNow account.
The timezone settings govern the display value of the settings not their actual value. The display values in the Harness UI depend on ServiceNow timezone settings.
Add a ServiceNow Create step
-
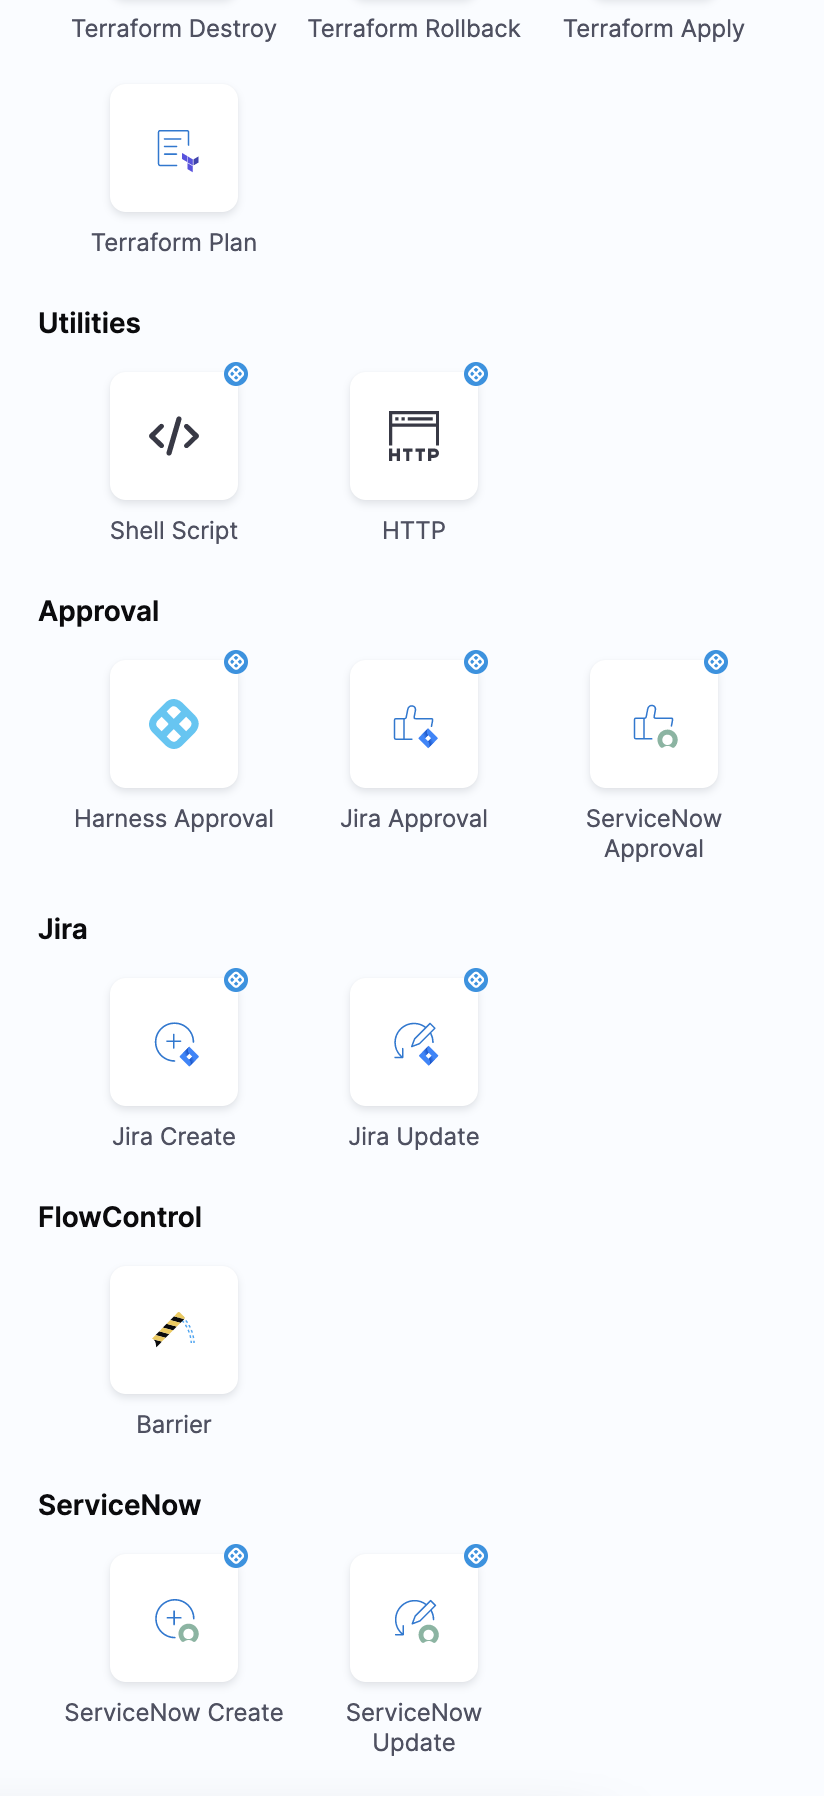
In a Harness CD or Approval stage, in Execution, select Add Step.
-
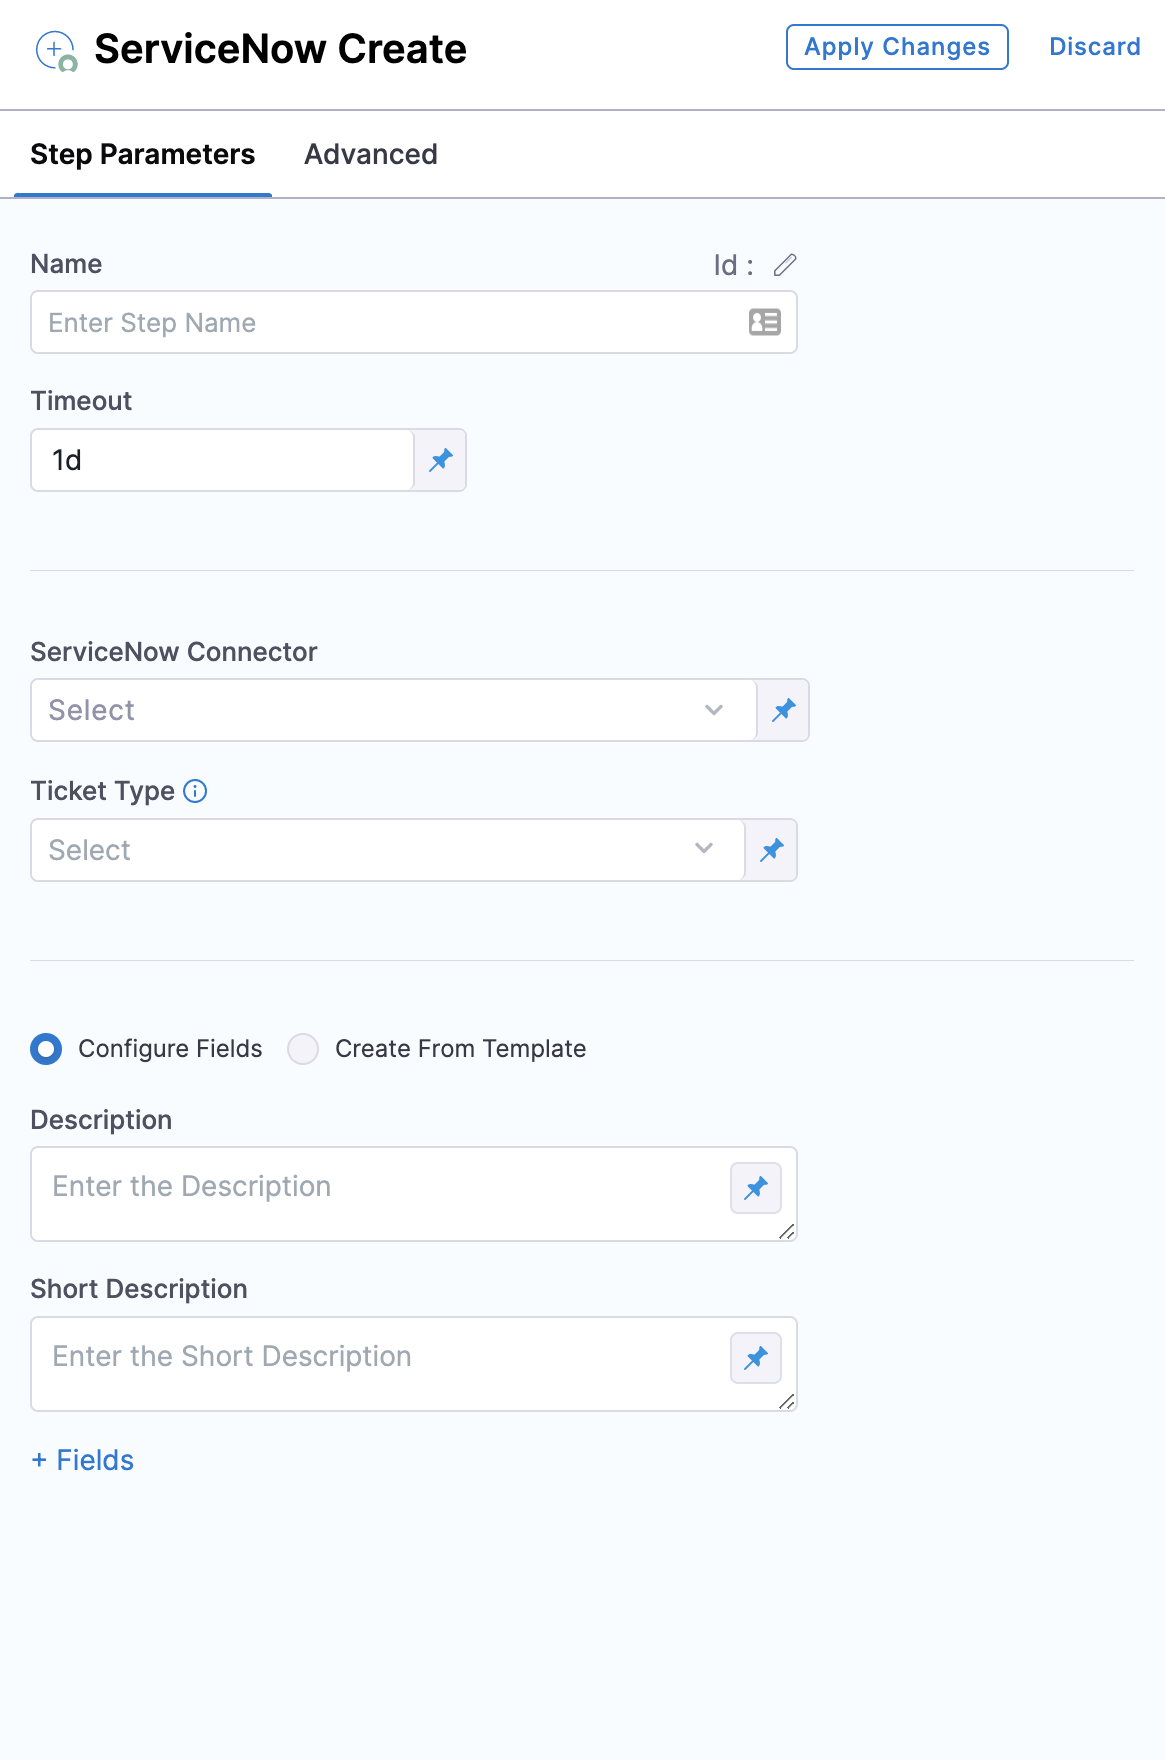
Select ServiceNow Create. The ServiceNow Create settings appear.
-
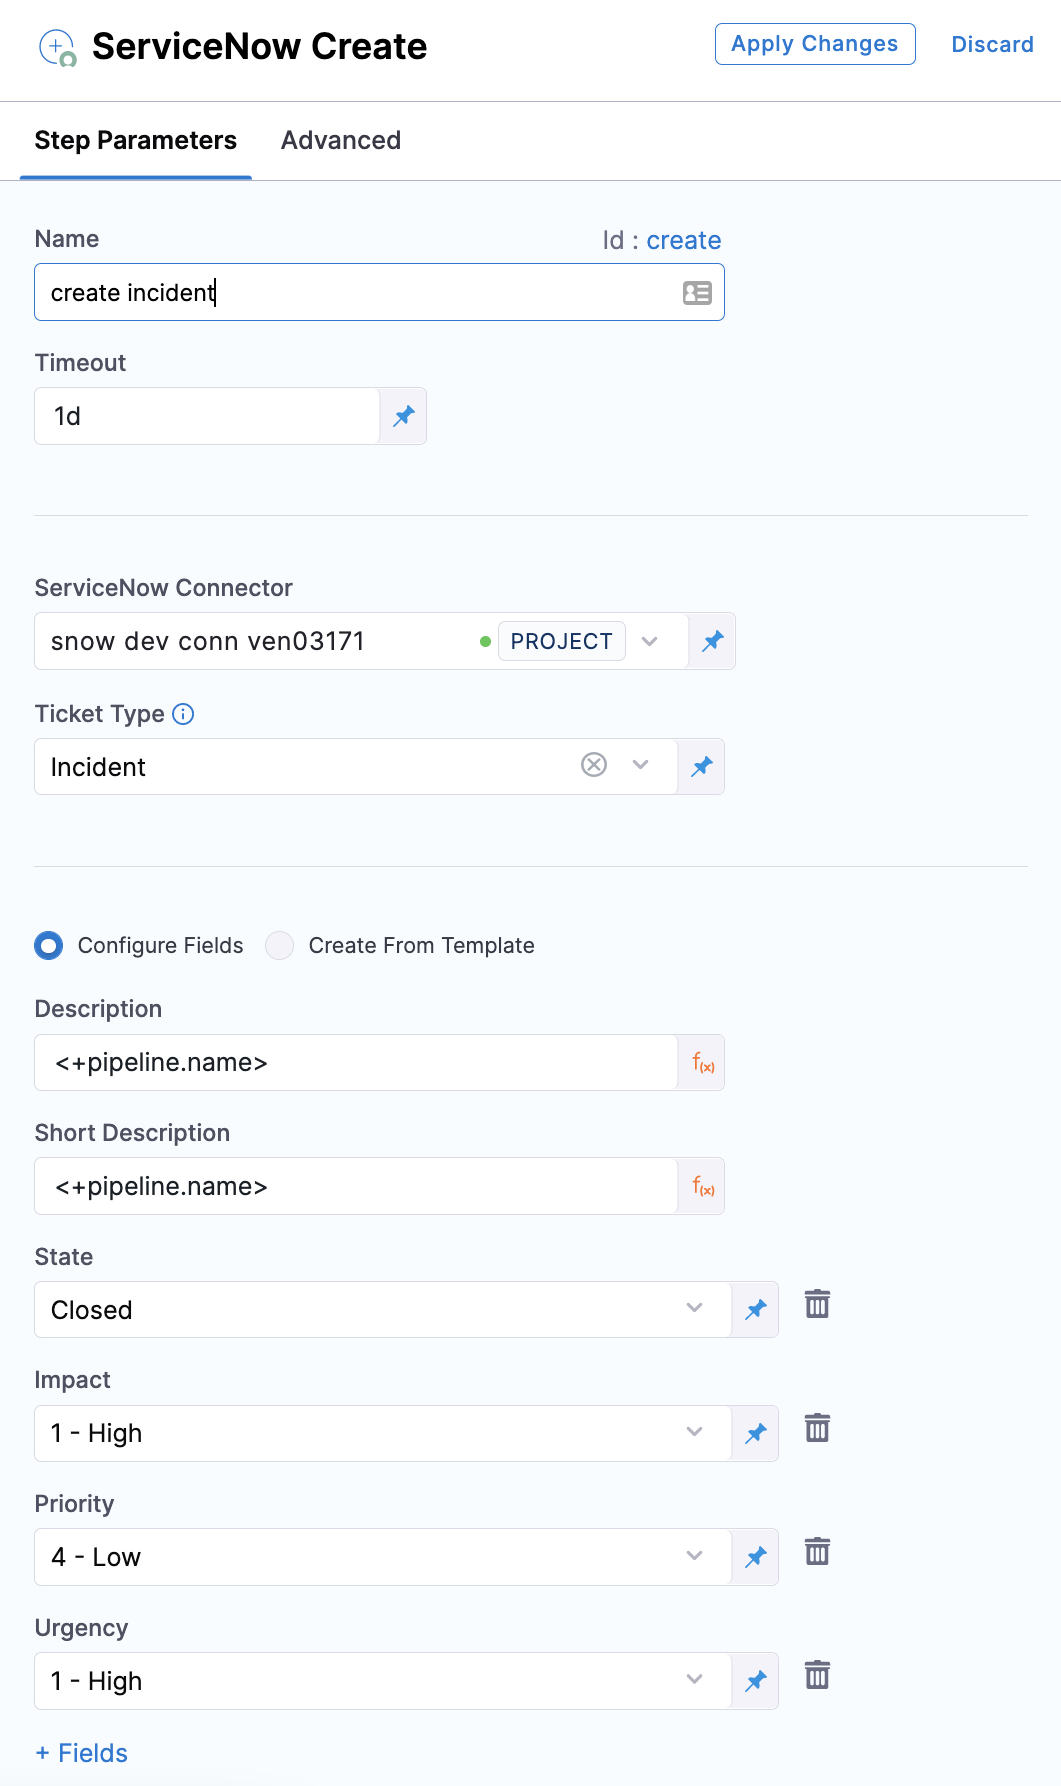
In Name, enter a name that describes the step.
-
In Timeout, enter how long you want Harness to try to create the issue before failing (and initiating the stage or step failure strategy).
-
In ServiceNow Connector, create or select the ServiceNow connector to use.
-
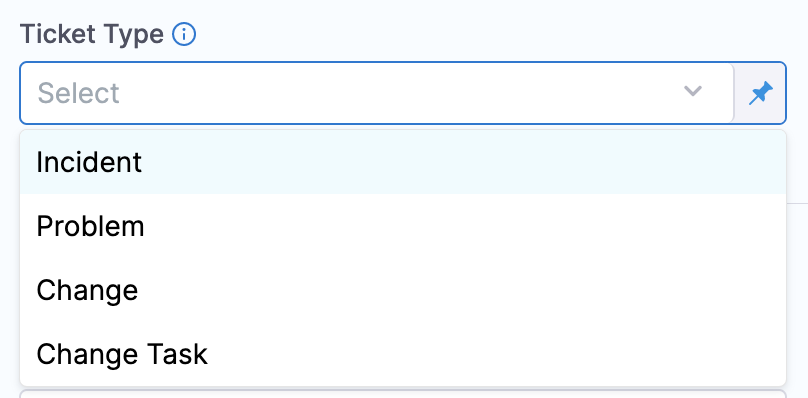
In Ticket Type, select a ServiceNow ticket type from the list.
Configure fields
-
Select Configure Fields to select or add ServiceNow Fields to your ServiceNow ticket. This option enables you to access multiple custom fields from your ServiceNow integration.
-
In Description, add the ticket description.
-
In Short Description, enter a description of the ticket you are creating. This will be the title of the ticket.
You can use Harness variables in the Short Description and Description fields. -
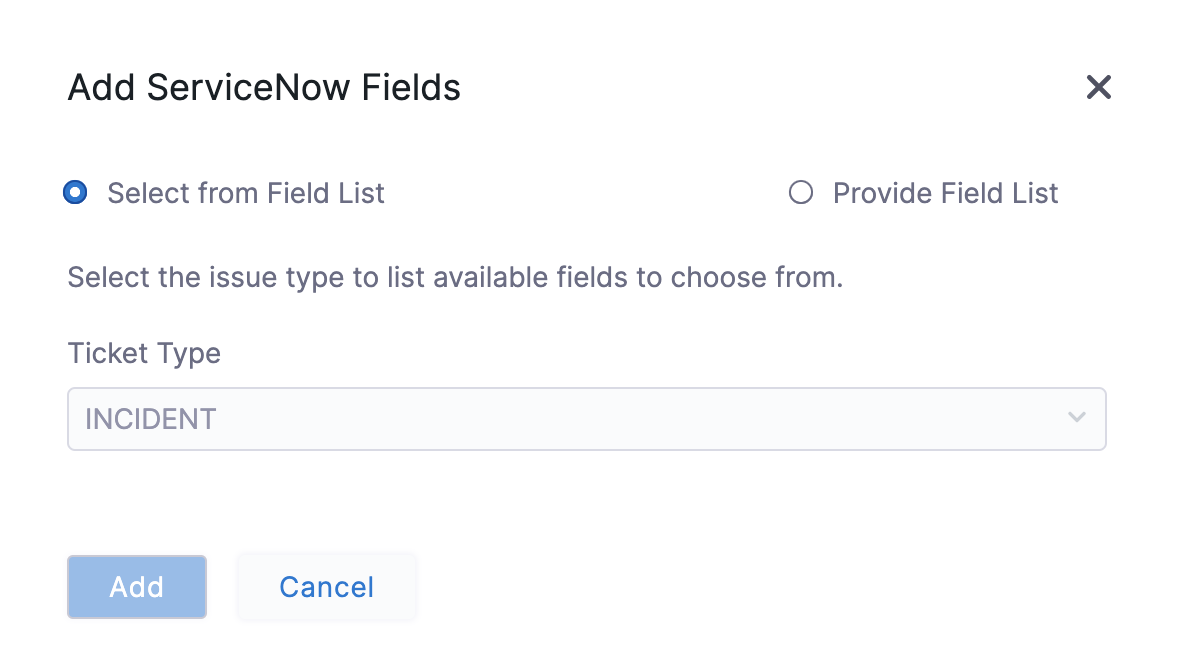
Click Fields. The Add ServiceNow Fields settings appear.
-
Select Provide Field List to add custom fields.
-
Enter Key for the field.
-
In Value, you can write static values, or variables, to these fields.
The properties are specified as key-value pairs, the name being the field name (not the label) in ServiceNow and a valid value. -
Select Add.
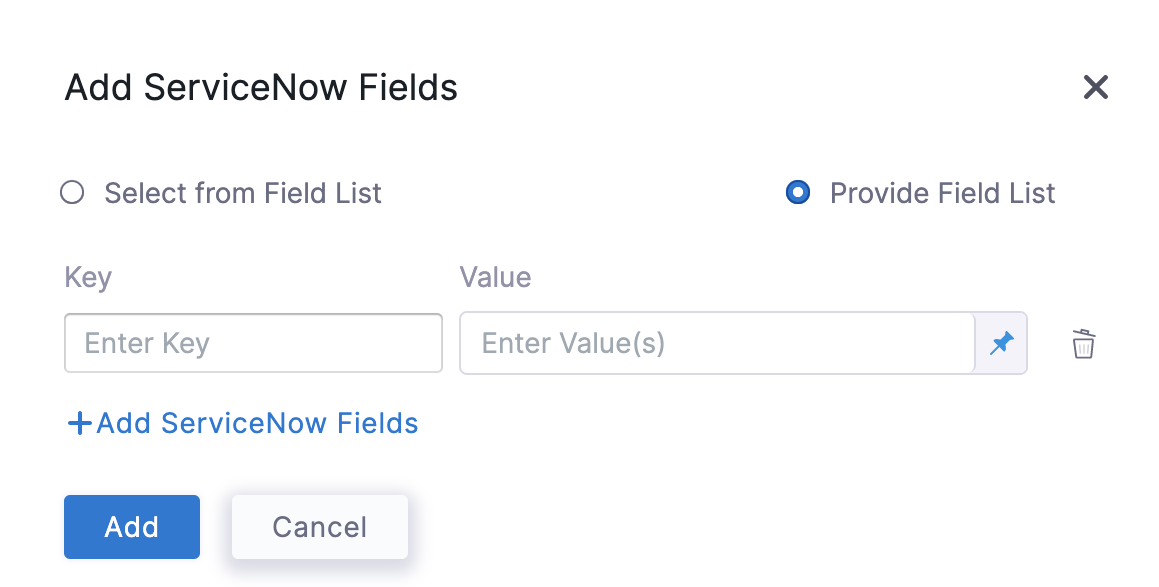
Once you are done, this is how the dialog looks:
Create from Form Template
Select Create From Form Template to create a ticket by using an existing form template in your ServiceNow integration.
In Template Name, you can enter the name of an existing template, select from the list of existing templates displayed when you select the field, or provide an expression. You can also search the templates you need.
Make sure you have met the following requirements for searching form templates:
- Harness Delegate version 81200 or later.
- Integration for Harness Software Delivery Platform app version 1.0.2 or later.
This option updates tickets with values as defined in the linked form template for the associated table. This is achieved via scripted APIs defined in the ServiceNow integration app for Harness templates. If there are many templates with the same name, the most current one is used to create tickets. Select Apply Changes.
Your ServiceNow ticket is now added to your Pipeline.
Create from Standard Template
This feature requires Harness Delegate version 81200 or later
This option appears only when the value type in the Ticket Type field is Fixed value, and the ServiceNow ticket type specified is Change Request. This feature can be used to create low-risk standard change requests using pre-approved standard templates.
Select Create From Standard Template to create a ticket by using an existing standard template in your ServiceNow integration.
In Template Name, you can enter the name of an existing template, select from the list of existing templates displayed when you select the field, or provide an expression. You can also search the templates you need.
If there are many templates with the same name, the most current one is used to create tickets. Select Apply Changes.
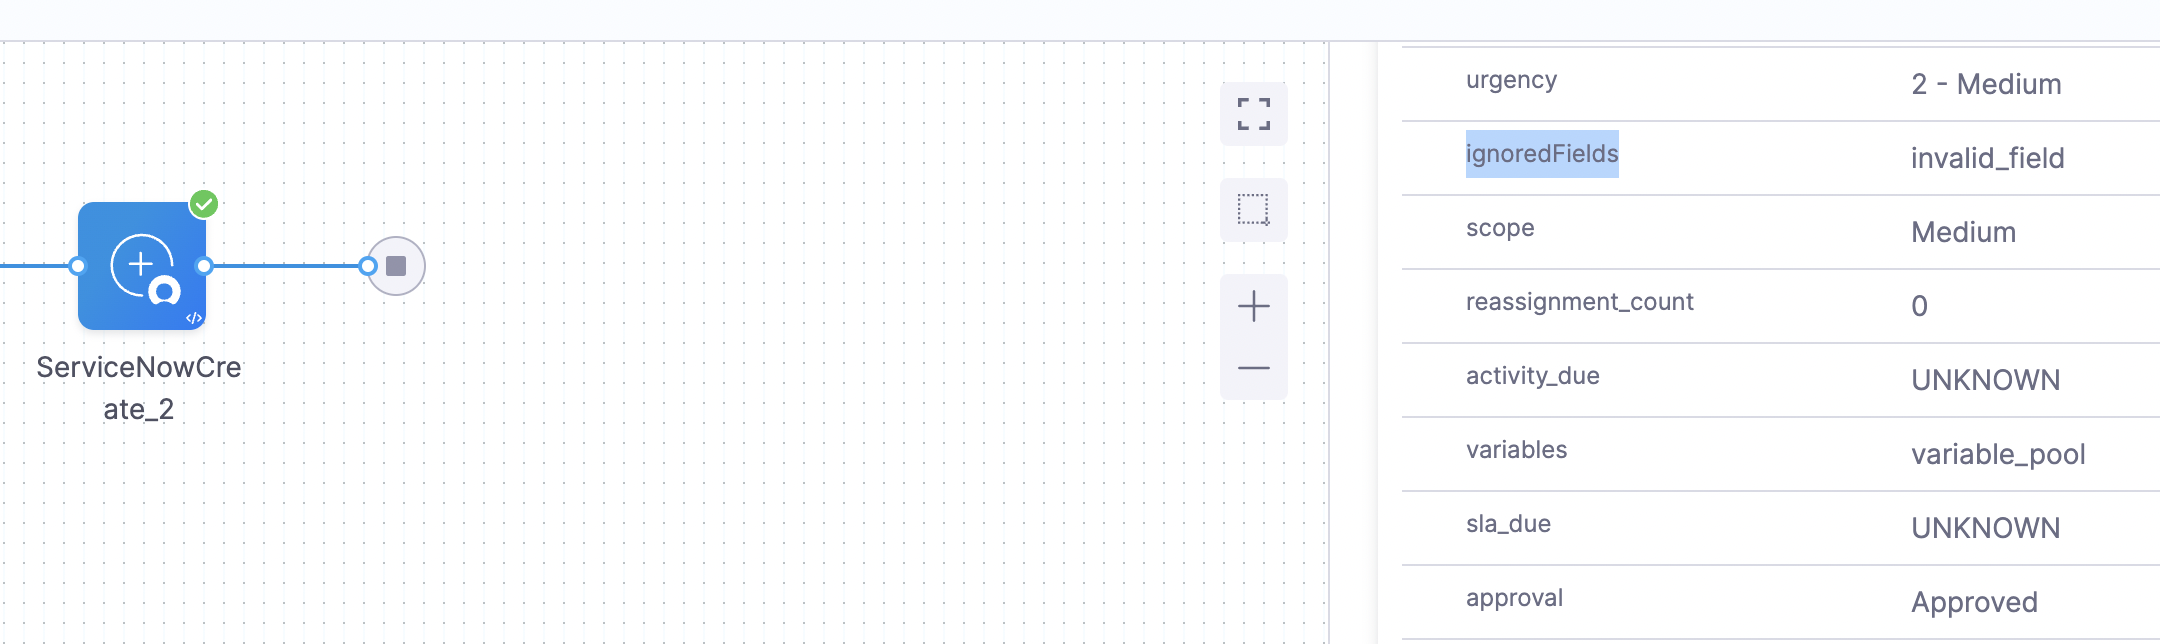
Your ServiceNow ticket is now added to your pipeline. After standard template is loaded, fields are marked editable based on Standard Change Properties if change_manager role is present with the integration user. Else, the properties can't be fetched and fields are made read-only as per default settings in the ServiceNow documentation.
The fields ignored in the process of standard change creation are available in step output as ignoredFields in fields.
For more information on standard change templates, go to Change Management - POST /sn_chg_rest/change/standard/standard_change_template_id , Best practice: Make the most of standard changes from ServiceNow and Standard Change Properties.
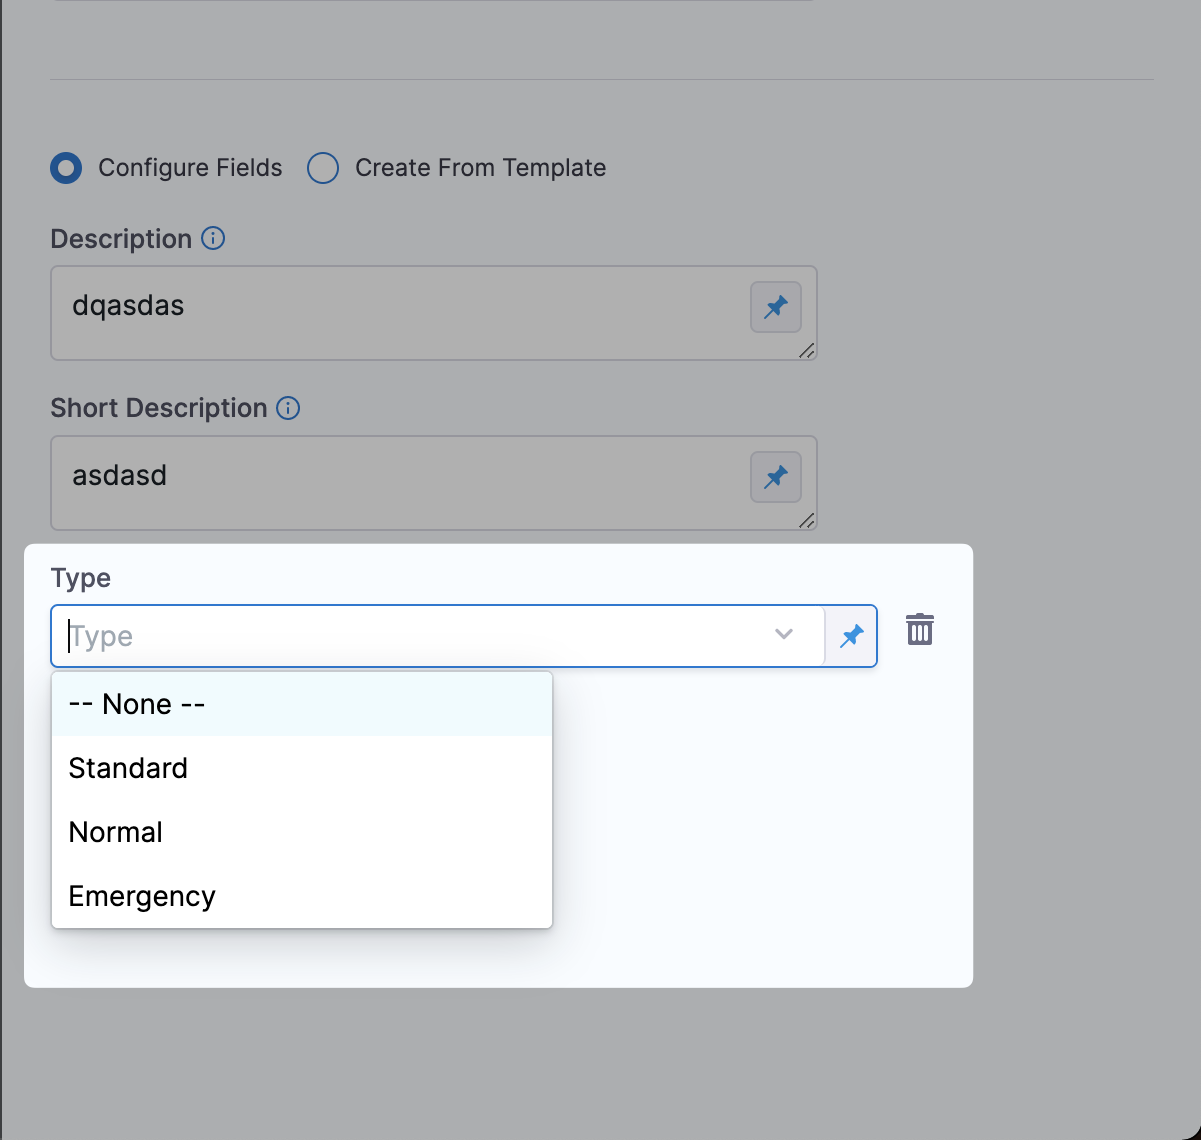
Normal and standard change requests
By default, Harness creates Normal Change requests, not Standard Change requests. If you want to create Standard or Emergency type ServiceNow Change request tickets, then do the following:
In Fields, select Type.
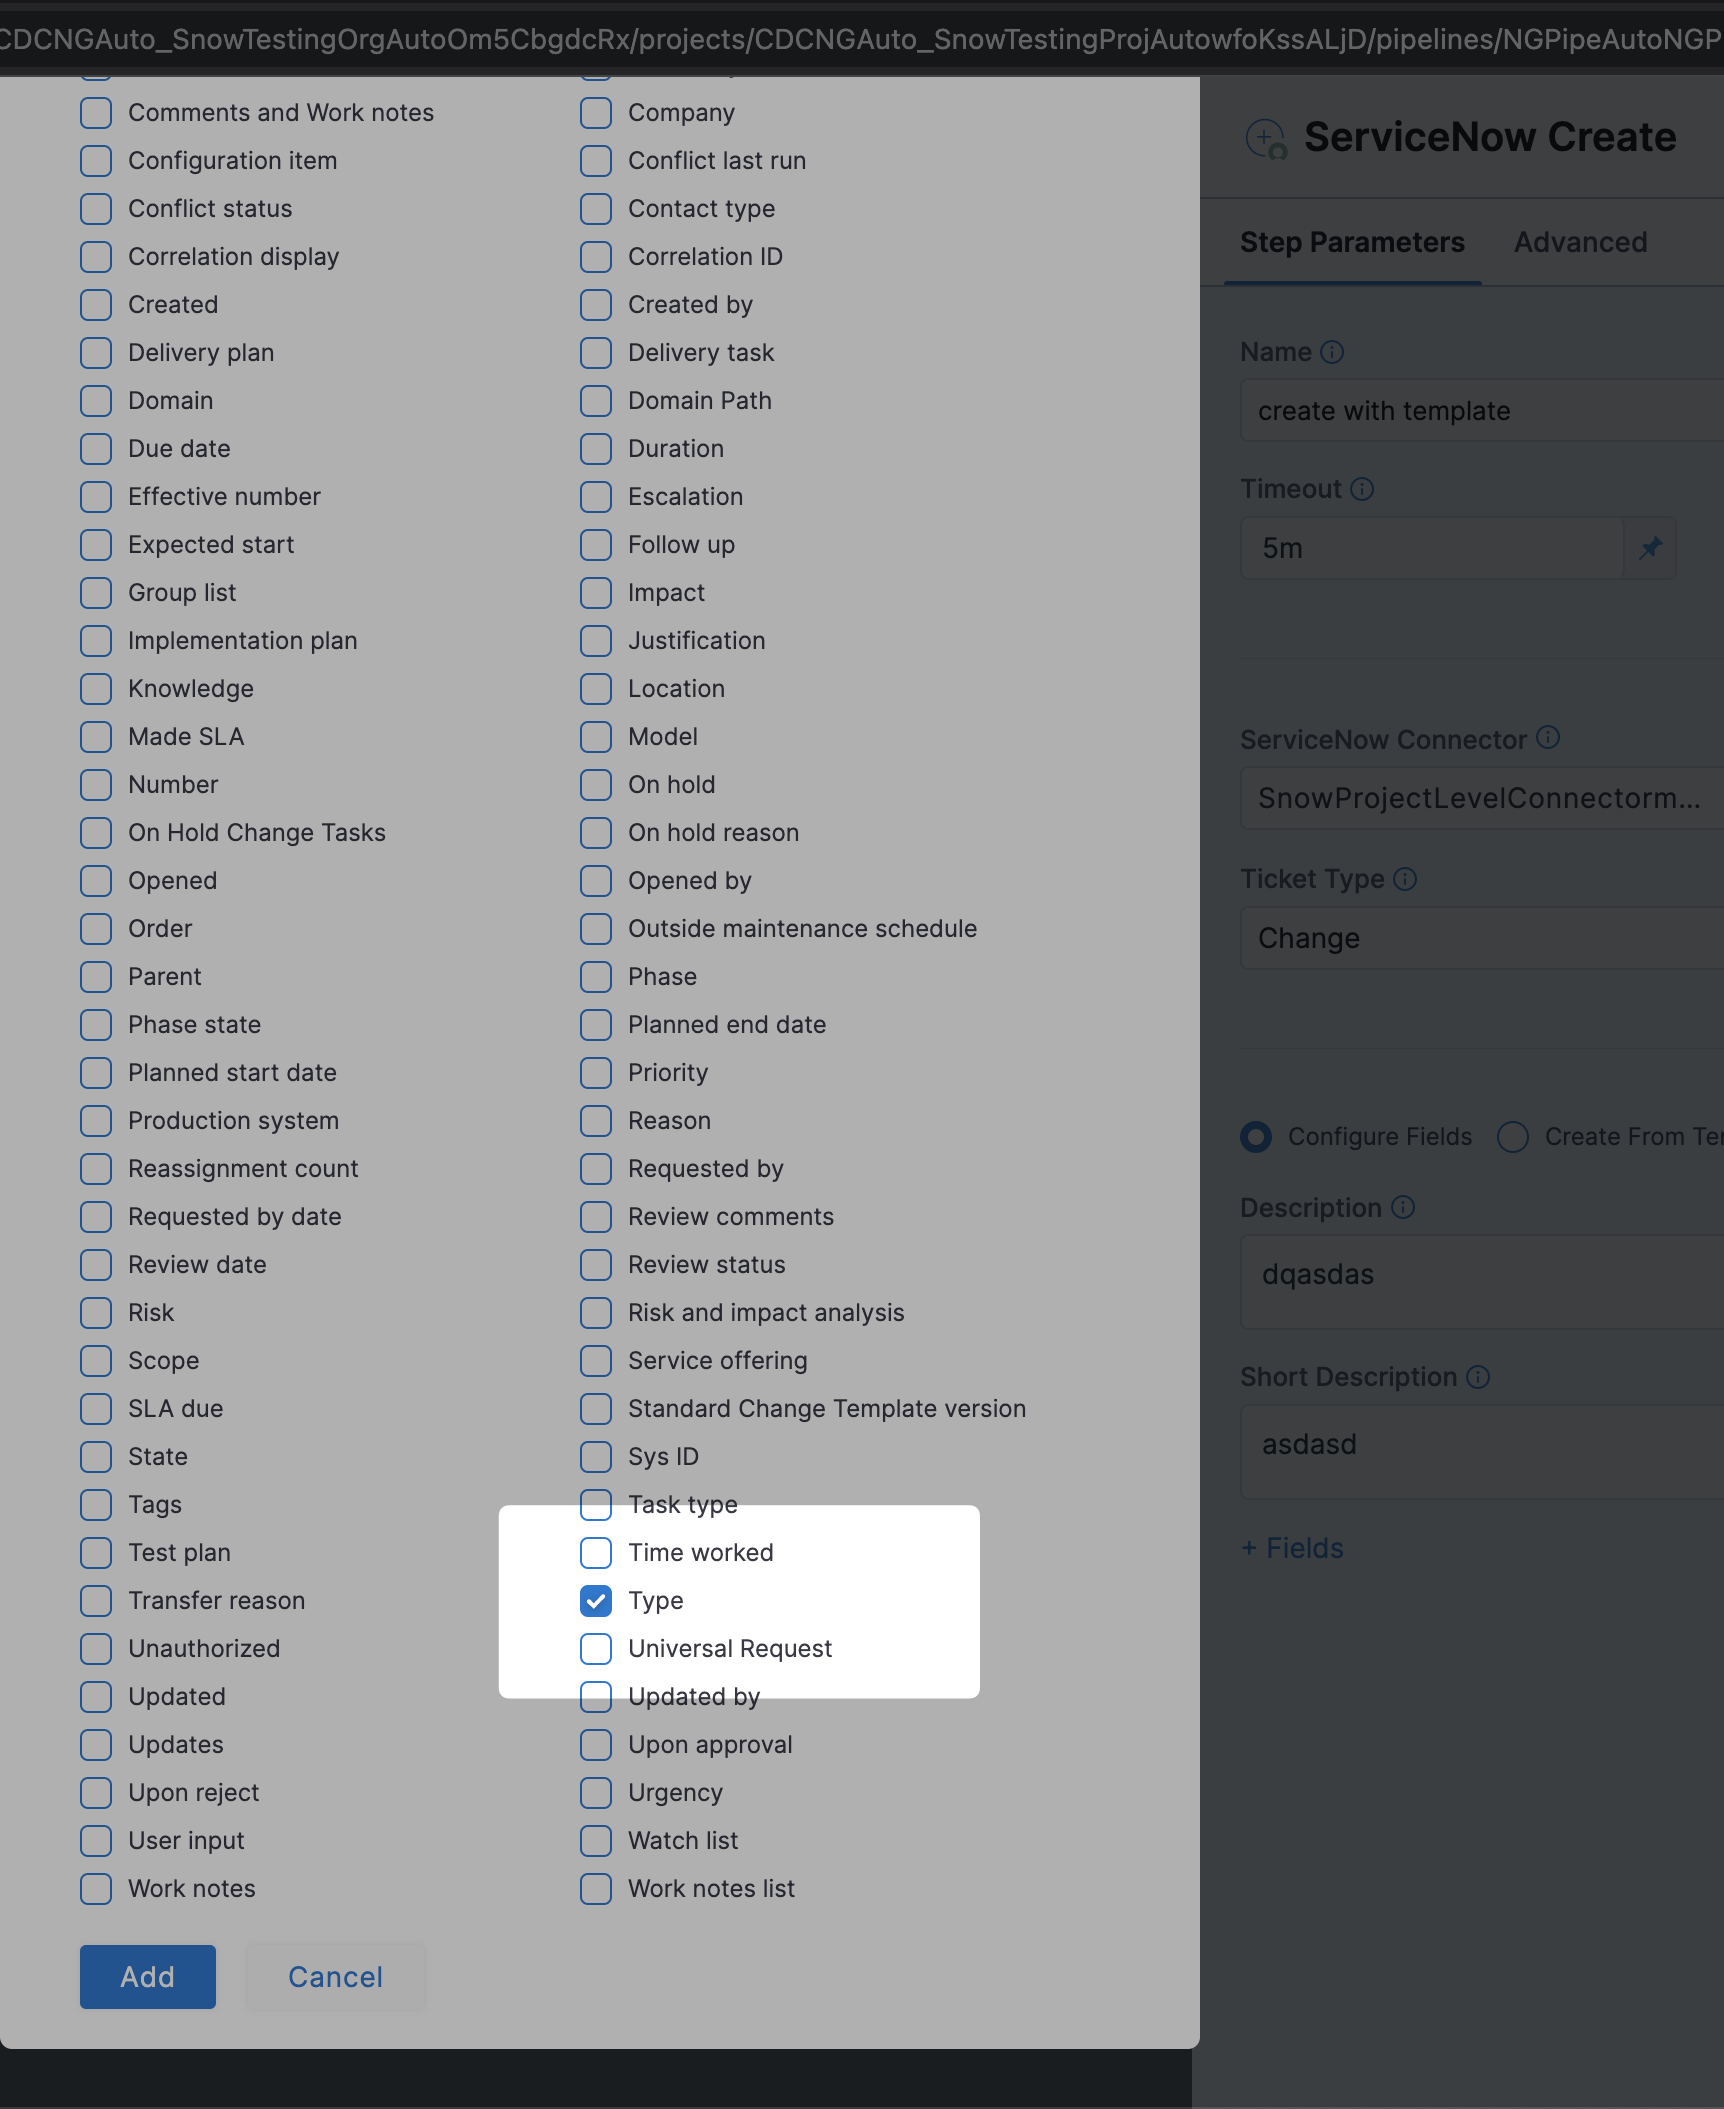
In Type, select Normal or Emergency.
Custom table support
:::
Custom table support is now available in Harness' ServiceNow integration as part of the Ticket Type setting.

This feature is available in ServiceNow Create and Update steps.
Harness recommends that you only use a table extending task, or extend tables that indirectly extend the task.
You can specify any custom table in Harness by typing the table name in the Ticket Type setting.
What is a table extending task?
In ServiceNow, a table extending task is a task that involves creating a new table by extending an existing table. When a table is extended, a new child table is created that inherits all the fields, relationships, and other attributes of the parent table. The child table can then be customized further to meet the specific needs of the organization.
Harness supports two use cases, and you should have sufficient permissions for each use case:
- Standard use case: You should have sufficient permissions on the custom table, such as basic create, read, and update permissions. Also, you should have any additional permissions required to update specific fields within that custom table, if required.
- Template use case: This use case is covered below.
For standard use cases, the custom table being used should allow access to this table via web services.

Using custom table support with the template flow
This section describes how to use custom tables via the Harness ServiceNow app in the ServiceNow store.
:::\notes
- Cross-scope privileges are required to be added for the ServiceNow user only when using custom tables with templates (via the Harness app on the ServiceNow store).
- The store app is only certified to be used with Incident, Problem, Change Request, and Change Task tables by the ServiceNow certification team.
:::
To use custom tables via the Harness ServiceNow app, do the following:
-
Add three (create, read, write) cross-scope privileges from the harness-app to the global scope with the target name as the table name (u_st in this example) and set the Status as Allowed.

-
The ServiceNow user should be granted the read permission on the custom table at a minimum. In most cases, this is achieved with the itil role only.
-
The custom table being used should allow access to this table via web services.