Add targets
Targets are used to control which users see which variation of a Feature Flag, for example, if you want to do internal testing or a beta program before a broader roll out, you can enable the flag for some users and not others.
While we refer to targeting users, a target can be anything that can be uniquely identified. For example, a target can be a user, an application, a system, a machine, or any resource uniquely identified by an IP address, email ID, user ID, etc.
This topic describes how to add targets to an Environment in the Harness UI. After you’ve added the target, you can add it to a Target Group or to a Feature Flag.
While you can add targets using the Harness UI, this method is not the main one for adding targets. You typically add targets and define their attributes in your application using a Feature Flags SDK. The targets added in your code are discovered automatically and populated in the Harness UI. For an example, go to Add a target using the Java server SDK.
Watch this video for an introduction to targets:
Add a target
A target is identified by a name and an identifier. Make sure your target names and identifiers conform to the regex requirements below.
Regex requirements for target names and identifiers
A target is identified by a name and an identifier. The name and identifier you enter must conform to the following regex:
Name
Regex: [\\p{L}\\d .@_-]
Must consist of only alphabetical characters, numbers, and the following symbols:
- . (period)
- @ (at sign)
-
- (dash)
- _ (underscore)
The characters can be lowercase or uppercase and can include accented letters, for example Café_123.
Identifier
Regex: [A-Za-z0-9.@_-]
Must consist of only alphabetical characters, numbers, and the following symbols:
- . (period)
- @ (at sign)
-
- (dash)
- _ (underscore)
The characters can be lowercase or uppercase but cannot include accented letters, for example CF.789.
For more information, go to Entity Identifier Reference.
To add a target:
- In Feature Flags, in Target Management, select Targets.
- Click + Target.
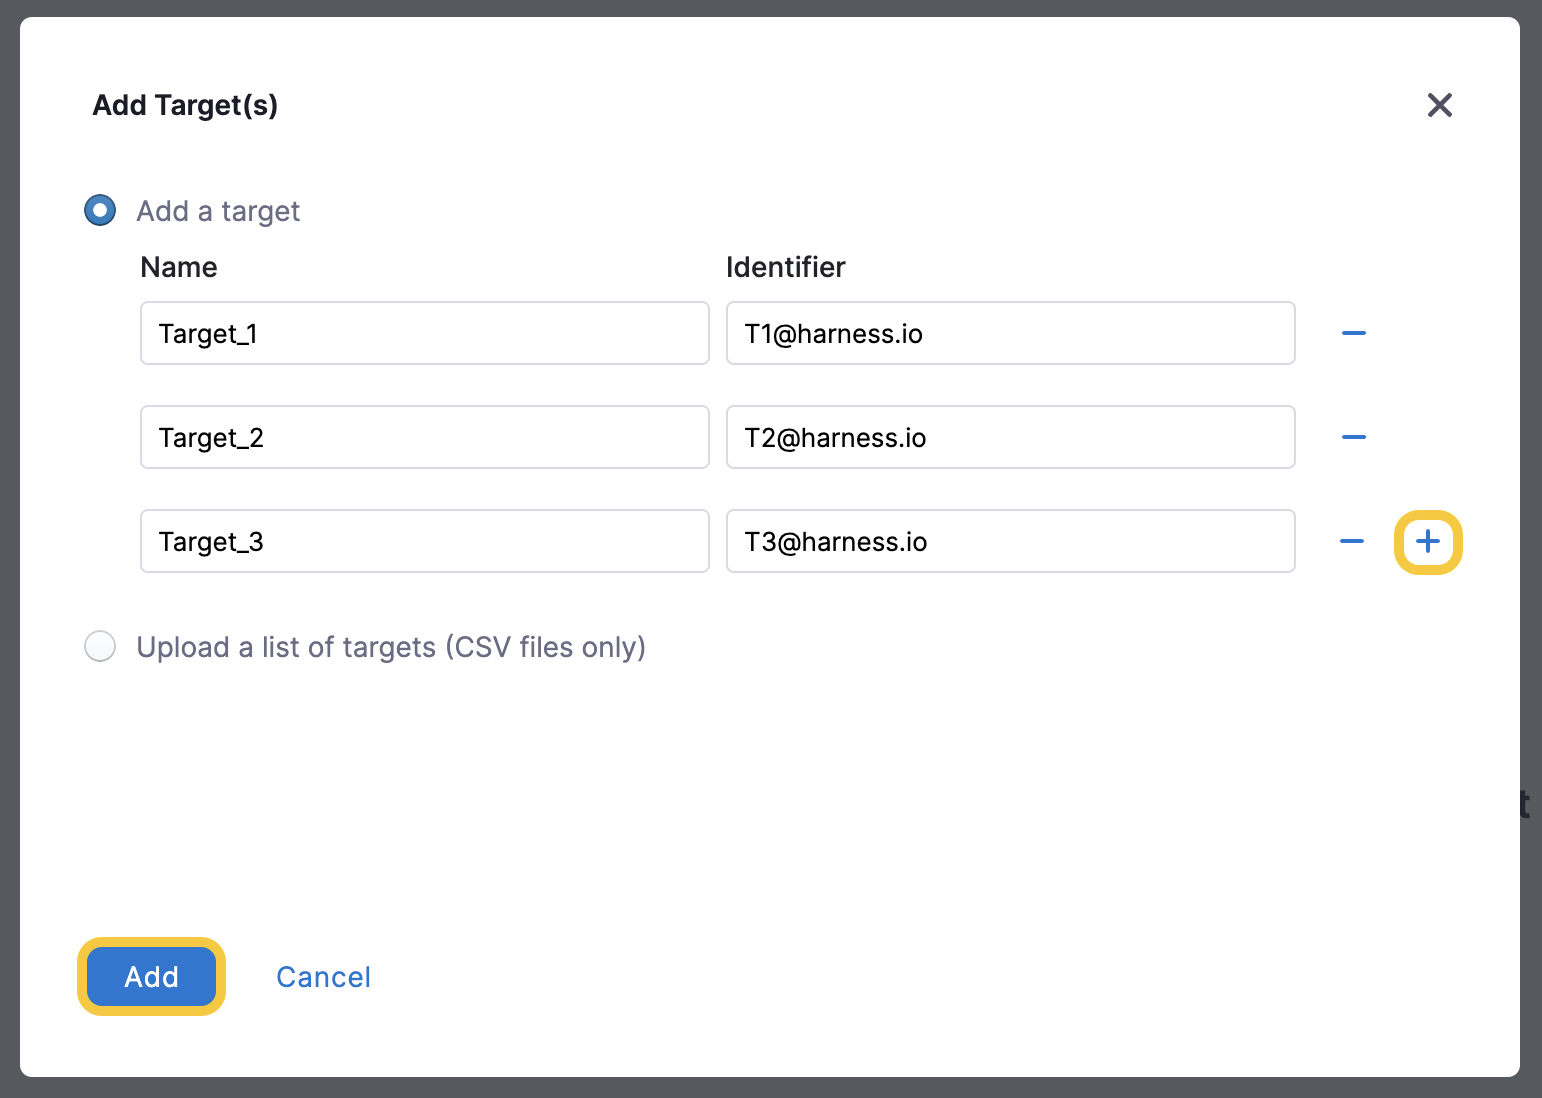
- In Add Target(s), select Add a Target.
- In Name, enter the name that will appear in the Target Management page so you can identify this target.
- In Identifier, enter a unique identifier for your target. When Targeting Users with Flags or Managing Target Groups, the targets are identified by the identifier you give them.
- You can add multiple targets. Click + to add more targets.

- When you’ve added all the targets, Click Add.
Upload a list of targets
This option allows you to import a list of targets in CSV format saved as UTF-8 format only. To do this:
-
In Feature Flags, in Target Management, select Targets.
-
Click + Target.
-
In Add Target(s), select Upload a list of Targets.
-
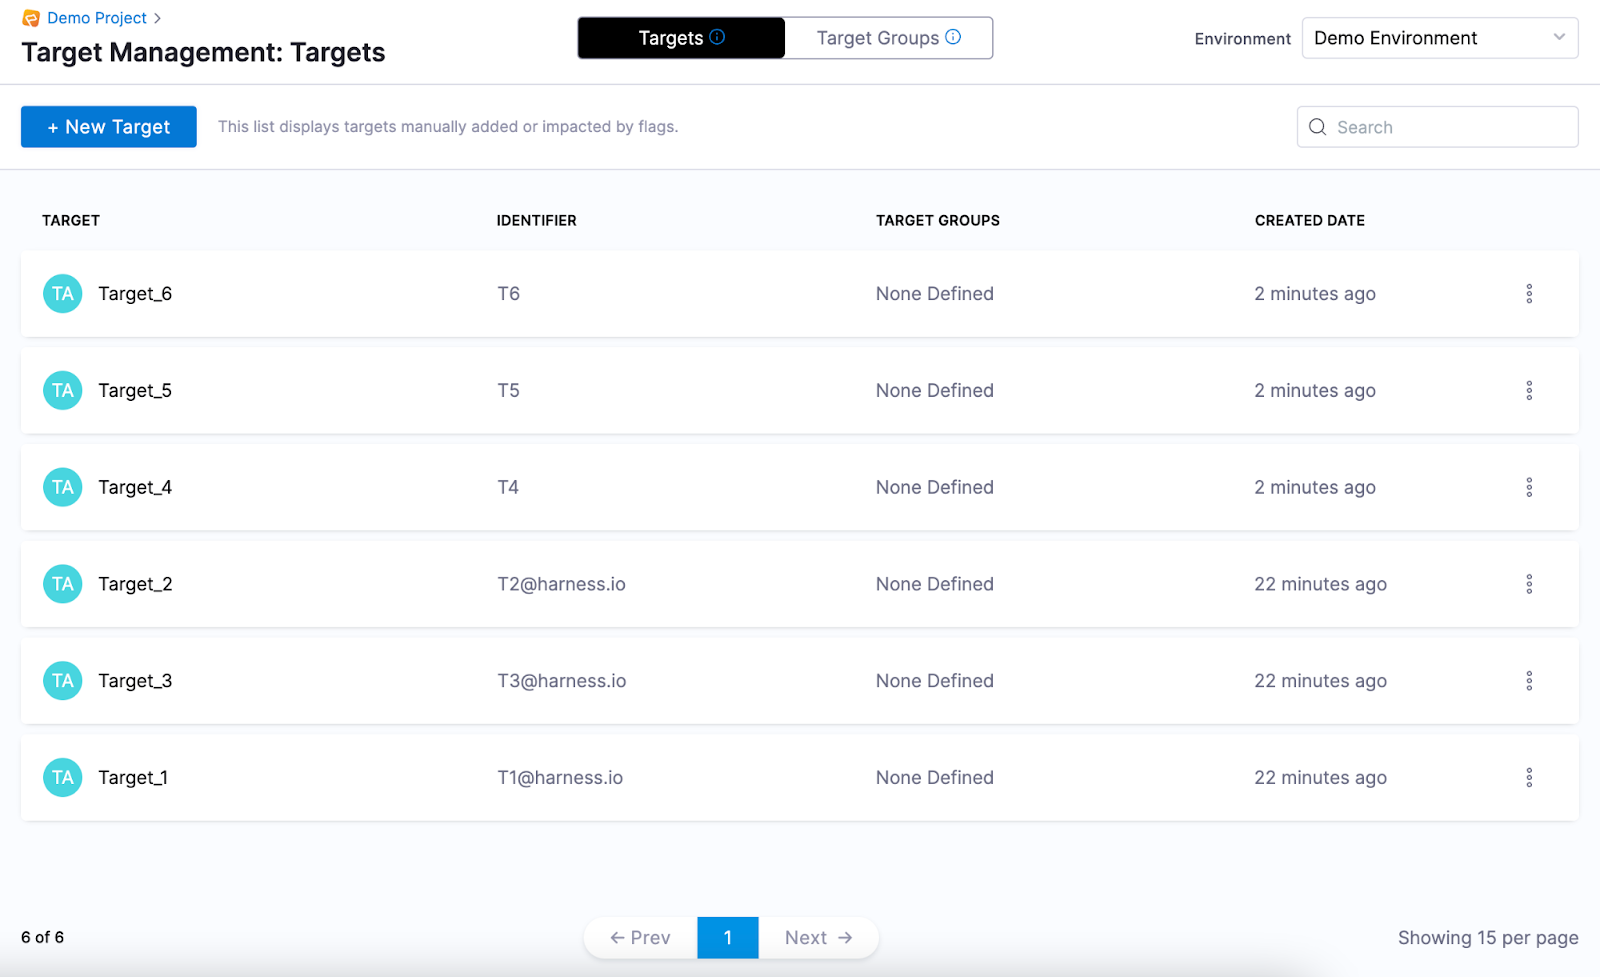
Upload your CSV file saved as UTF-8 format only as per the template below. The CSV file must have only the Name and Identifier; do not include any headings, for example:
Target_4 T4 Target_5 T5 Target_6 T6 -
Click Add.

-
The list of targets is added.

How targets expire
Targets are automatically created when an SDK authenticates or pushes metric data to the Feature Flag Service. A target is updated when it's modified via the API, or is used by an SDK in a request.
Going forward, all targets that are not updated in 60 days expire, and are removed from the data store, unless either of the following is true:
-
The target is named in an explicit target rule in a flag.
-
The target is named in a group's included/excluded list.
If an SDK makes a new request with a previously expired target, that target is inserted into the database again.
Next steps
After your have created a target, you can: