Create a Custom Entity Kind
Custom Entity Kinds are managed from the Configure section by the Admin. Navigate to Configure → Custom Kinds in the left sidebar.
Navigate to custom entity kinds
-
In Harness, open the Internal Developer Portal.
-
From the left sidebar, click Configure.
-
In the left navigation menu, click Custom Kinds.
Figure 1: The Custom Entity Kinds page The Custom Entity Kinds page opens showing built-in and custom kinds (if any).
-
Click Create Kind at the top right.
Configure the kind
The Configuration section captures the kind's identity.

-
Enter a name in the Entity Kind Name field. Use PascalCase (e.g.,
CustomerProfile,MLModel,ETLJob). This value becomes thekindfield in catalog YAML.infoIf required, you can change the kind name after creation, but not its identifier.
-
Enter a Description. This appears on the kind's card on the Custom Entity Kinds page.
-
Under Icon, a default icon is pre-selected. Click Change Icon to open the icon picker and select a different one.
Define the schema
The Schema section defines the structure and validation rules for entities of this kind. It uses JSON Schema (Draft-07).
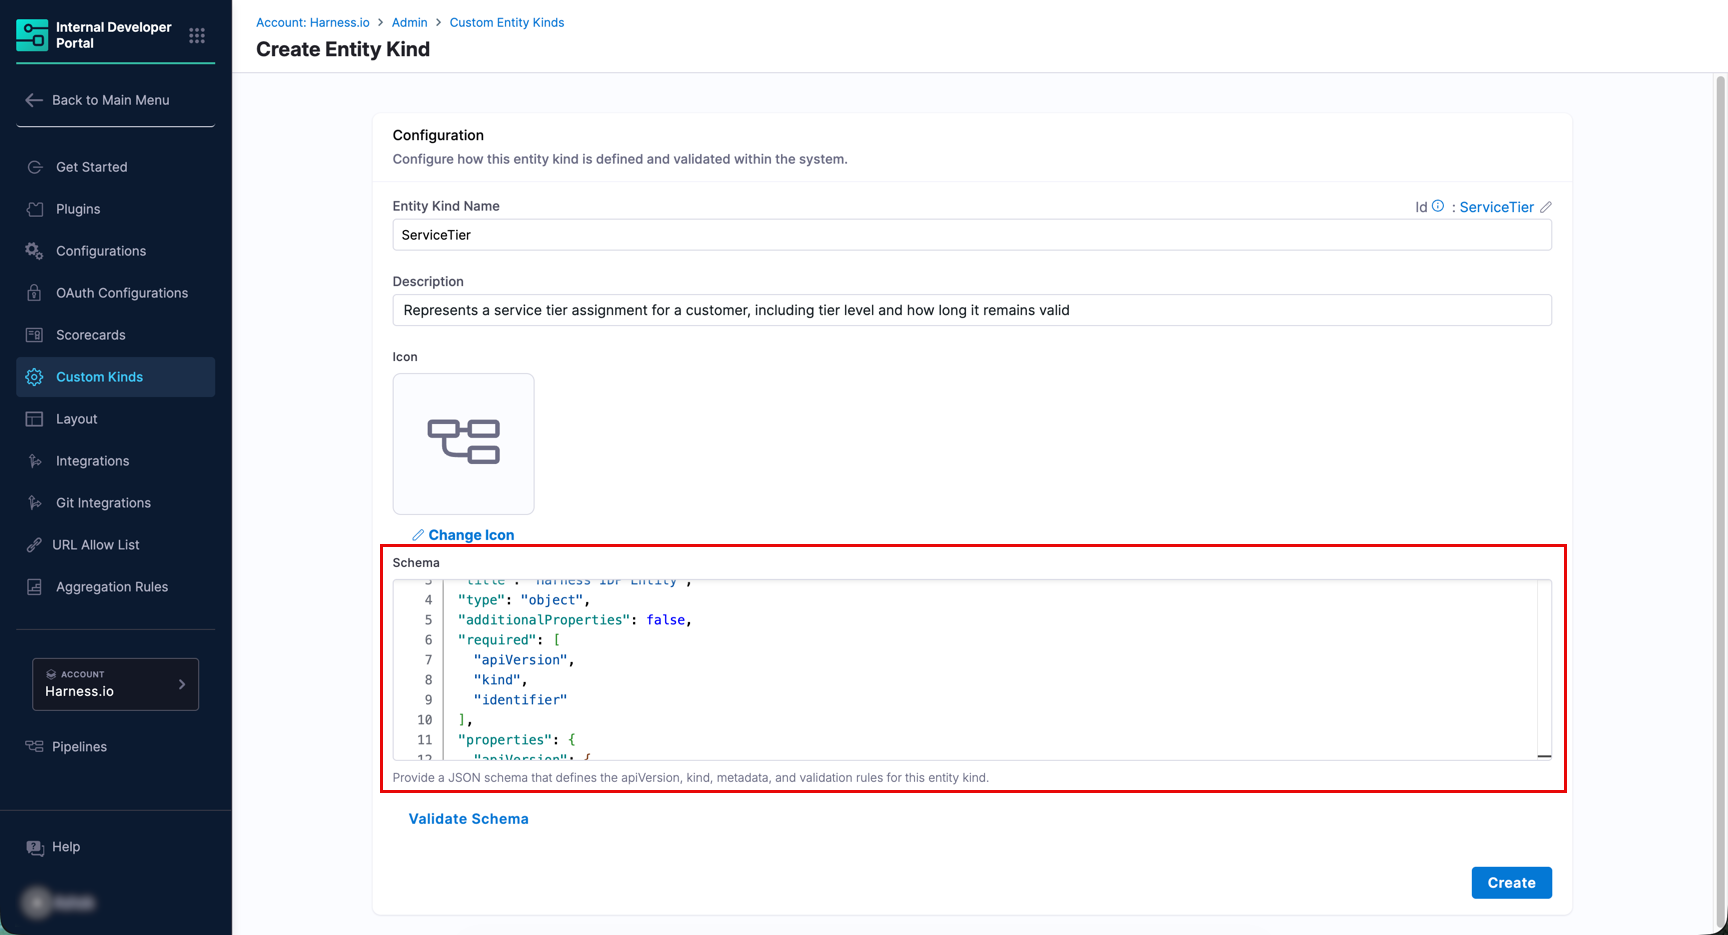
A base schema is pre-filled in the editor. It contains the standard IDP entity fields (apiVersion, kind, identifier, name, type, owner, spec, and metadata) that every entity needs. Leave these as they are.
Your custom fields must always go inside spec or metadata in the base schema. Adding or removing fields at the root level of the entity YAML is not supported.
For example, to add a tier property to metadata and make it mandatory, update the metadata block in the schema like this:
    "metadata": {
      "type": "object",
      "description": "Metadata of the entity",
      "additionalProperties": true,
      "required": ["tier"],
      "properties": {
        "tier": {
          "type": "string",
          "description": "Service tier, e.g. gold, silver, bronze"
        },
        "validity": {
          "type": "string",
          "description": "Validity of tier in months"
        }
      }
    }
Validate and create
-
Once you have configured the schema, click Validate Schema.
Figure 4: The green 'Schema is valid' banner confirming a valid schema If the schema is valid, a green success banner appears at the top of the page. If there are errors, fix them and click Validate Schema again before proceeding.
-
Click Create. Your new kind now appears in the list of Custom Entity Kinds.