Apply filters using tags
Once you’ve applied tags to your Harness applications and components, you can use these tags to filter what components you see. This topic describes how to use tags to create different views of your applications and components.
Before you begin
- Go to Onboarding guide.
- Go to Assign metadata using tags.
- Go to Tags reference.
Filter applications or components by tags
In Harness, select your application or component. Look for a filter button at the upper right.
To filter applications or their components by tags, do the following:
-
In Harness, go the application or component.
-
Click the filter button.
This opens the Filter dialog, initially empty:
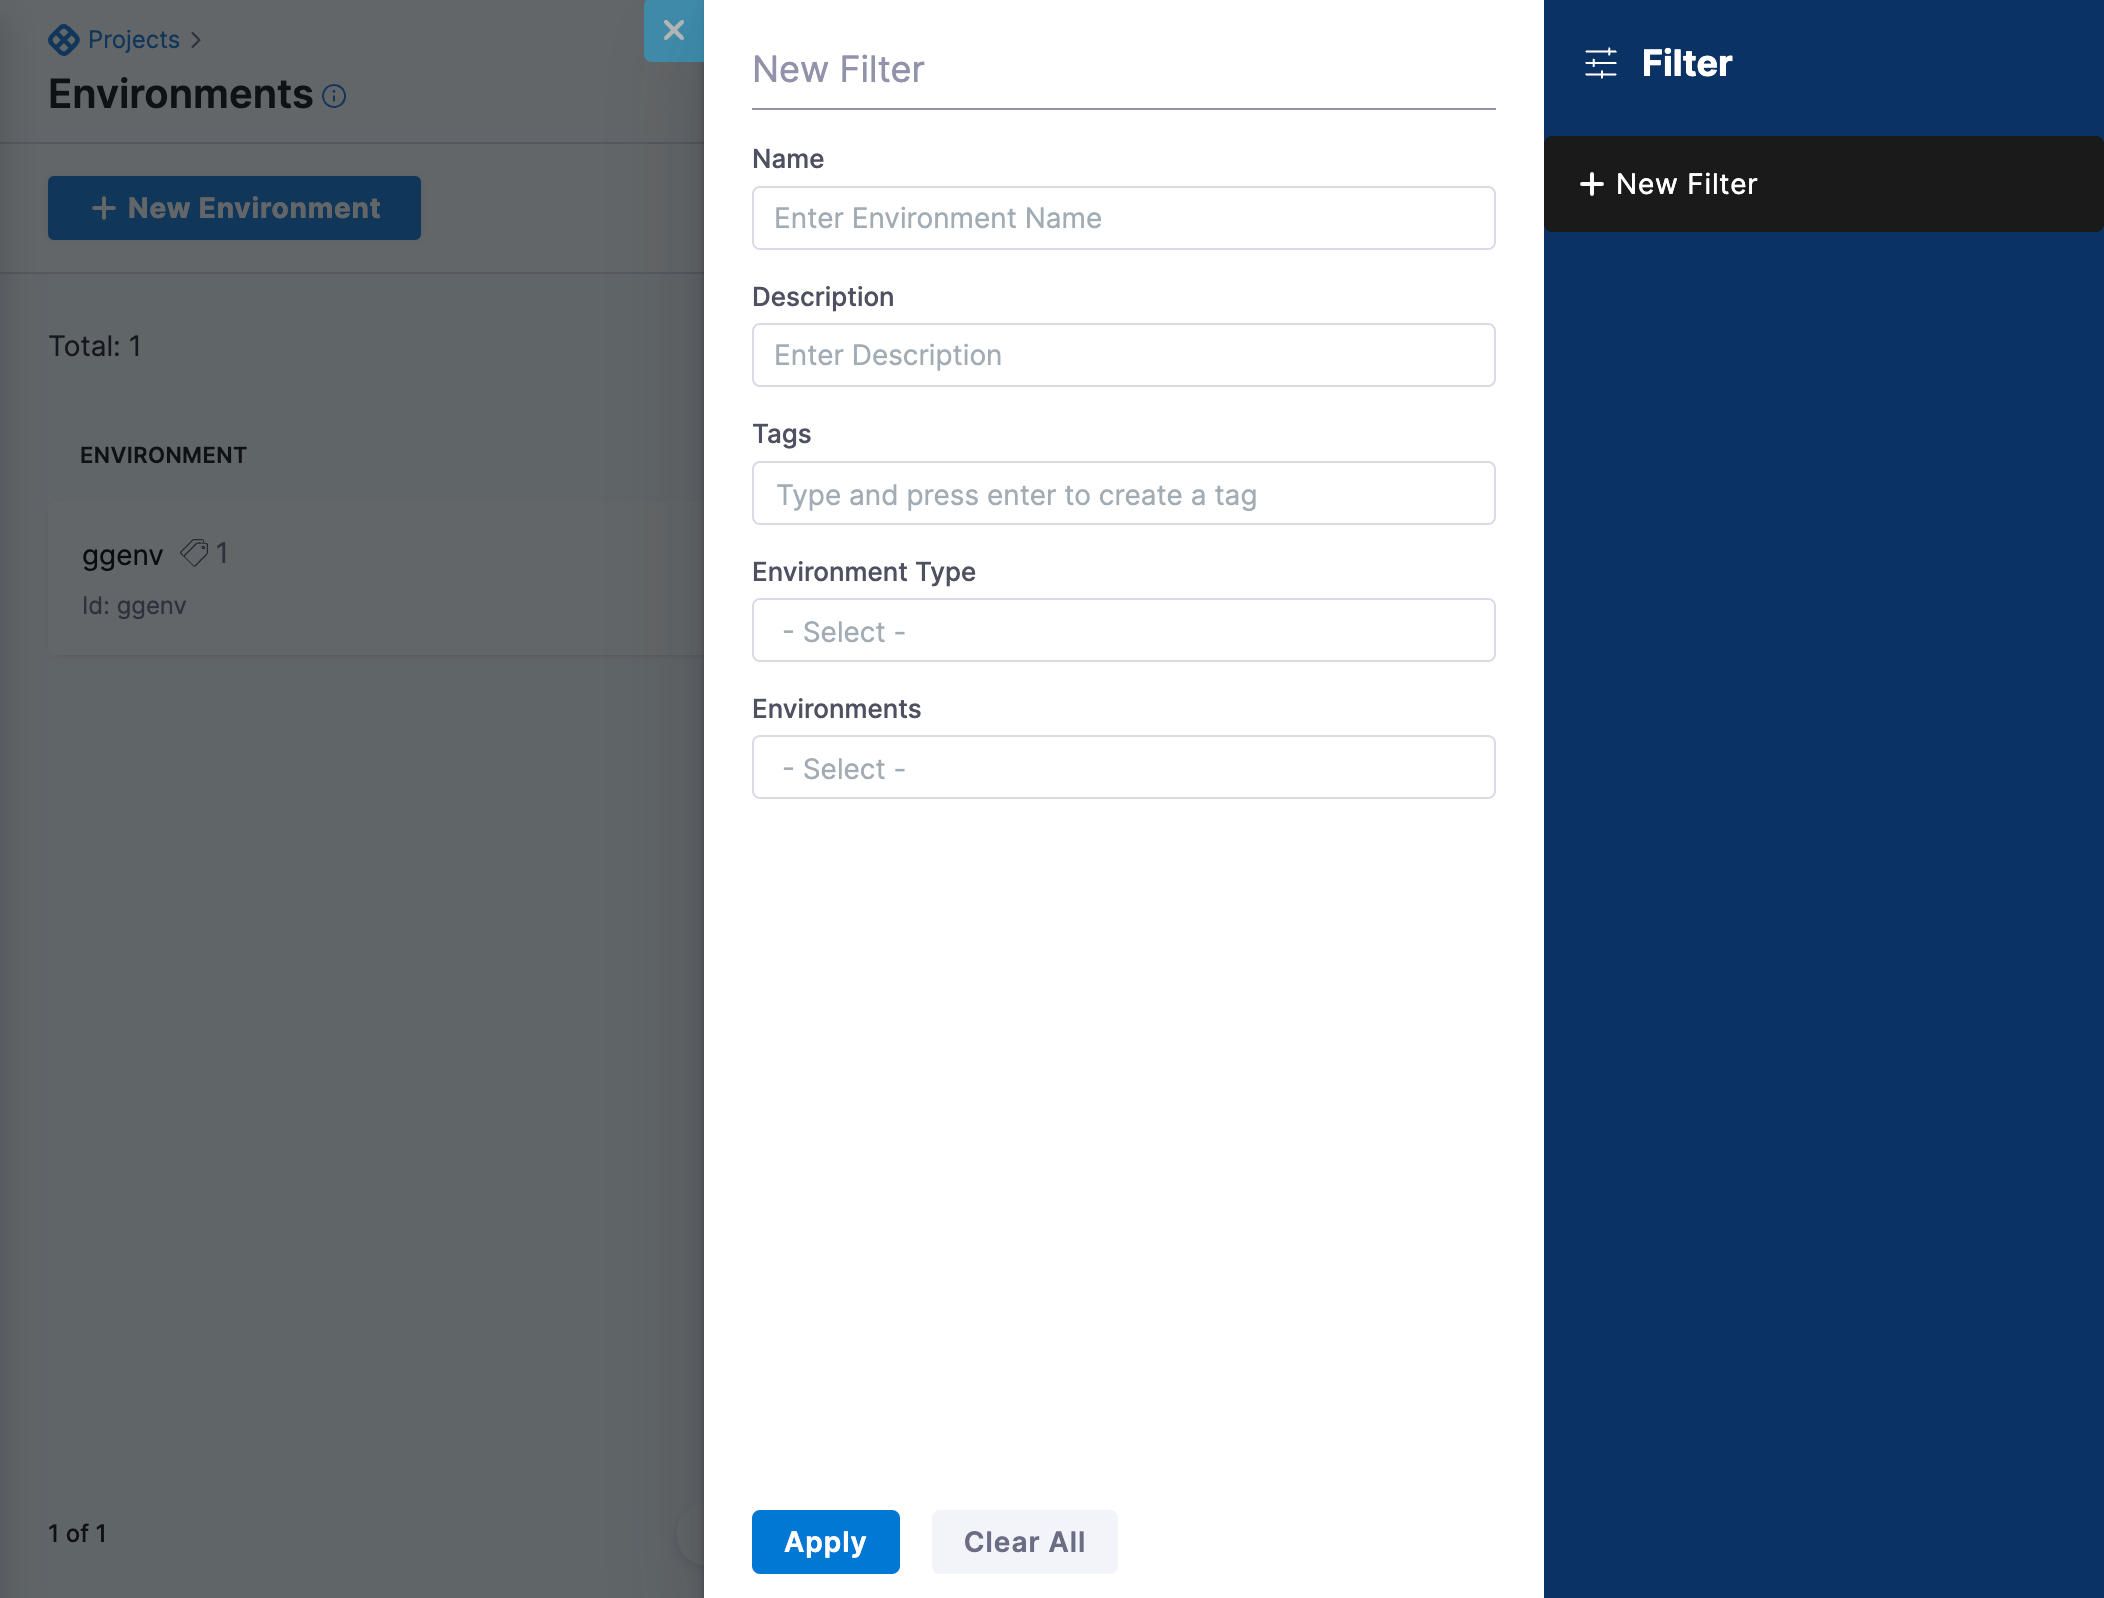
-
The Name field enables free-text filtering of the currently displayed Harness entity (applications or an application component). This option displays entities whose names (or their substrings) match the text that you enter.
noteHarness applies AND searches logic between the Name and Tags fields. So any Name string that you enter will further restrict the results of your Tags selection, and vice versa.
-
Use the Search box to locate desired tags, or tag values, by free-text search. Or, manually scroll the list of tags and values.
-
To retrieve Harness entities that match a given tag with any value, select the Any Value checkbox to the tag's right. To match only one or more specific values, select the checkboxes to their left.
noteWithin a given tag, inclusive OR logic is always applied among the values you select. For example, if you select
env: devandenv: qa, Harness will return components that have either tag value. When only tags are used to filter (without entering anything in the Name field), Harness applies OR logic between the selected tags. This means components that match any of the selected tags will be shown. However, when you filter using both Name and Tags, Harness applies AND logic—displaying only the components that match both the Name and the selected Tags.The Tags field updates to display a running summary of your selections.
-
When you are ready to display the results of your selected filter conditions, select Apply. To discard all selections and keep the dialog open to make new selections, select Clear All.