Limited Permissions install
Use this install when cluster-admin is not acceptable on the target cluster. You scope the Delegate to a dedicated namespace, replace the default ClusterRoleBinding with a namespace-scoped Role, and grant chaos access to only the workloads you plan to inject chaos into through an opt-in ClusterRole.
Step 1. Create a dedicated namespace
Create a dedicated namespace for the Harness Delegate. For example, harness-delegate-ng.
kubectl create ns harness-delegate-ng
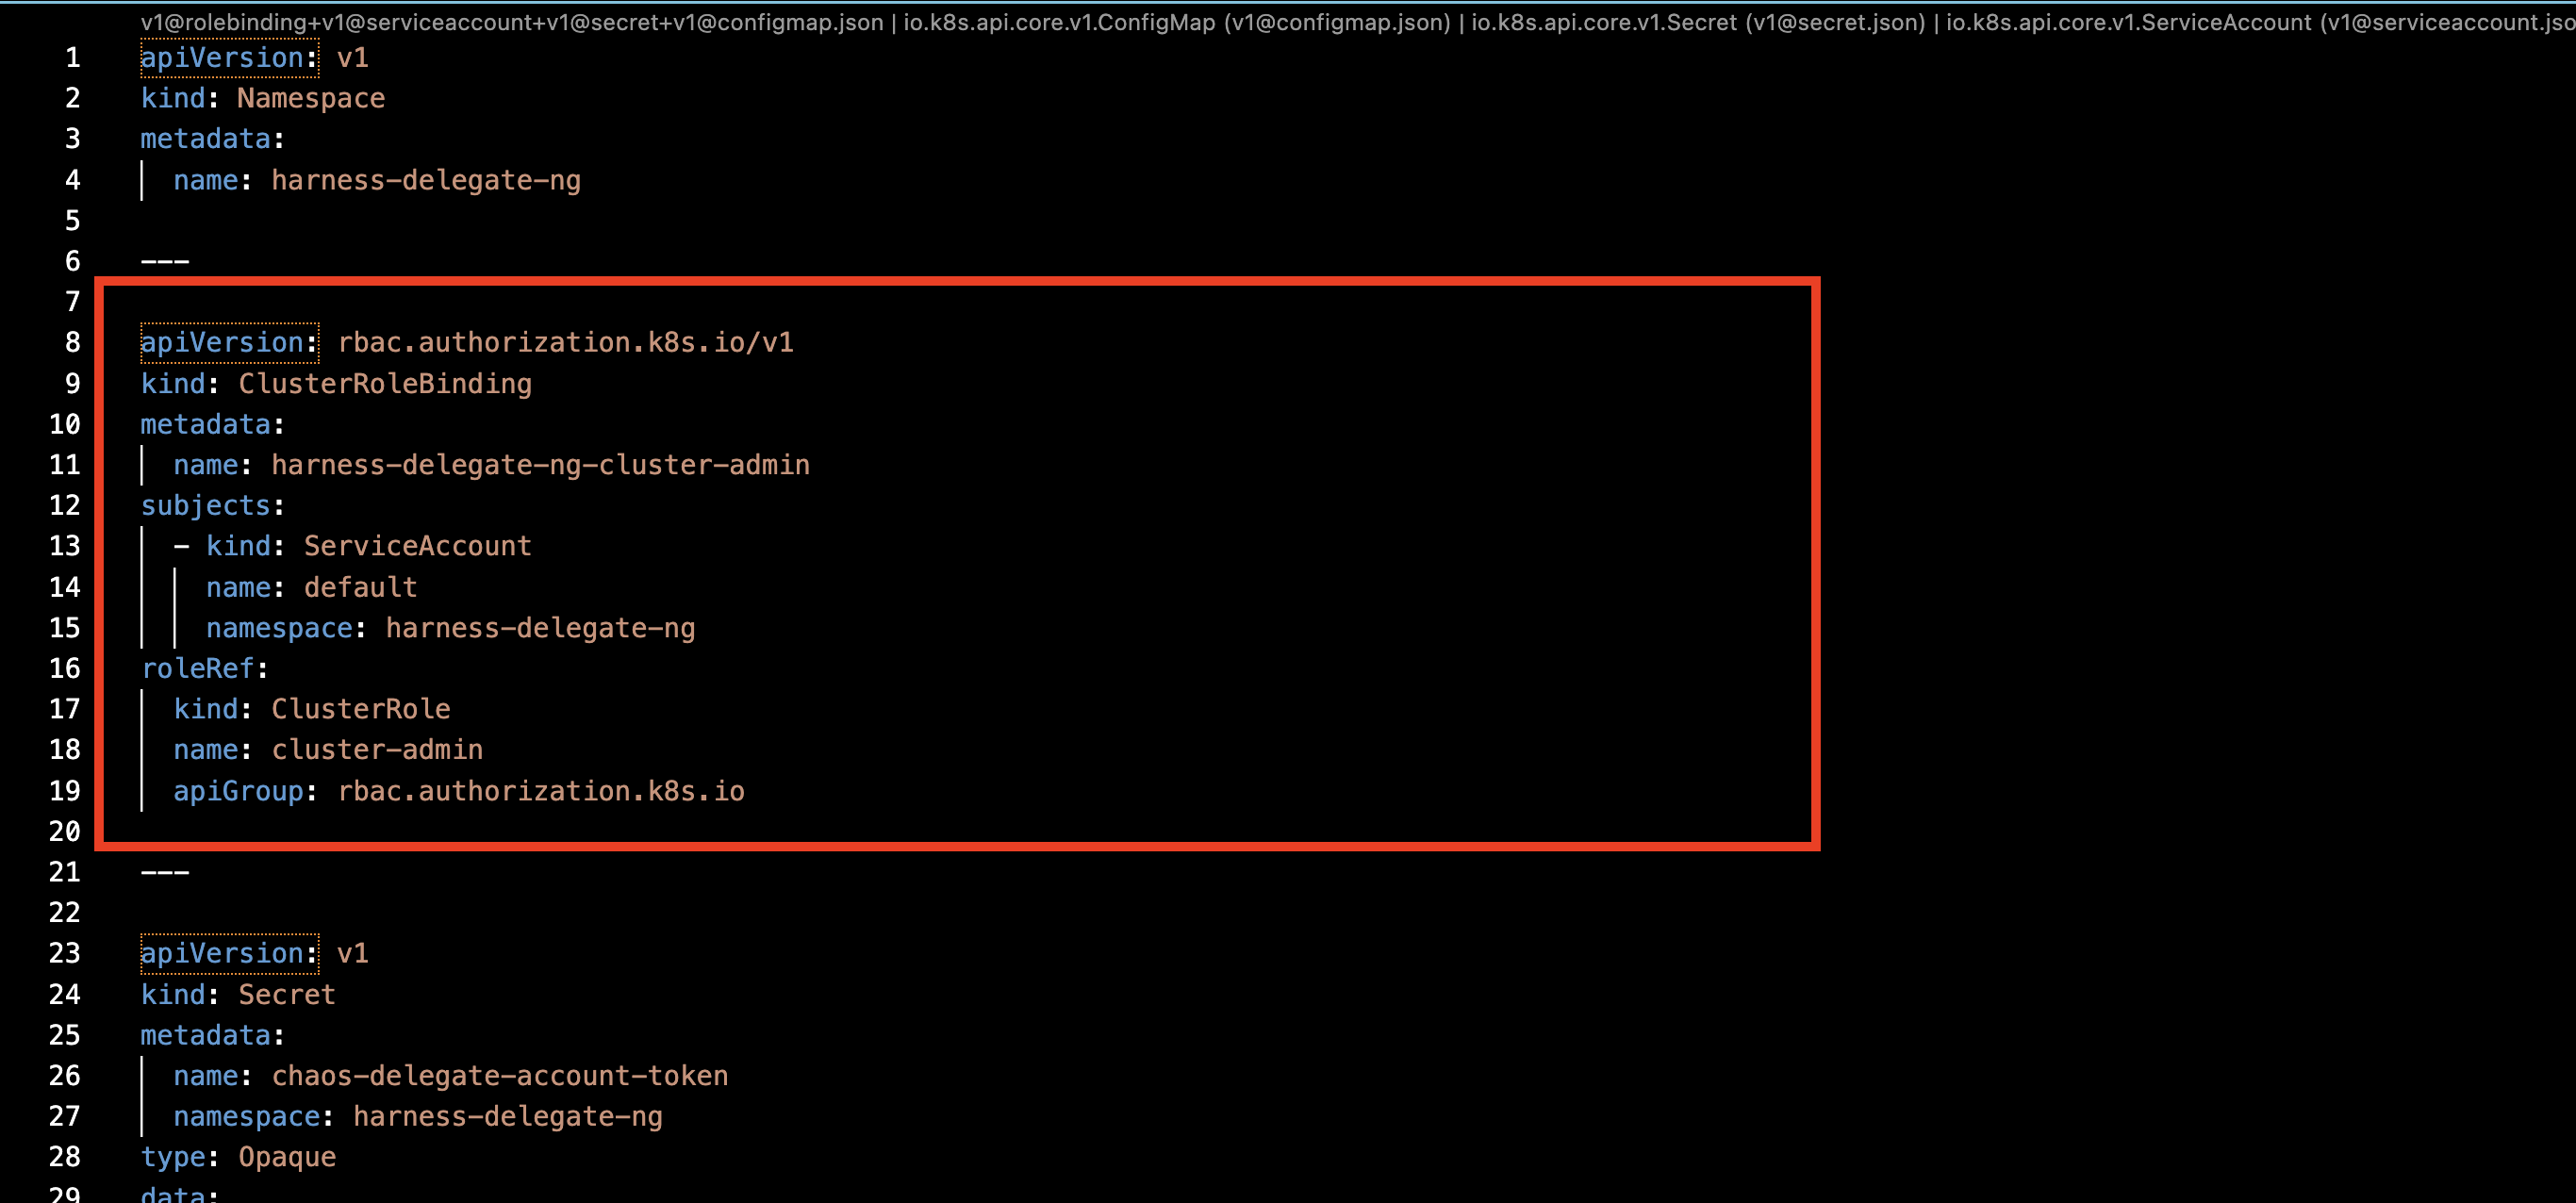
Step 2. Remove the cluster role binding from the Delegate manifest
Edit the Delegate Helm values (or YAML manifest) and remove the ClusterRoleBinding whose roleRef.name is cluster-admin. In the default Helm chart this resource is named <delegate-name>-cluster-admin. Removing it stops the Delegate from inheriting cluster-wide privileges.
Step 3. Create a new service account for the Delegate
Create a service account in the dedicated namespace. The Delegate pod will run as this service account.
apiVersion: v1
kind: ServiceAccount
metadata:
  name: chaos-delegate
  namespace: harness-delegate-ng
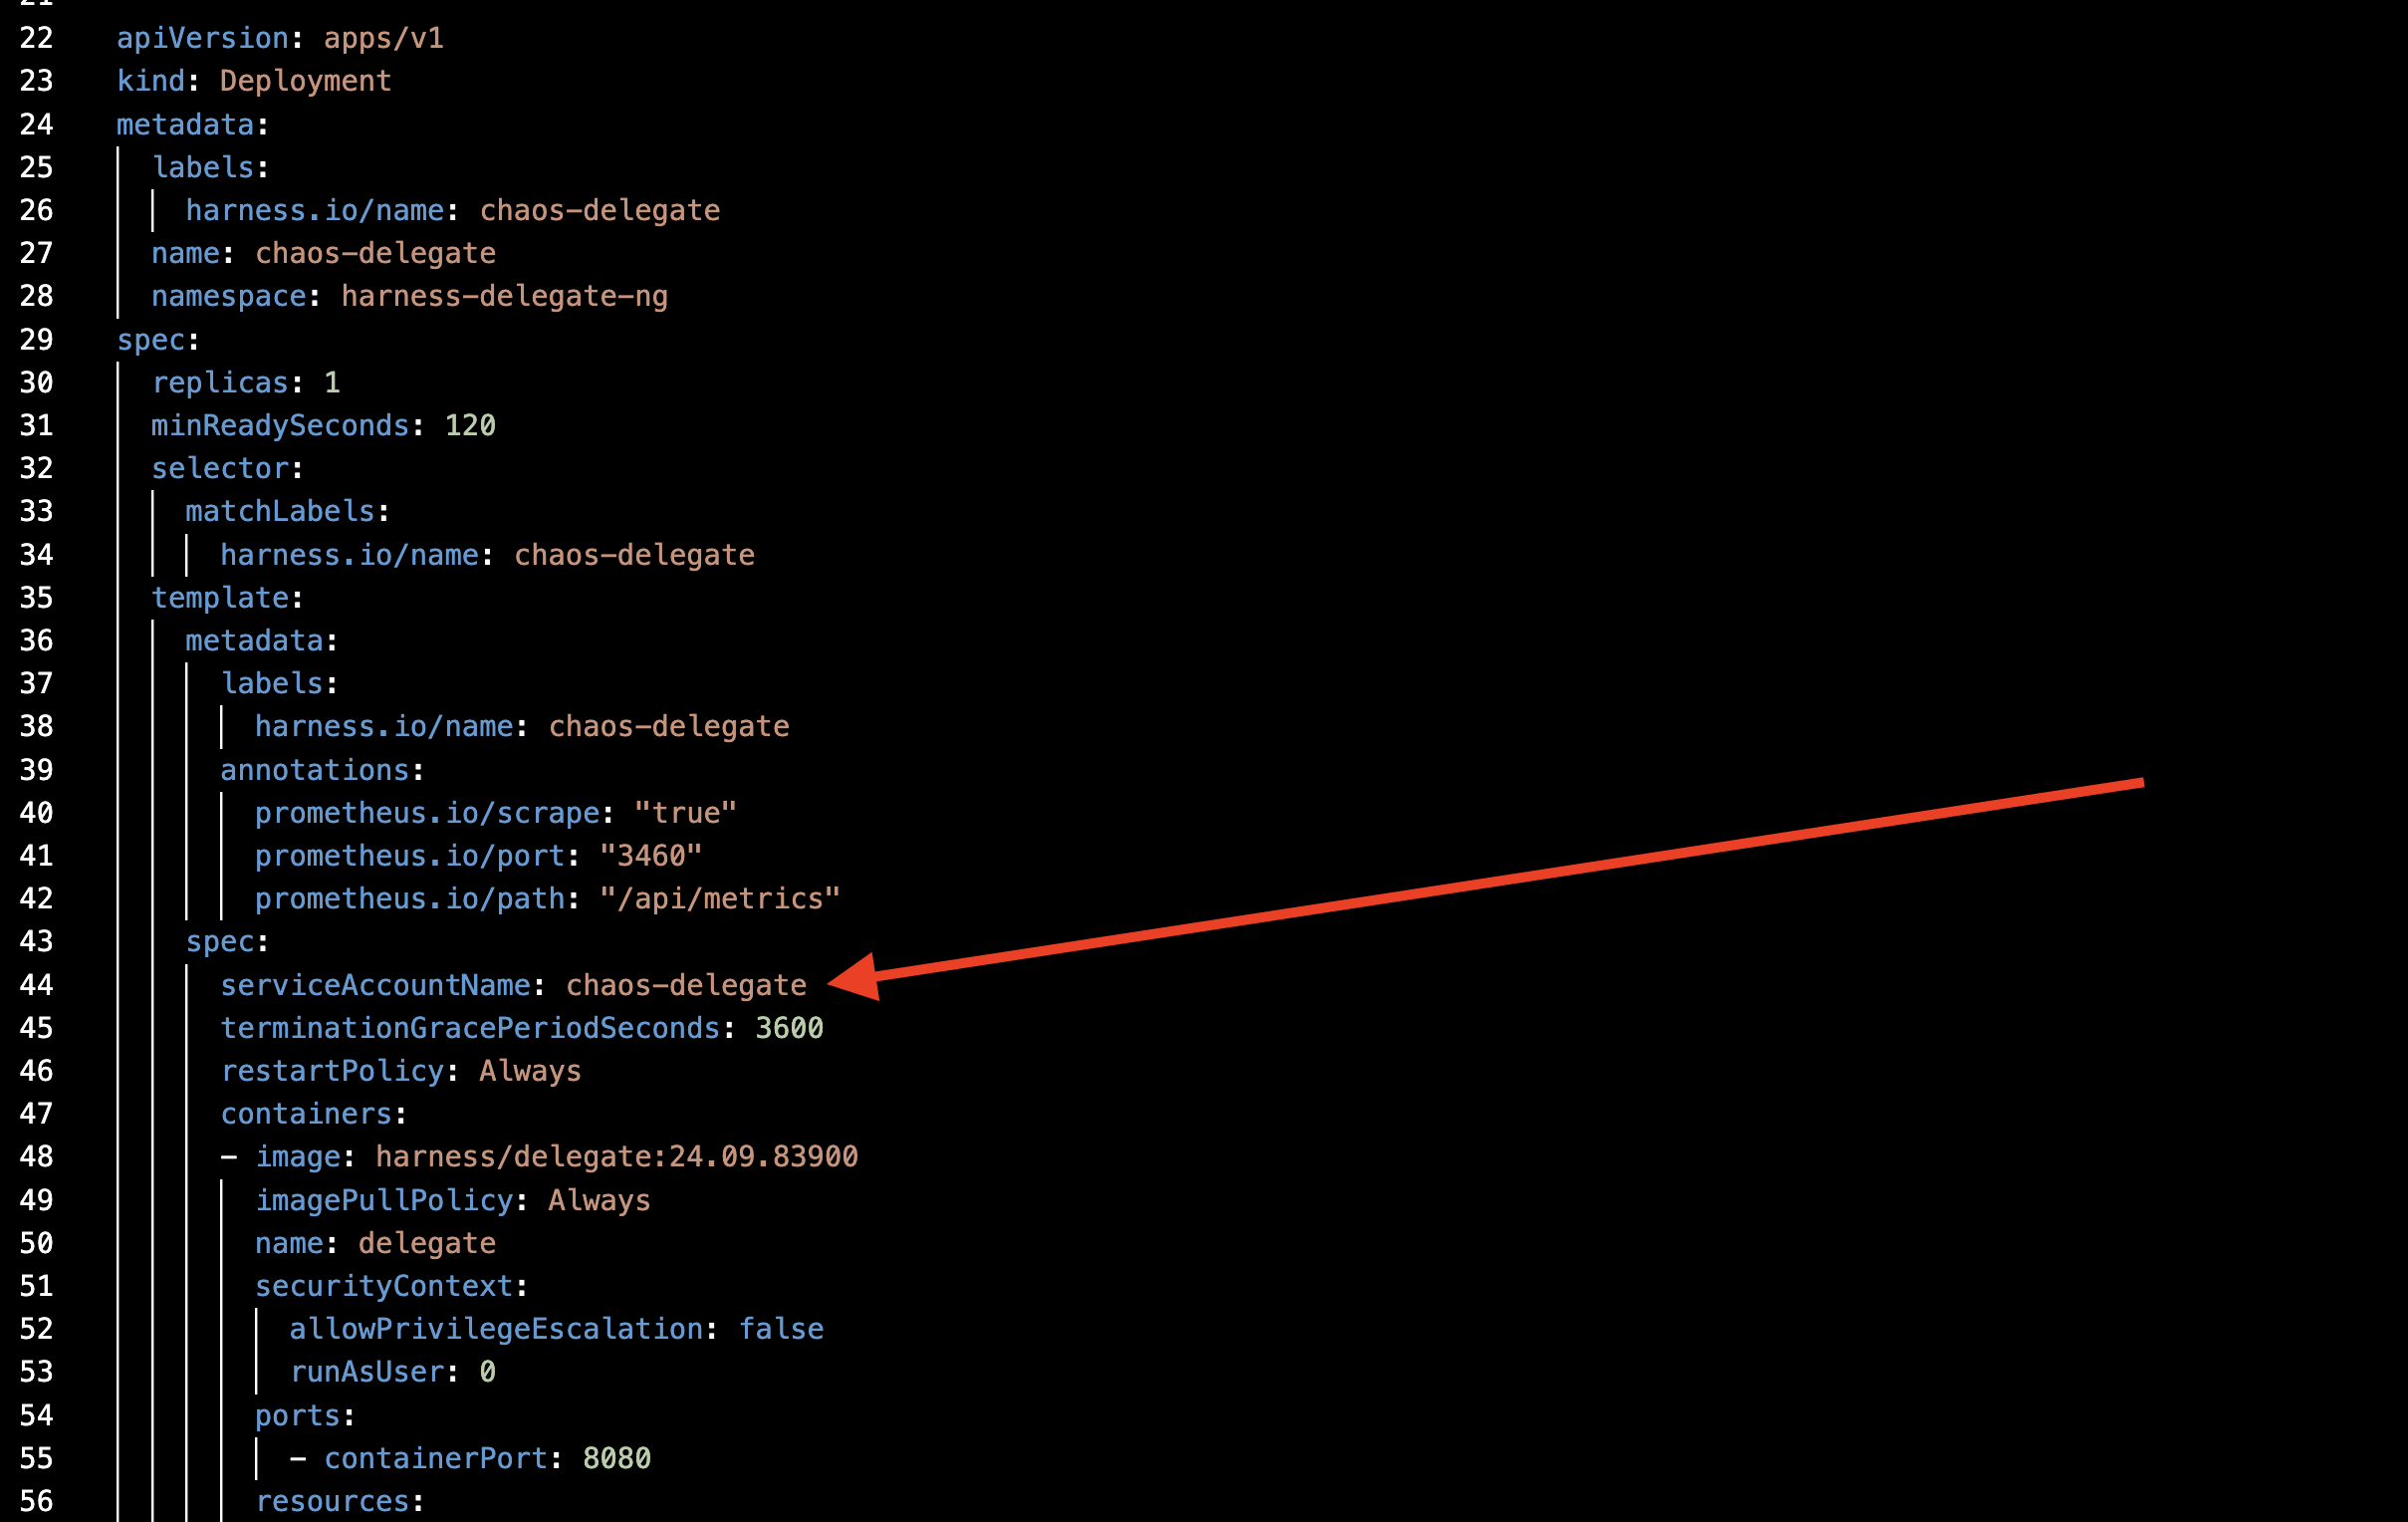
Step 4. Attach the service account to the Delegate
Reference the service account in the Delegate Helm values or manifest.
Step 5. Apply chaos RBAC
Apply the Dedicated delegate approach (Delegate in target cluster) manifest set from Cluster permissions → Example RBAC manifests. The set contains:
- A namespace
RoleandRoleBindingso the Delegate can manage chaos runner pods insideharness-delegate-ng. - A
ClusterRole(chaos-clusterrole) with the discovery and chaos permissions the runner needs. - Either a
ClusterRoleBinding(chaos can target any namespace) or per-namespaceRoleBindings (chaos can target only onboarded namespaces).
The manifests assume chaos-delegate as the service account and harness-delegate-ng as the namespace. Adjust both if you used different names in Steps 1 and 3.
- Bind to all namespaces with a
ClusterRoleBinding. Easier to manage; less precise. - Bind to specific namespaces with one
RoleBindingper application namespace. Explicit per-app onboarding.
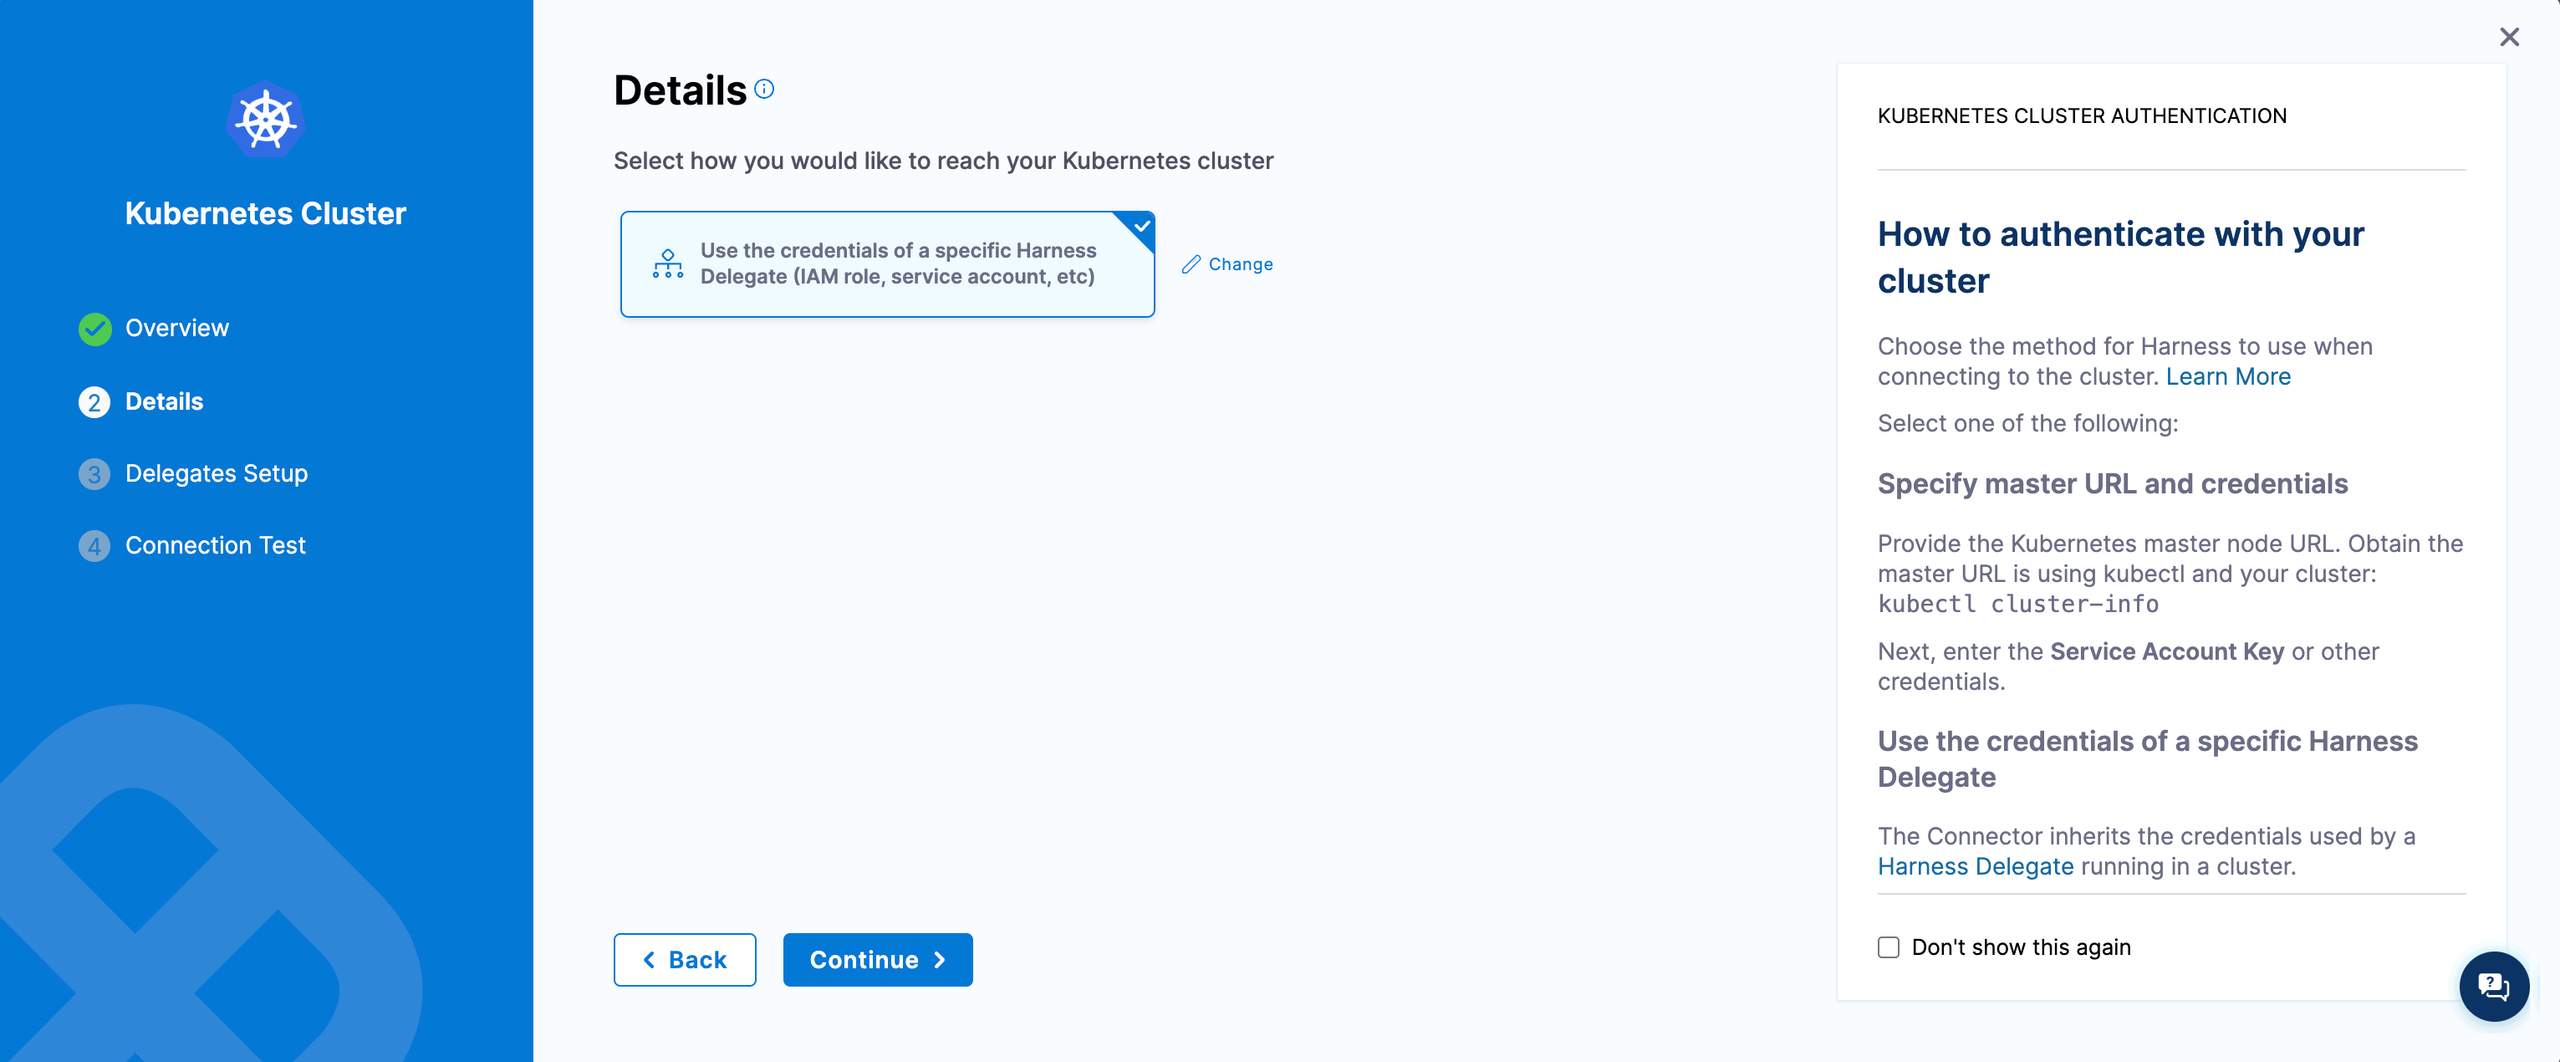
Step 6. Create a Kubernetes connector that uses Delegate permissions
In Harness, create a Kubernetes Direct Connection connector that authenticates via the Delegate's own credentials. The Delegate's service account drives the connection.
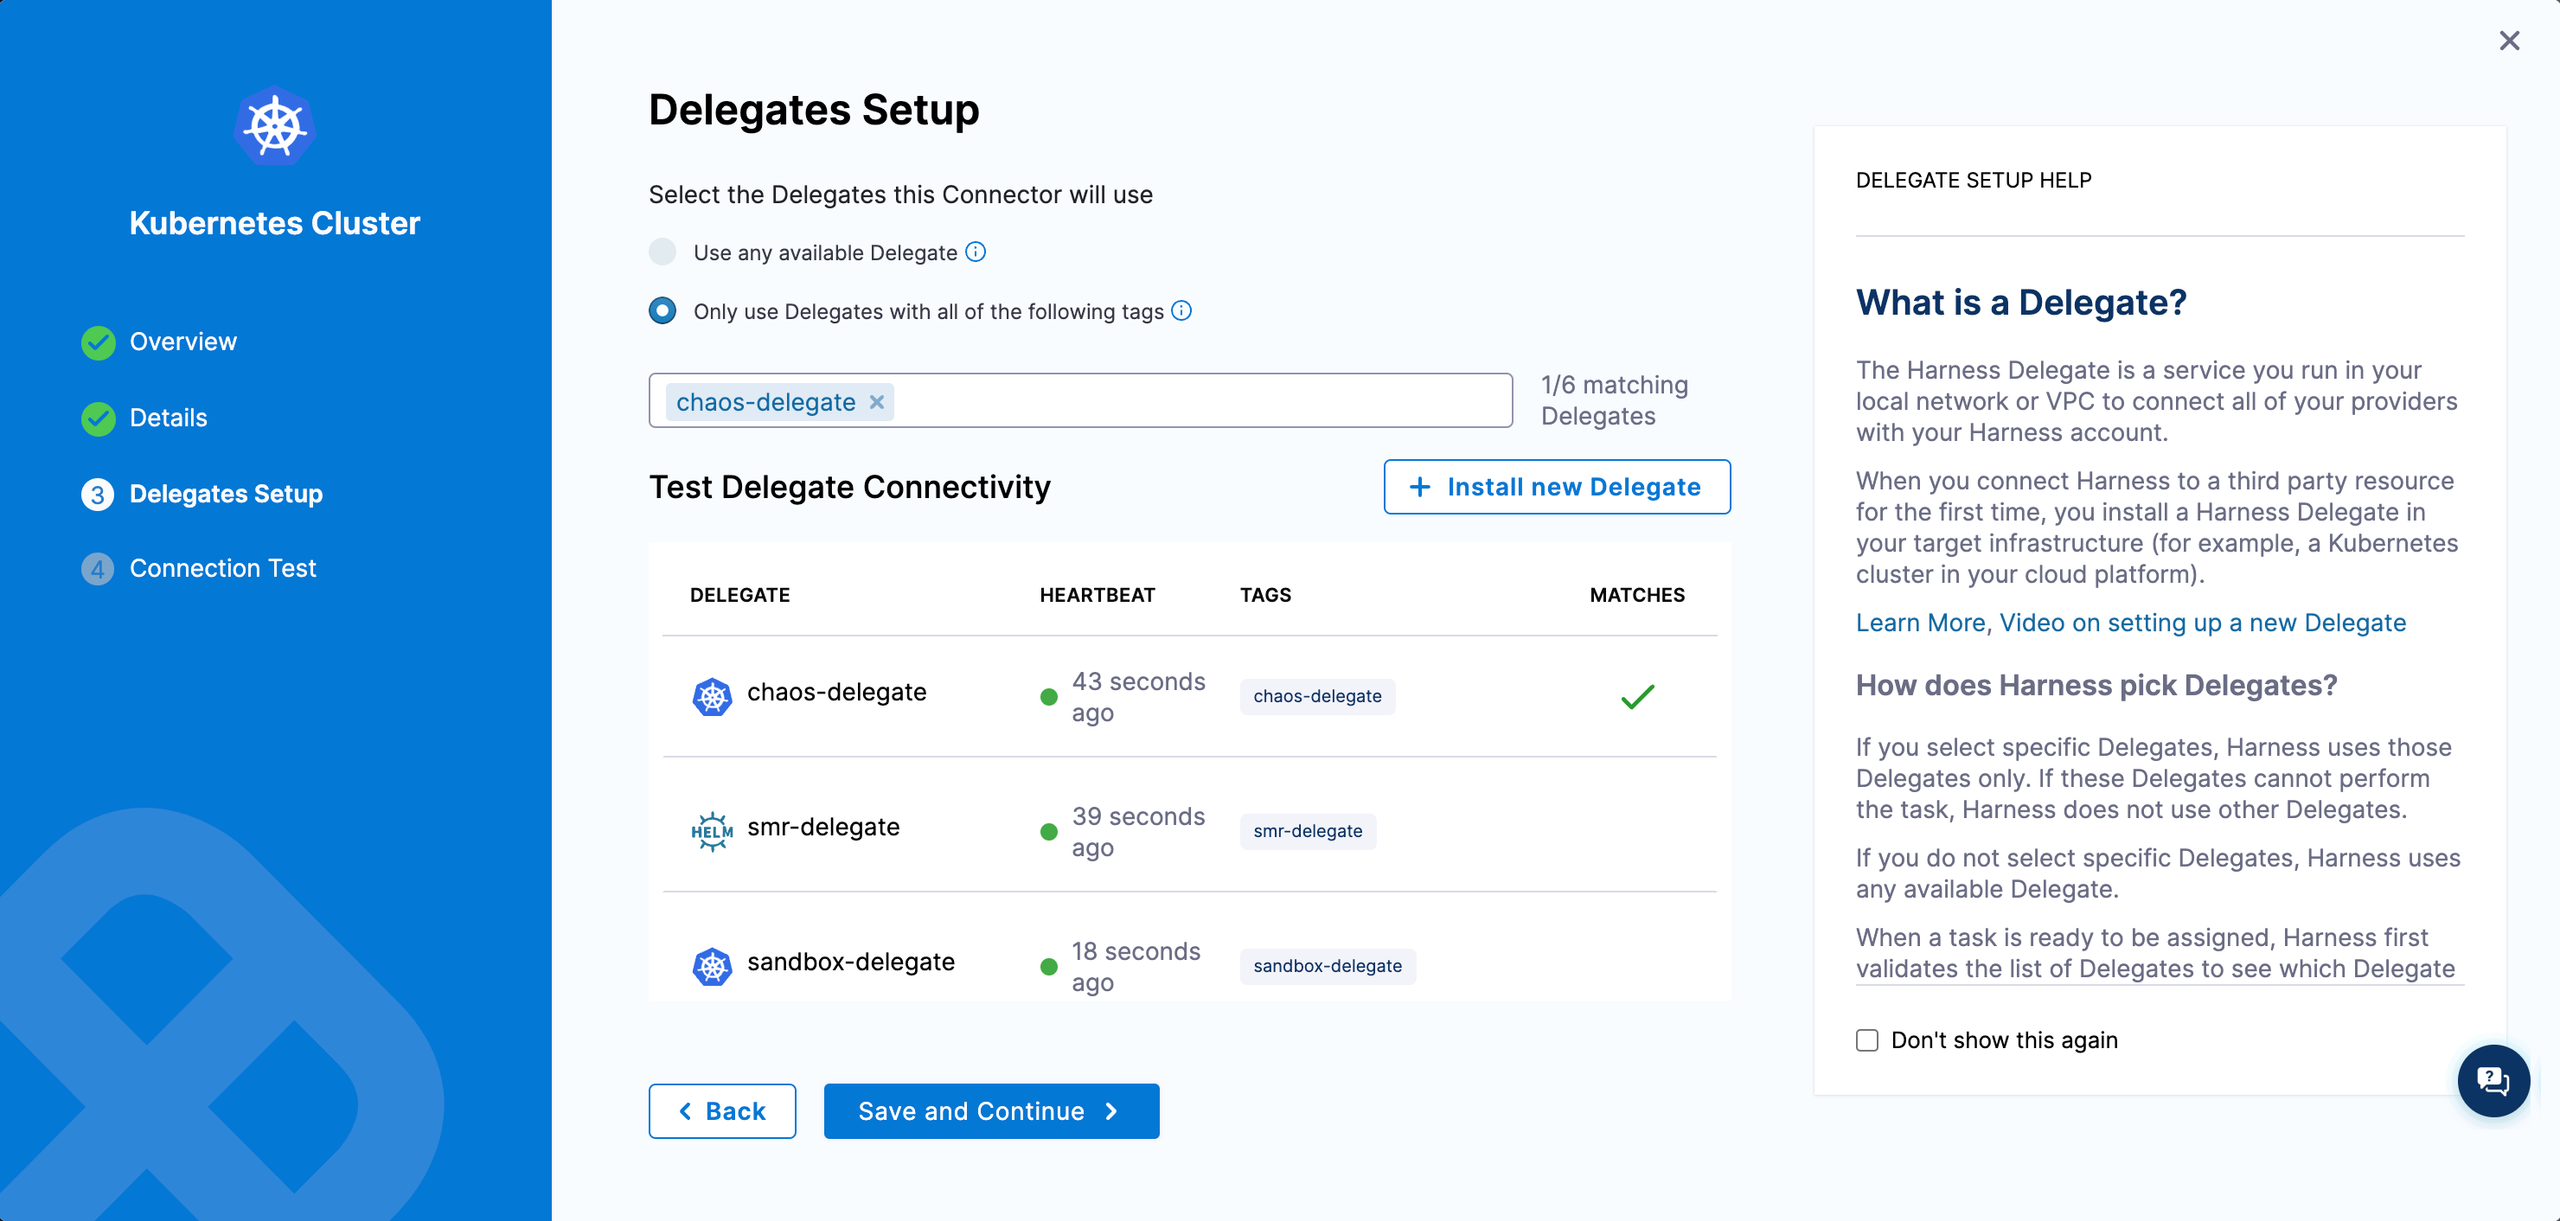
Step 7. Create the Kubernetes infrastructure
Create the chaos infrastructure using the connector from Step 6. The form fields are identical to the Basic install flow.
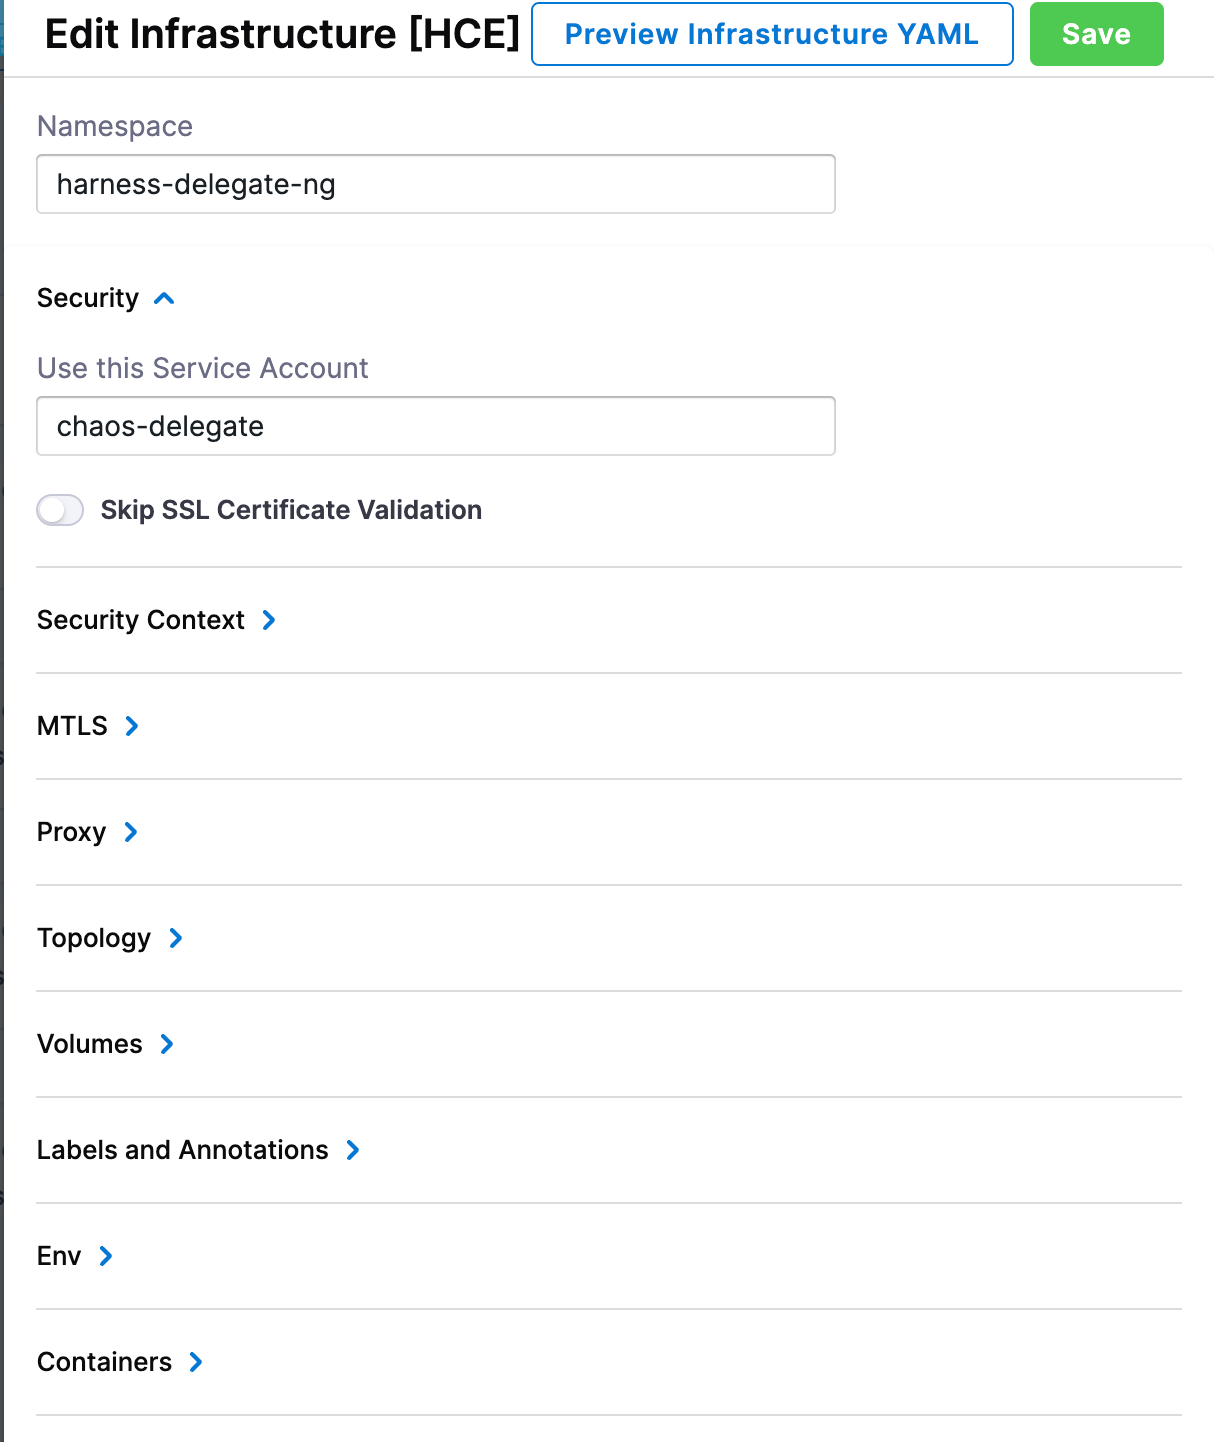
Step 8. Edit the infrastructure to use the dedicated namespace
After saving, open the infrastructure and edit it so the chaos runner is created in harness-delegate-ng (the namespace where the Delegate runs) using the chaos-delegate service account. This ensures the runner picks up the namespace-scoped Role from Step 5.