Connect with Jira Cloud
Jira is a proprietary issue-tracking product that allows bug tracking and agile project management. You can connect Harness SEI to Jira using a Harness Jira integration.
Authenticate with Jira
Before you configure the SEI Jira integration, create a classic API token without scopes for a Jira Cloud user account. For more information, see the official Jira documentation.
The user creating the token must have the Browse Projects, View Aggregated Data, Browse Users, and User Picker permissions for all projects that you want Harness AIDI to track and search issues within relevant projects.
Use a Jira user account with a classic API token without scopes. Scoped API tokens are not supported.
Service accounts cannot be used to authenticate the SEI Jira integration. The API token must be generated from a standard Jira user account with the required permissions.
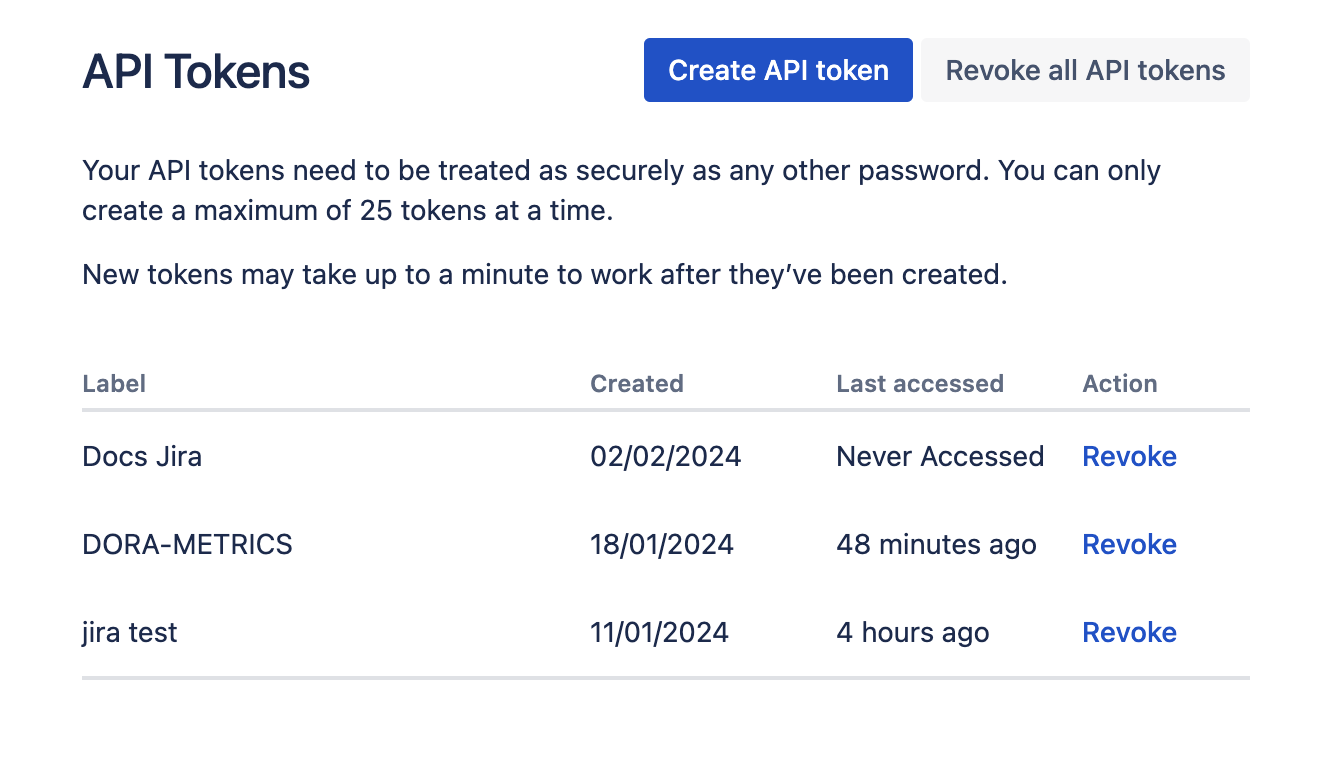
Make sure to copy the token somewhere that you can retrieve it when you configure the integration.
If you have enabled an allow list in your Atlassian account, certain Harness IP addresses must be added to it in order to allow communication between the Harness Platform and Atlassian. If the necessary IPs are not whitelisted, the integration may fail to authenticate or sync data properly.
To ensure your integration can work correctly, refer to the list of Harness Platform IPs that may need to be whitelisted in your firewall.
Add the Jira by Atlassian integration
To integrate with Jira Cloud in Harness AIDI:
-
From the SEI navigation menu, navigate to Account Management > Integrations under Data Settings.
-
Navigate to the Available Integrations tab, locate the Jira by Atlassian integration, and click Add Integration.
-
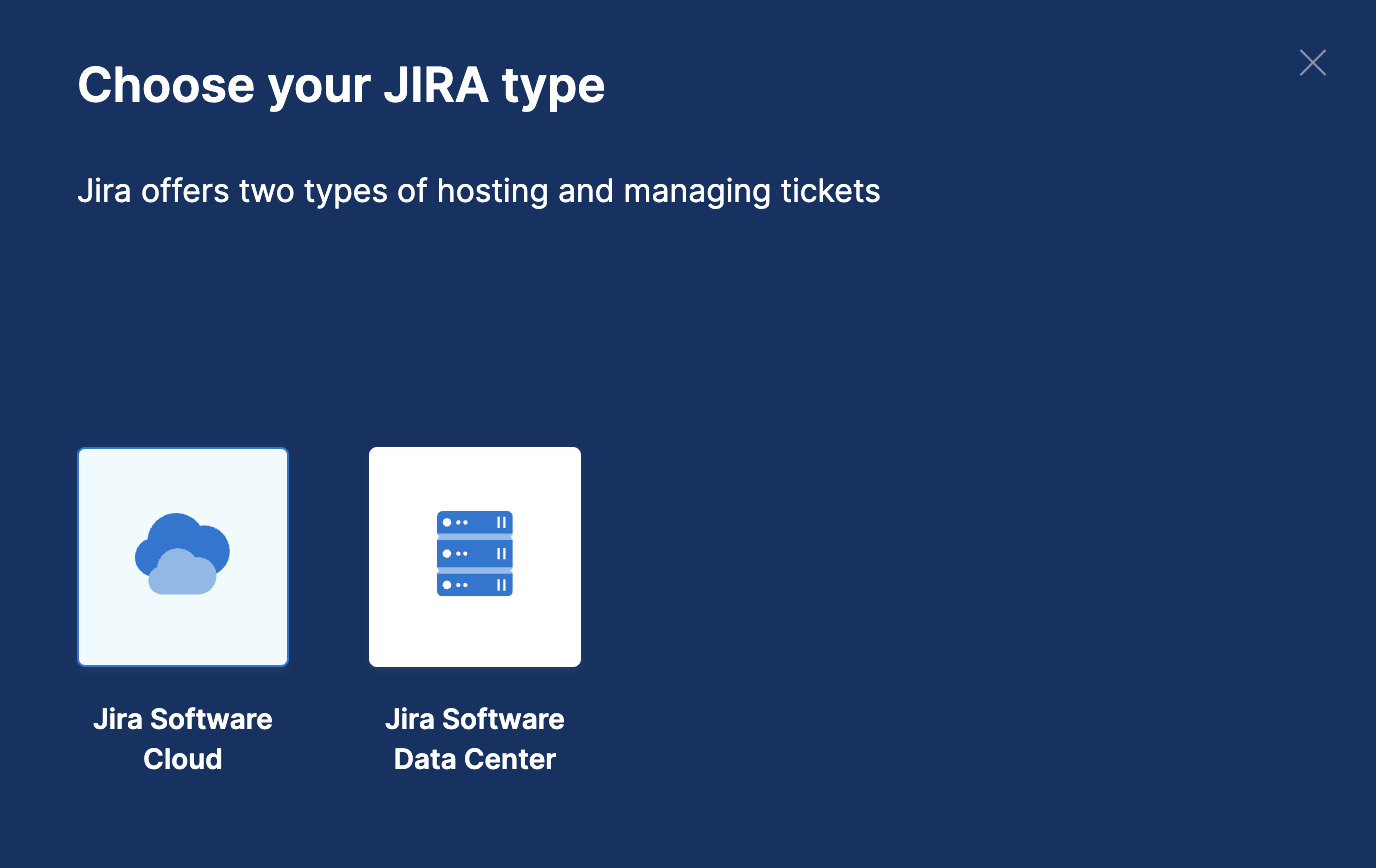
Select a Jira type: Jira Software Cloud or Jira Data Center.
-
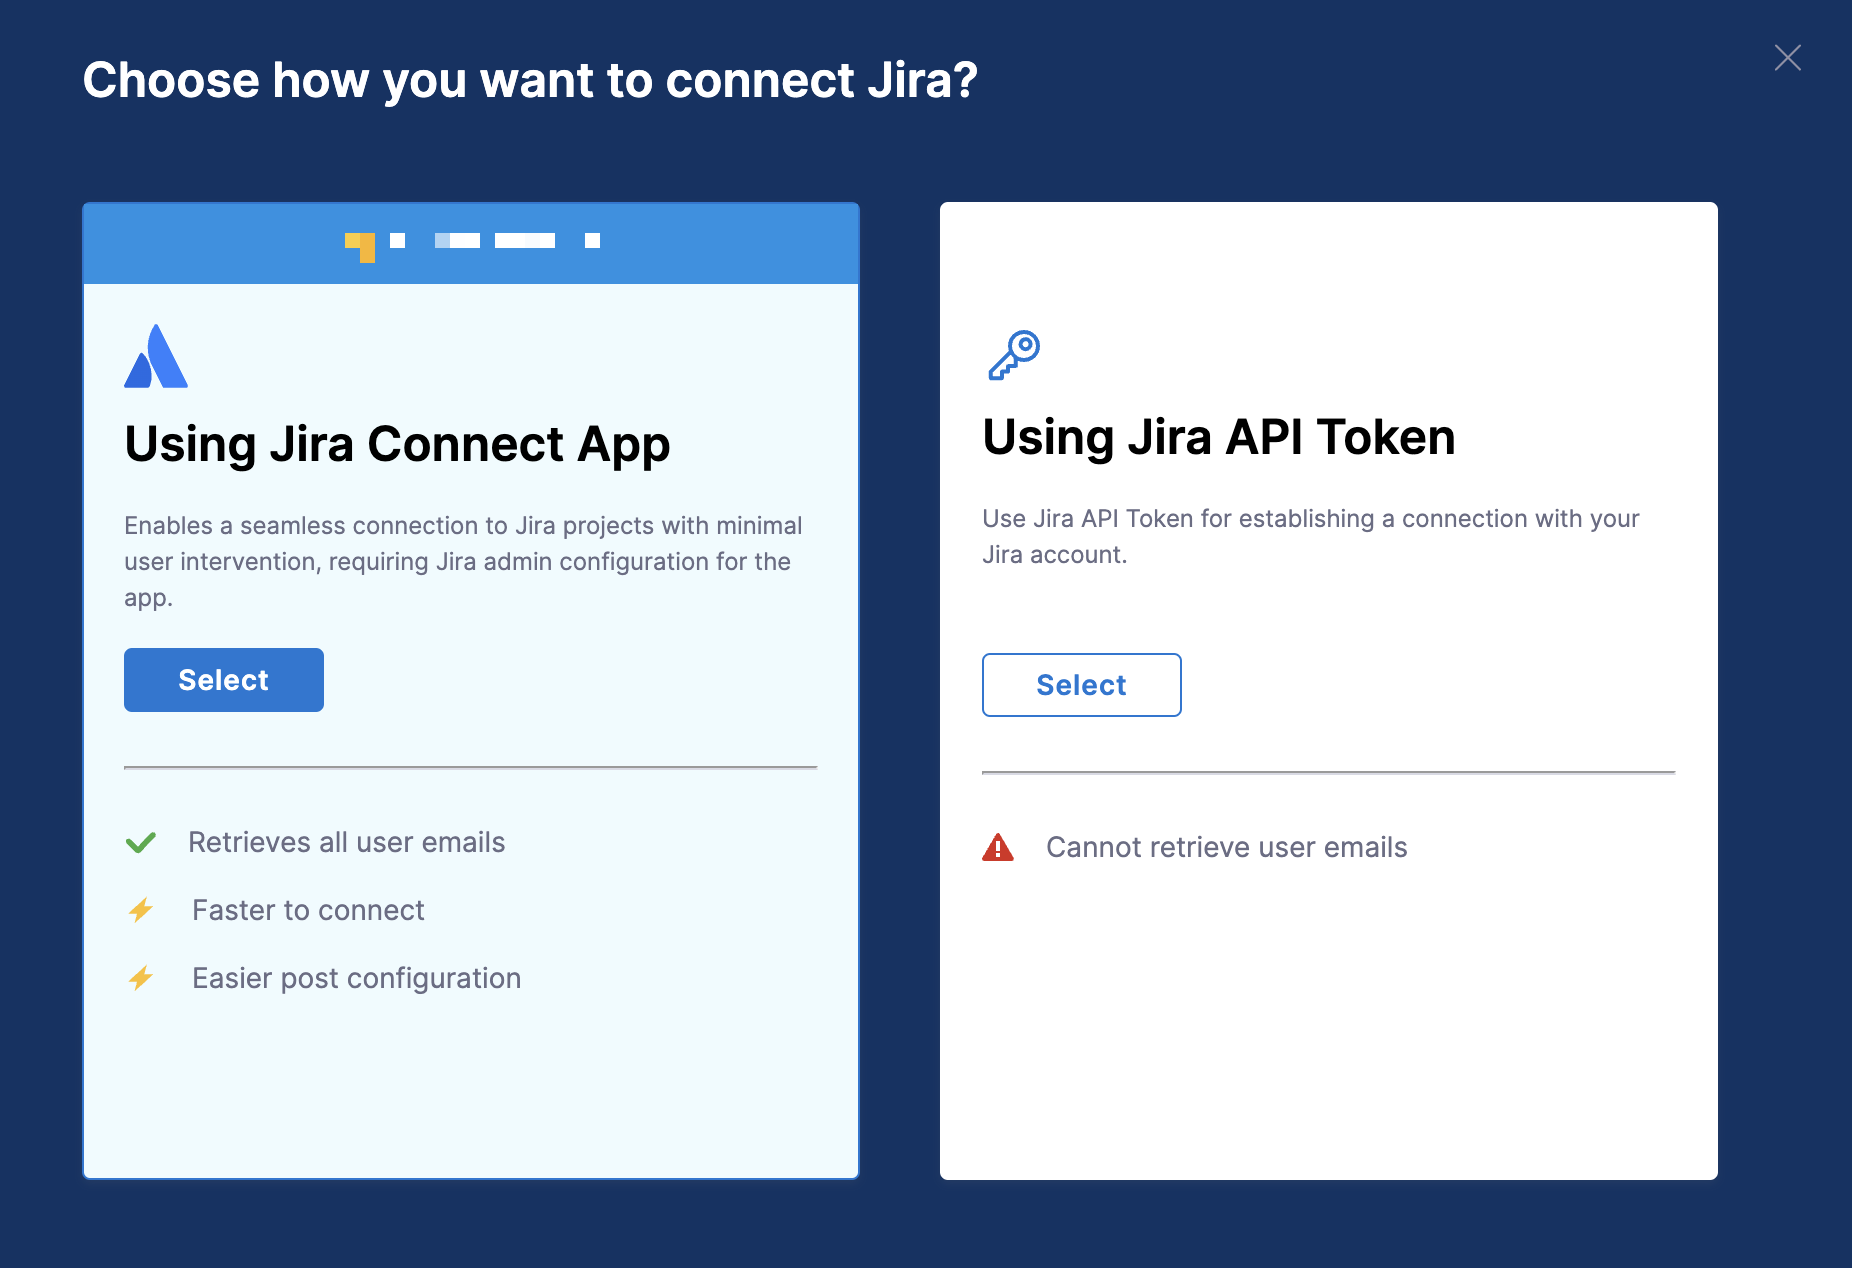
If you select Jira Software Cloud, you can click Using Jira API Token or Using Jira Connect App (deprecated).
Using Jira API TokenHarness recommends using token-based authentication to integrate Jira Cloud with Harness AIDI. The Jira Connect App–based integration has been deprecated and should only be used for existing setups.
- Using Jira API Token
- Using Jira Connect App (Deprecated)
The Using Jira Connect App method is no longer supported. You can re-authenticate the Jira Cloud integration by using a classic unscoped API token. Scoped API tokens are not supported.
The token must be created for a Jira user account. The user account must have the Browse Projects, View Aggregated Data, Browse Users, and User Picker permissions to be able to read/search issues and access all Jira projects you want Harness AIDI to track. Service accounts are not supported.
To set up the integration using a Jira API token:
-
Select the Using Jira API Token tile to set up the connection with Jira.
-
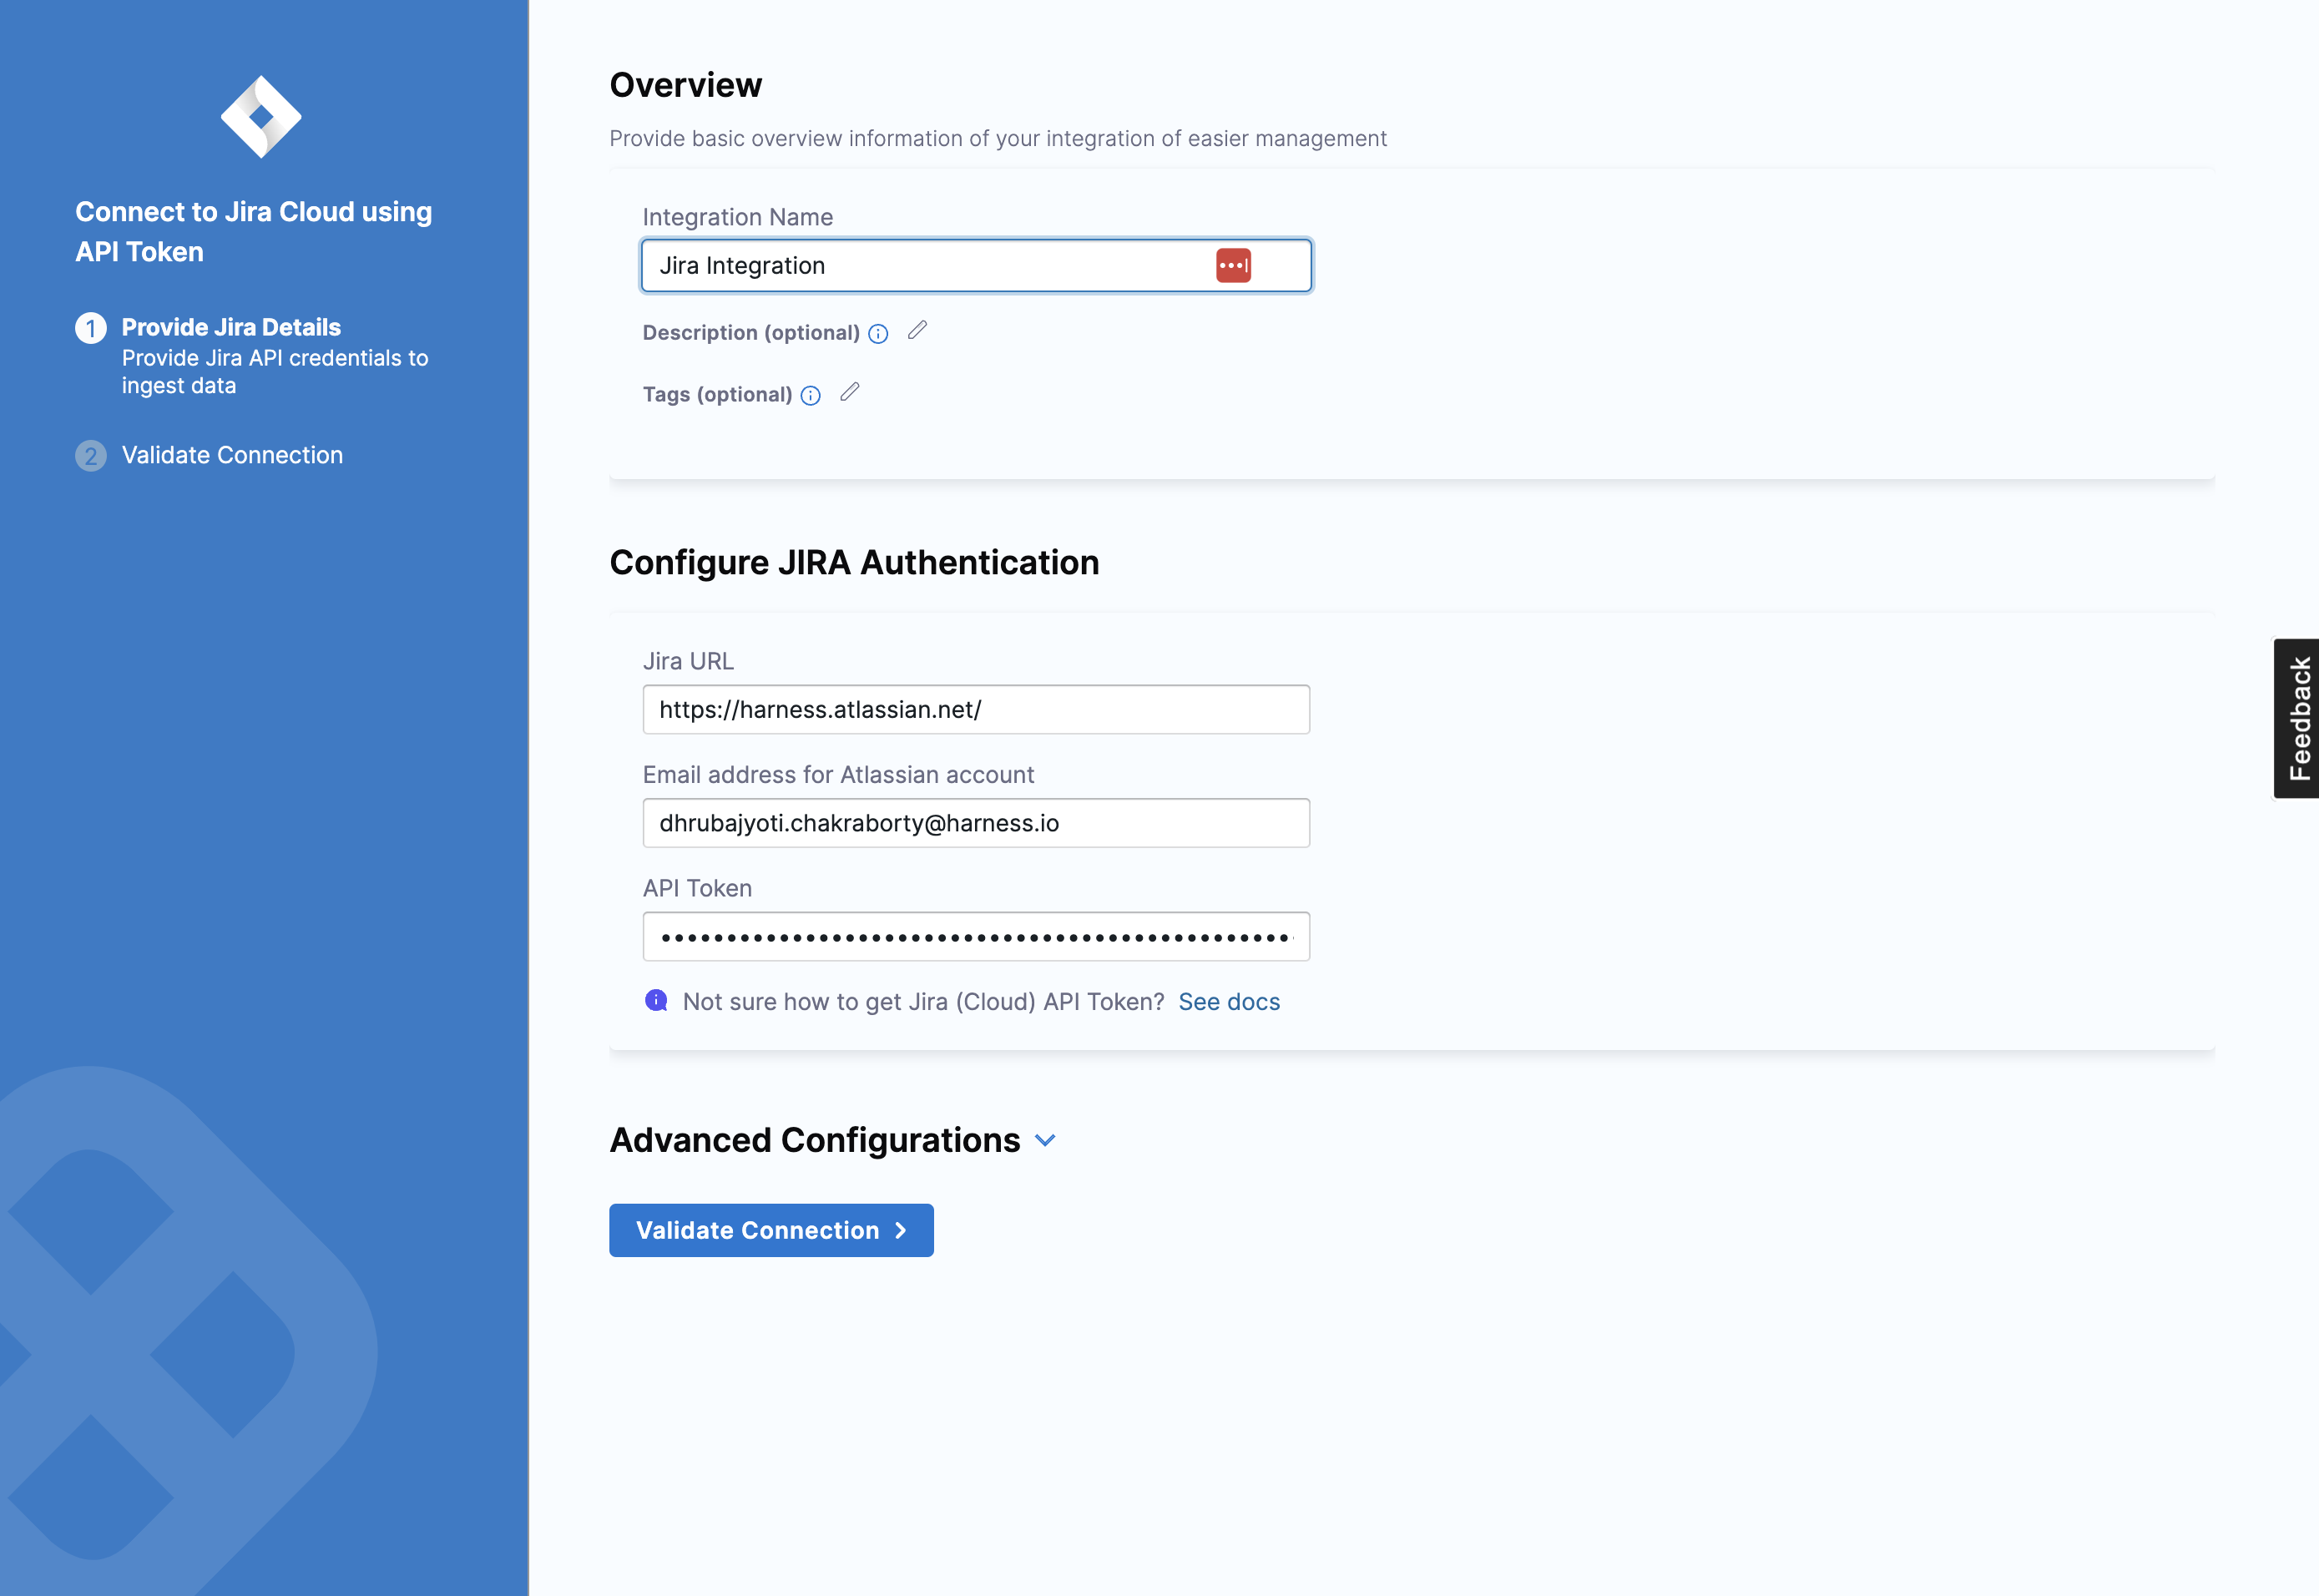
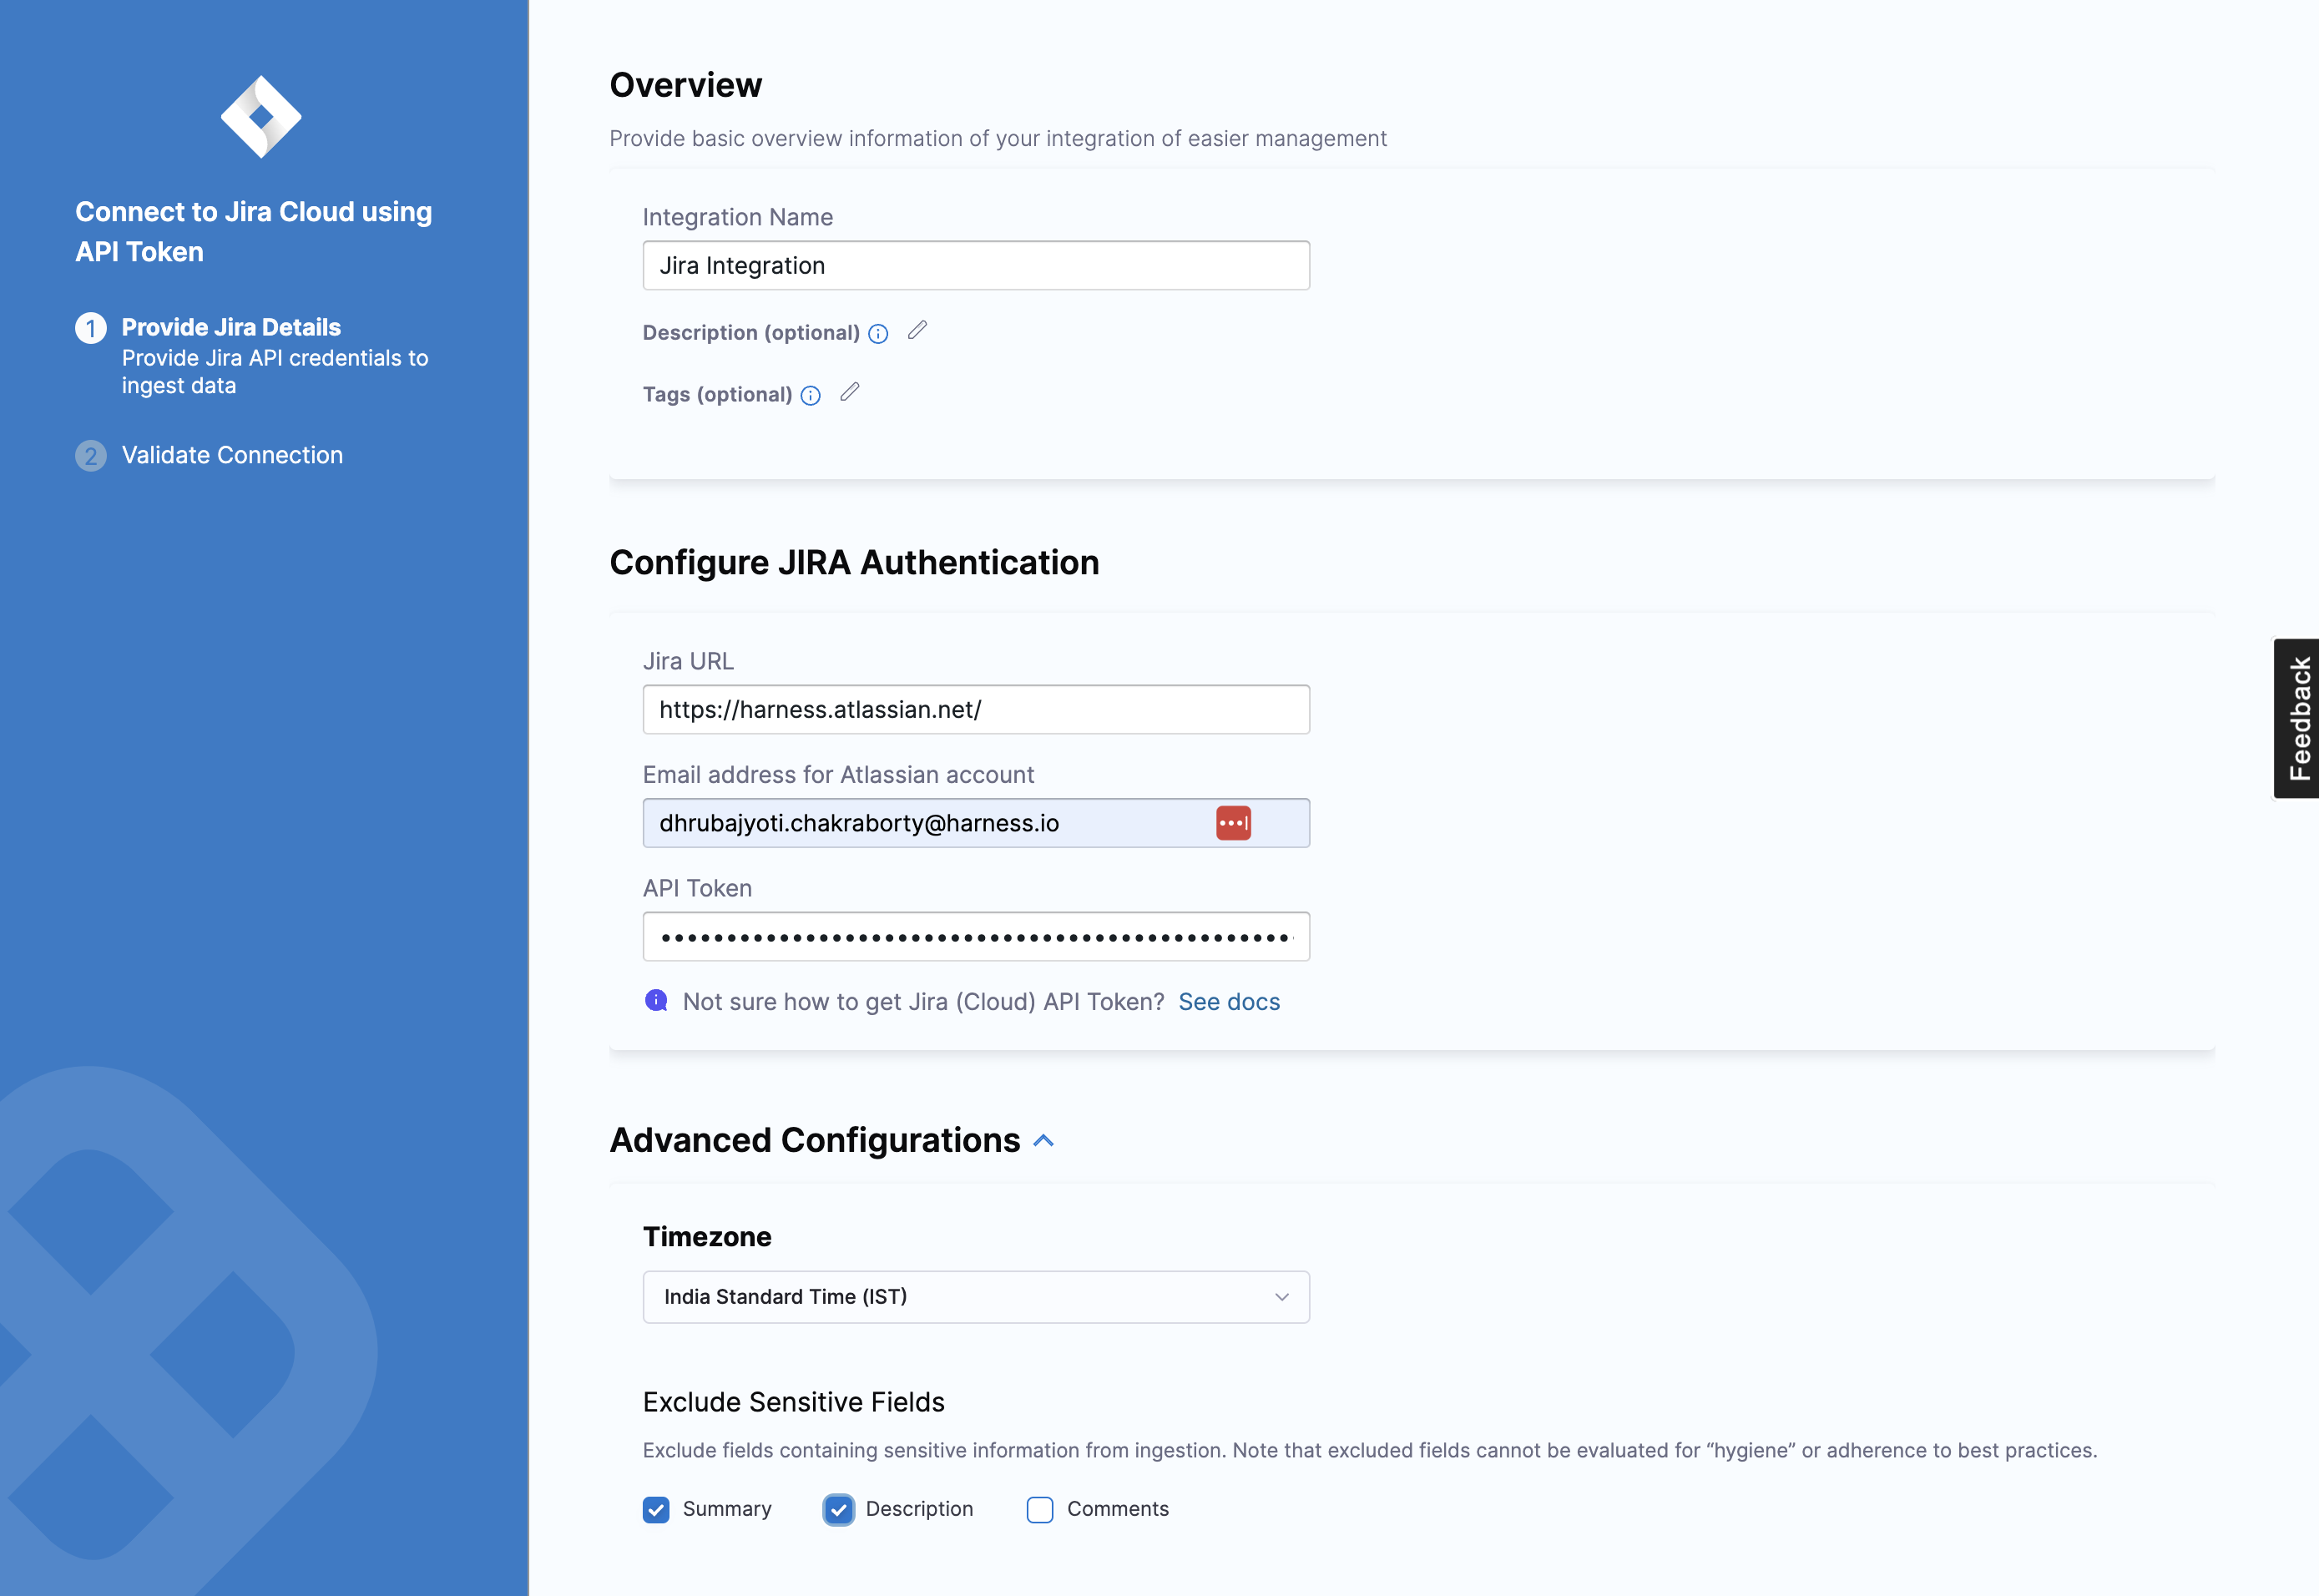
Configure the integration settings in the Overview section:
- Add a name for the integration.
- Optionally, add a description for the integration.
- Optionally, add tags for the integration.
-
Click Next.
-
Provide the Jira Cloud credentials in the Configure Jira Authentication section:
-
Add the URL of your Jira integration instance, for example,
"https://organization.atlassian.net". -
Enter the email address associated with your Atlassian user account.
-
Provide the API token generated for that account.
-
-
Click Validate Credentials.
-
Configure the advanced integration settings if required:
-
Select your preferred Time Zone from the available options.
-
Choose the fields you wish to exclude from ingestion.
You might exclude fields containing sensitive information such as Summary, Description, and Comments. Excluded fields will not be evaluated for hygiene or adherence to best practices.
-
-
Click on Validate Connection to validate the connection, and once successful, you'll have the integration set up under the Your Integrations tab.
Jira Connect App is no longer supported. For existing organizations using the Jira Connect App method, see the Using Jira API Token tab to re-authenticate Jira Cloud with a token-based integration.
The Jira Connect App facilitates a seamless connection to Jira projects with minimal user intervention, requiring Jira admin configuration for the app.
Using the Jira Connect App allows you to retrieve all user emails from Jira, making it faster and easier to connect and manage the integration.
The following permissions are required to configure the Jira Connect App integration:
- View email addresses of users: This permission allows the integration to access and view the email addresses of users within the Atlassian account.
- Read data from the application: This permission allows the integration to read data from the Atlassian account, such as data from Jira tickets, Jira projects etc.

To set up the integration using the Jira Connect App:
-
Select the Jira Connect App tile to set up the connection with Jira.
-
In the Jira Connect App settings page, add the basic overview information:
-
Integration Name: Name for your integration.
-
Description (optional): Add a description for the integration.
-
Tags (optional): Add tags for the integration if required.

-
-
Install the Jira Connect App. To do this, follow these simple steps:
-
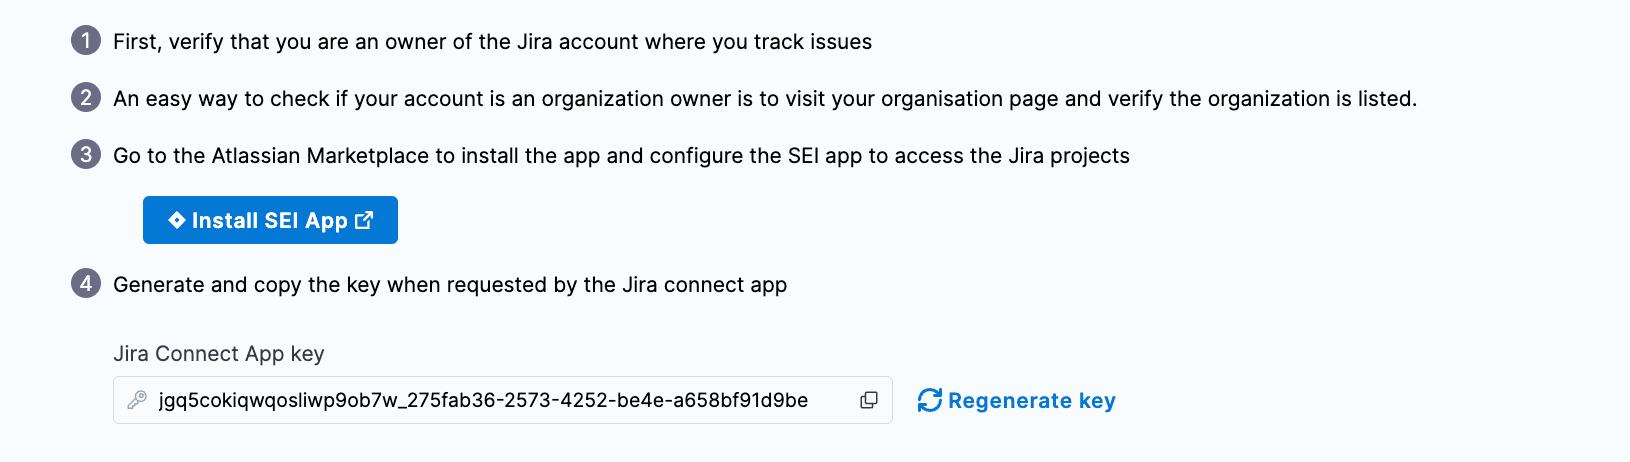
Verify that you are an owner of the Jira account where you track issues. An easy way to check is to visit your organization page and verify that the organization is listed.
-
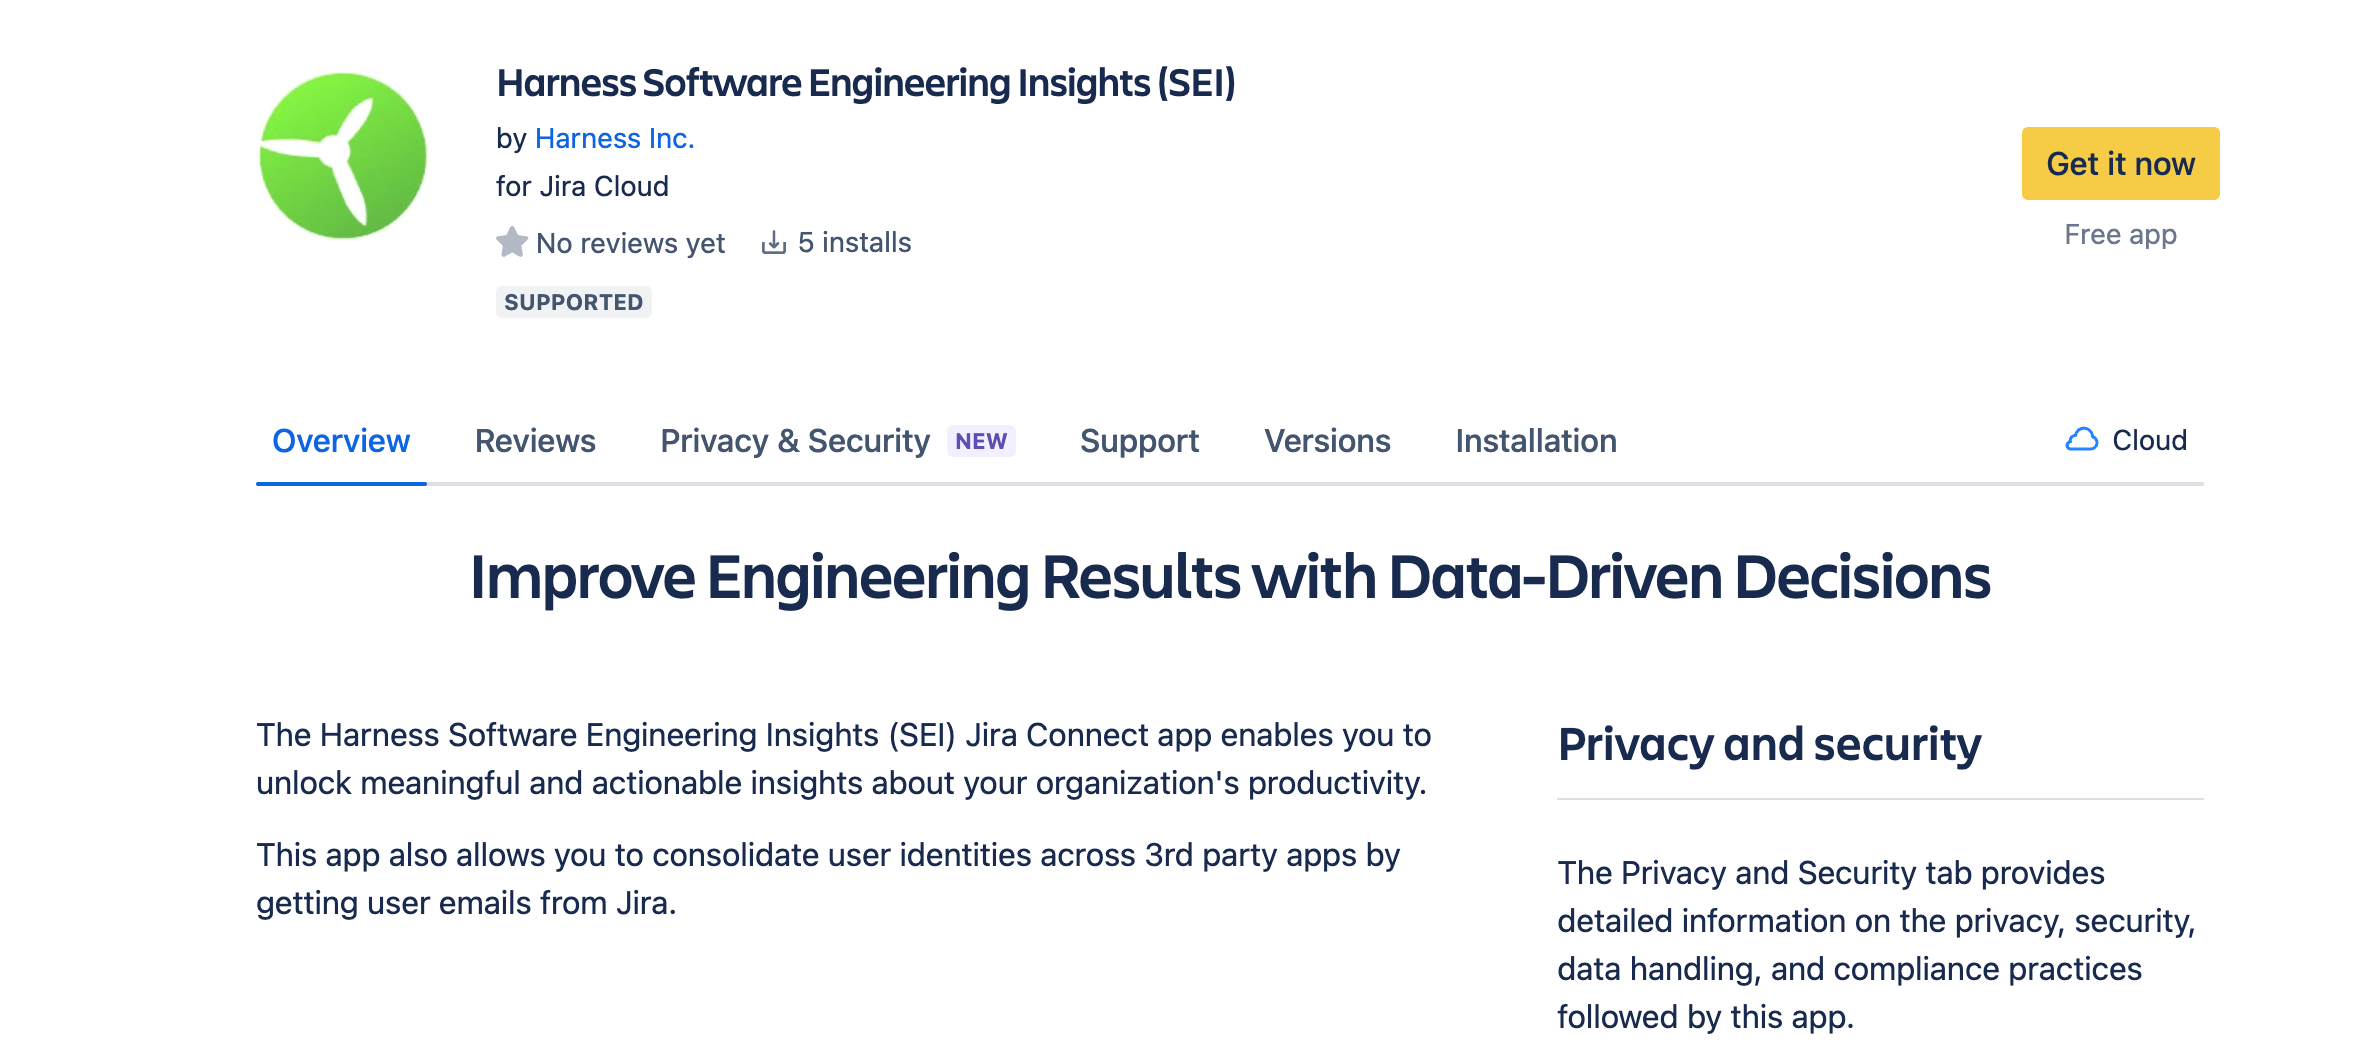
Go to the Atlassian Marketplace to install the app and configure the SEI app to access the Jira projects.
-
Install the App.
-
Generate and copy the Jira Connect App key in the SEI integration configuration settings.
-
Go back to the Jira Connect App you just installed.
-
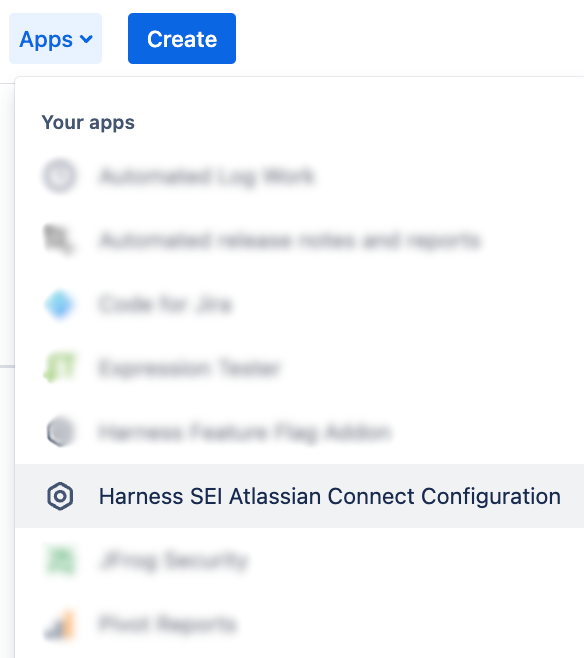
Select Apps on the header (beside Create button)

-
Select Harness SEI Atlassian Connect configuration from the dropdown menu.
-
Paste the Harness SEI OTP key.
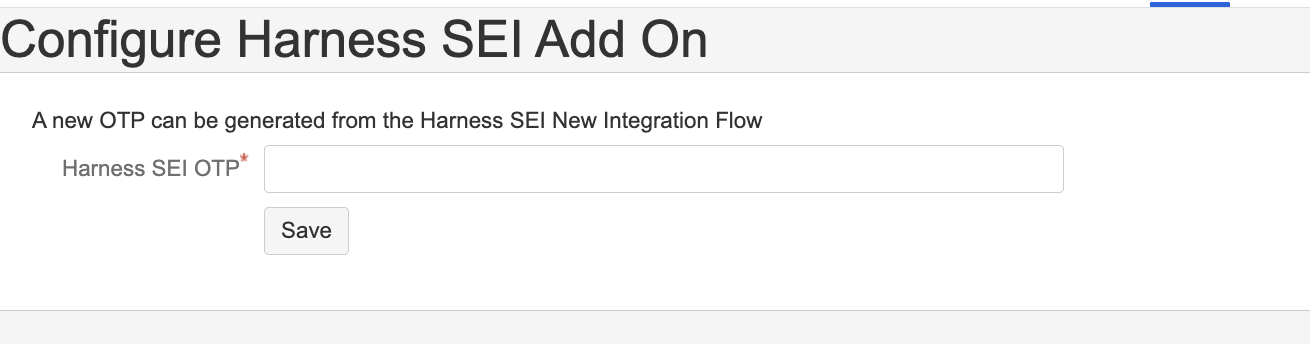
tipThe key expires after 10 minutes, so generate a new key if the current one expires.
-
-
Click Validate Connection to validate the connection, and once successful, you'll have the integration set up under the Your Integrations tab.
After adding an integration, it may take up to 24 hours for the data to reflect in Harness SEI. This means that any widgets you configure on the Insights page using this integration may not display data until the synchronization is completed.
FAQs
What happens to Jira tickets that are deleted after being synced to Harness SEI?
If you delete a Jira ticket, it will still appear in Harness SEI and continue to count toward metrics until you request that it be manually hidden or removed. To remove or hide deleted tickets, contact Harness Support.