Connect with ServiceNow
The SEI ServiceNow integration is currently in BETA and is accessible behind the Feature Flag <SEI_SERVICENOW>. Please contact Harness Support to enable this feature.
ServiceNow is used to set up systems that define, manage, automate and structure IT services for companies. You can use the SEI ServiceNow integration to integrate SEI with ServiceNow Cloud and ServiceNow On-Prem accounts.
This integration allows you to track, manage, and analyze incidents, and change requests in real-time, leading to improved efficiency and enhanced productivity.
Requirements
To connect ServiceNow with Harness SEI, you can choose between two authentication methods:
- Using Username and Password: Use the service account credentials for direct authentication.
- Using OAuth: Use token-based authentication with OAuth credentials.
Ensure the service account has the required credentials and permissions to successfully configure the integration.
- Using OAuth
- Using Username & Password
OAuth Credentials
To configure the integration using OAuth-based authentication, you'll need to generate the following credentials in your ServiceNow instance:
These credentials are essential for secure, token-based authentication between your application and the ServiceNow platform. To generate the credentials, go to Create a Client ID and Client Secret in ServiceNow
Required permissions
When configuring the ServiceNow integration, ensure the service account has the following roles:
- itil: Provides access to IT Service Management (ITSM) functionalities.
- oauth_admin: Required only if using the OAuth flow for creating integrations. This role allows management of OAuth applications.
- personalize_choices: Enables customization of choice lists.
- personalize_dictionary: Allows modification of dictionary entries.
To fetch data for all users within the ServiceNow instance, the following roles are required:
- user: Basic role assigned to all ServiceNow users.
- user_admin: Provides administrative capabilities over user accounts.
When configuring the ServiceNow integration, ensure the service account has the following roles:
- itil: Provides access to IT Service Management (ITSM) functionalities.
- personalize_choices: Enables customization of choice lists.
- personalize_dictionary: Allows modification of dictionary entries.
To fetch data for all users within the ServiceNow instance, the following roles are required:
- user: Basic role assigned to all ServiceNow users.
- user_admin: Provides administrative capabilities over user accounts.
If you have enabled an allow list in your ServiceNow account, certain Harness IP addresses must be added to it in order to allow communication between the Harness Platform and ServiceNow. If the necessary IPs are not whitelisted, the integration may fail to authenticate or sync data properly.
To ensure your integration can work correctly, please refer to the list of Harness Platform IPs that may need to be whitelisted in your firewall.
Create a Client ID and Client Secret in ServiceNow
To create a Client ID and Client Secret in ServiceNow, follow these steps:
- Interactive Guide
- Step-by-step
-
Log in to the ServiceNow platform with an admin account.
-
Navigate to System OAuth > Application Registry.
-
Click the New button to create a new application registry.
-
Select Create an OAuth API endpoint for external clients.
-
Enter a descriptive name for the application registry, e.g., "SEI Connect".
-
Locate the Redirect URL in the SEI ServiceNow integration configuration settings. Click the lock button and paste the Redirect URL copied from SEI.
-
In the Auth Scopes section, add the table_read scope.
-
Click Submit to create the application registry.
-
After the successful creation of the application registry, open the newly created application.
-
Click the lock button to display the Client Secret.
-
Copy and save the Client ID and Client Secret, as they will be required during the integration configuration on the SEI platform.
Please note that the Client ID and Client Secret are sensitive credentials and should be handled with care.
Connect with ServiceNow Cloud
Step 1: Select the integration
- In your Harness project, go to the SEI module, and select Account.
- Select Integrations under Integration and Data Settings.
- Select Available Integrations, locate the ServiceNow integration under the Others integration tab and select Install.
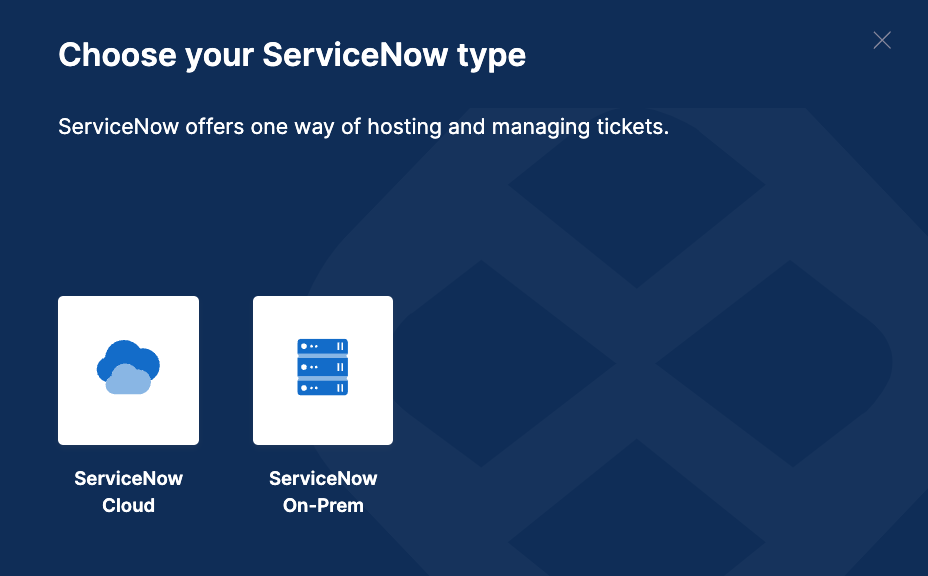
Step 2: Choose the Type of ServiceNow setup
Select the type of ServiceNow setup as ServiceNow Cloud.
Step 3: Configure the integration
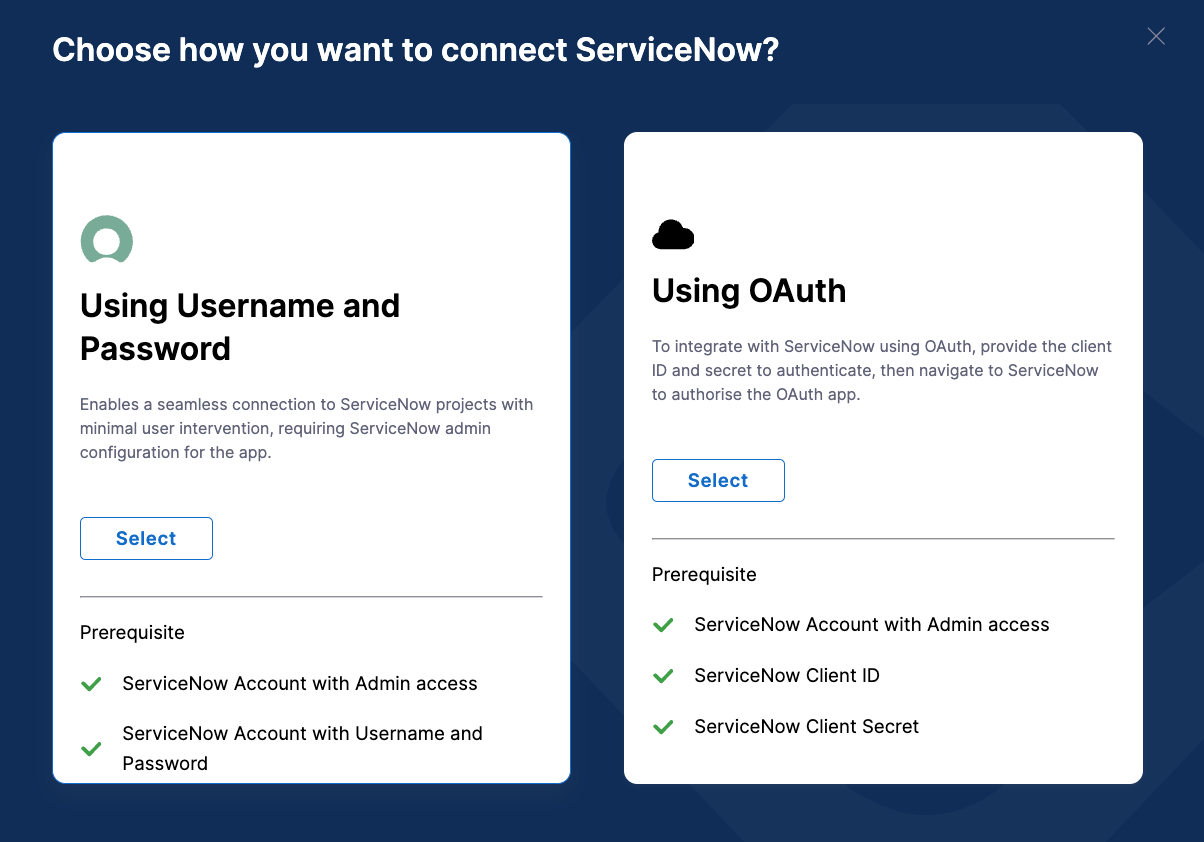
The ServiceNow integration can set up the authentication either by using Username and Password or by using OAuth mode of authentication.
- Username/Password
- OAuth
- Choose the authentication mode as Using Username and Password.
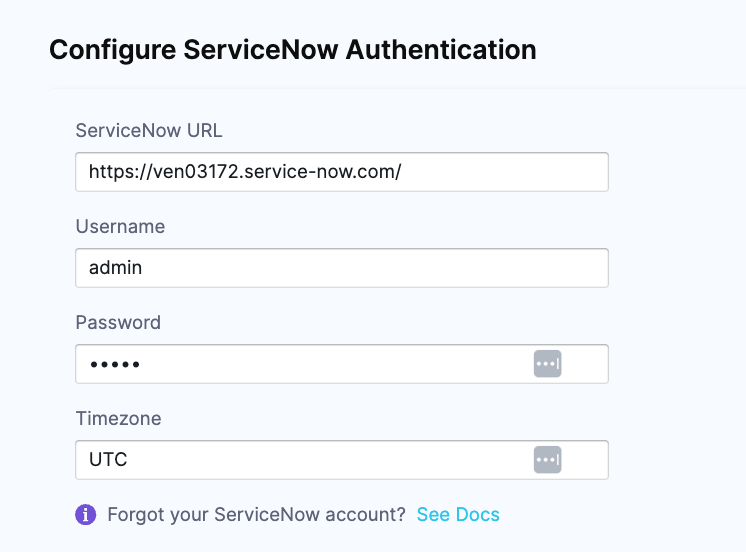
- Enter a name for this ServiceNow integration. You can add Description and Tags (Optional).
- Enter the base URL you use to access ServiceNow. For example:
https://example.service-now.com. - Add the Username and Password, of the ServiceNow Service Account.
- Set the timezone to UTC by default. If you use a different timezone, specify it here.
Advanced Configurations (Optional)
If you want to filter the incidents or change requests to be ingested, create a query in your ServiceNow account:
- In the ServiceNow app define a filter query for incidents or change requests.
- Right-click the query in ServiceNow to copy it.
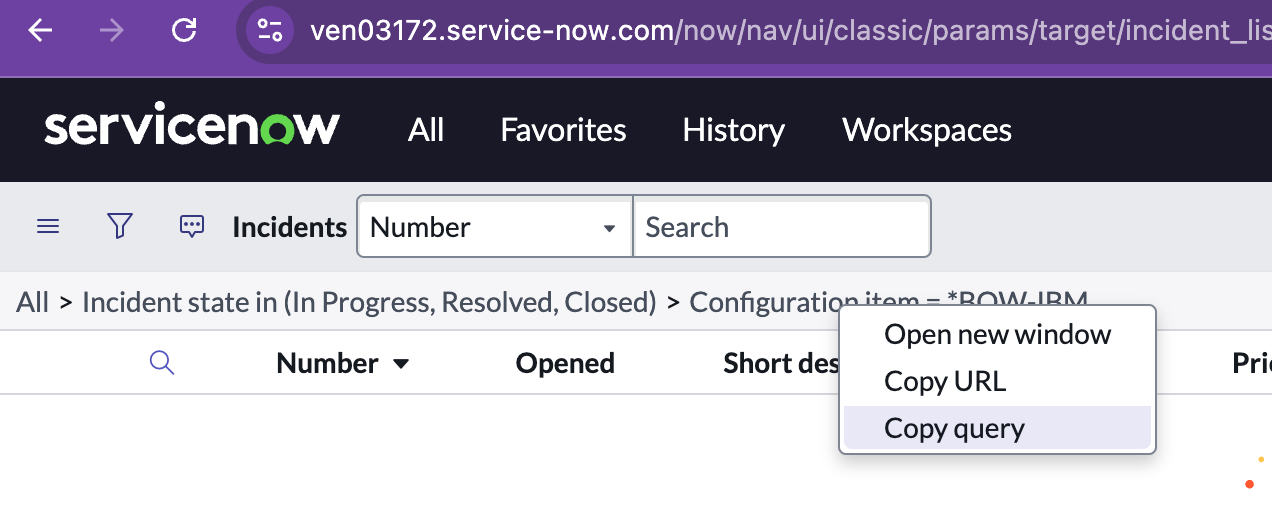
- Paste the copied query into the integration configuration settings to apply the filter.

-
Click on the Next: Validate Connection.
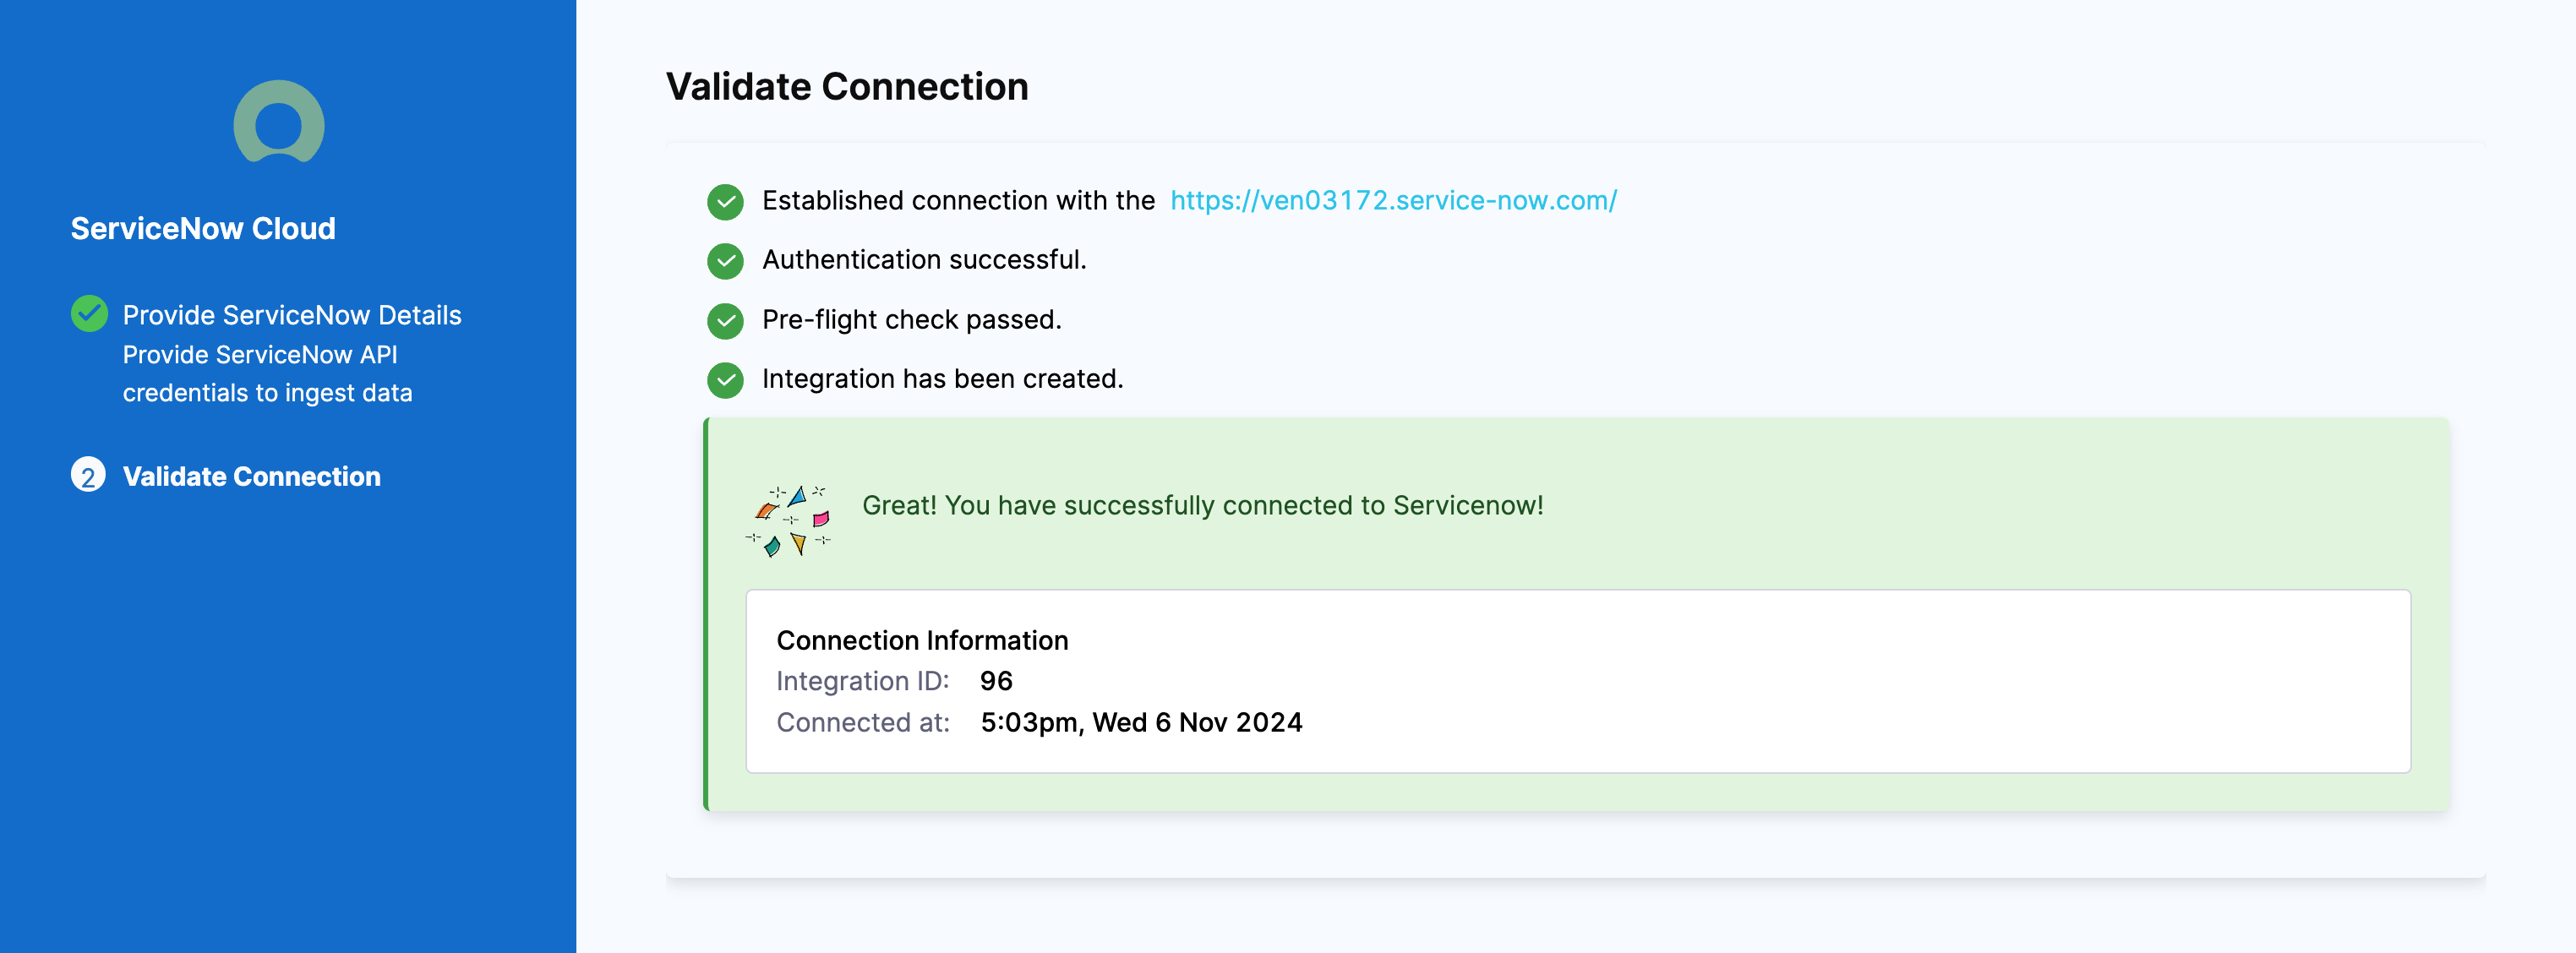
It will establish a connection with the provided URL, perform authentication, and then run the preflight checks. If everything is successful, you will see a message confirming a successful connection.
-
Click on the Done button and the integration will be successfully saved.

-
Choose the Authentication Method as Use ServiceNow OAuth
-
Enter a name for this ServiceNow integration. You can add Description and Tags (Optional).
-
Enter the base URL you use to access ServiceNow. For example:
https://example.service-now.com. -
Add the ServiceNow Client ID and Client Secret that you generated after creating the application registry in ServiceNow
-
Set the timezone to UTC by default. If you use a different timezone, specify it here.
-
Click on the Connect ServiceNow button. This will redirect you to the ServiceNow application.
-
Allow the application and grant the required permissions, and it will redirect you back to SEI
-
Click on the Next: Validate Connection.
It will establish a connection with the provided URL, perform authentication, and then run the preflight checks. If everything is successful, you will see a message confirming a successful connection.
-
Click on the Done button and the integration will be successfully saved.

ServiceNow On-Prem
Step 1: Select the integration
- In your Harness project, go to the SEI module, and select Account.
- Select Integrations under Integration and Data Settings.
- Select Available Integrations, locate the ServiceNow integration under the Others integration tab and select Install.
Step 2: Choose the Type of ServiceNow setup
Select the type of ServiceNow setup as ServiceNow On-Prem.

Step 3: Configure the integration
The ServiceNow on-prem integration can set up the authentication only using the ServiceNow account's Username and Password.
- Add the Name for the integration, which is mandatory. You can add Description and Tags (Optional).
- Add the URL of your ServiceNow application instance, for example, "
https://xyz.service-now.com". Make sure it's a valid URL. - Add the Username and Password for your ServiceNow account.

- Set the timezone to UTC by default. If you use a different timezone, specify it here.
Advanced Configurations (Optional)
If you want to filter the incidents or change requests to be ingested, create a query in your ServiceNow account:
- In the ServiceNow app define a filter query for incidents or change requests.
- Right-click the query in ServiceNow to copy it.

- Paste the copied query into the integration configuration settings to apply the filter.

- Click on Download YAML File to download the
satellite.ymlfile. - Click on the Done button and the integration will be successfully saved. Once you have downloaded the
satellite.ymlfile update it following the instructions here.
Here’s a sample satellite.yml file:
satellite:
  tenant: <ACCOUNT_NAME>
  api_key: <SEI_API_KEY>
  url: <SEI_ENV_URL>
integrations:
  - id: <INTEGRATION_ID>
    url: <SERVICENOW_URL>
    username: <SERVICENOW_USERNAME>
    application: servicenow
    api_key: <SERVICENOW_PASSWORD>
    metadata:
      change_request_query: <CHANGE_REQUEST_QUERY>
      incident_query: '<INCIDENT_QUERY'
      timezone: <TIMEZONE> # Default value is considered as UTC
ServiceNow Use Cases
The ServiceNow integration primarily is used for measuring the incident recovery time using the DORA Mean Time to Restore (MTTR) widget.
For detailed instructions on setting up and configuring the DORA profile to effectively measure MTTR using the ServiceNow integration, please refer to Measure incident recovery time.