SEI Harness CI/CD integration
Use the SEI HarnessNG integration to integrate Software Engineering Insights with the Harness Continuous Delivery & GitOps and Continuous Integration modules.
Requirements
To configure the SEI Harness integration, you need:
- Your Harness account ID. You can find this under Account Settings.
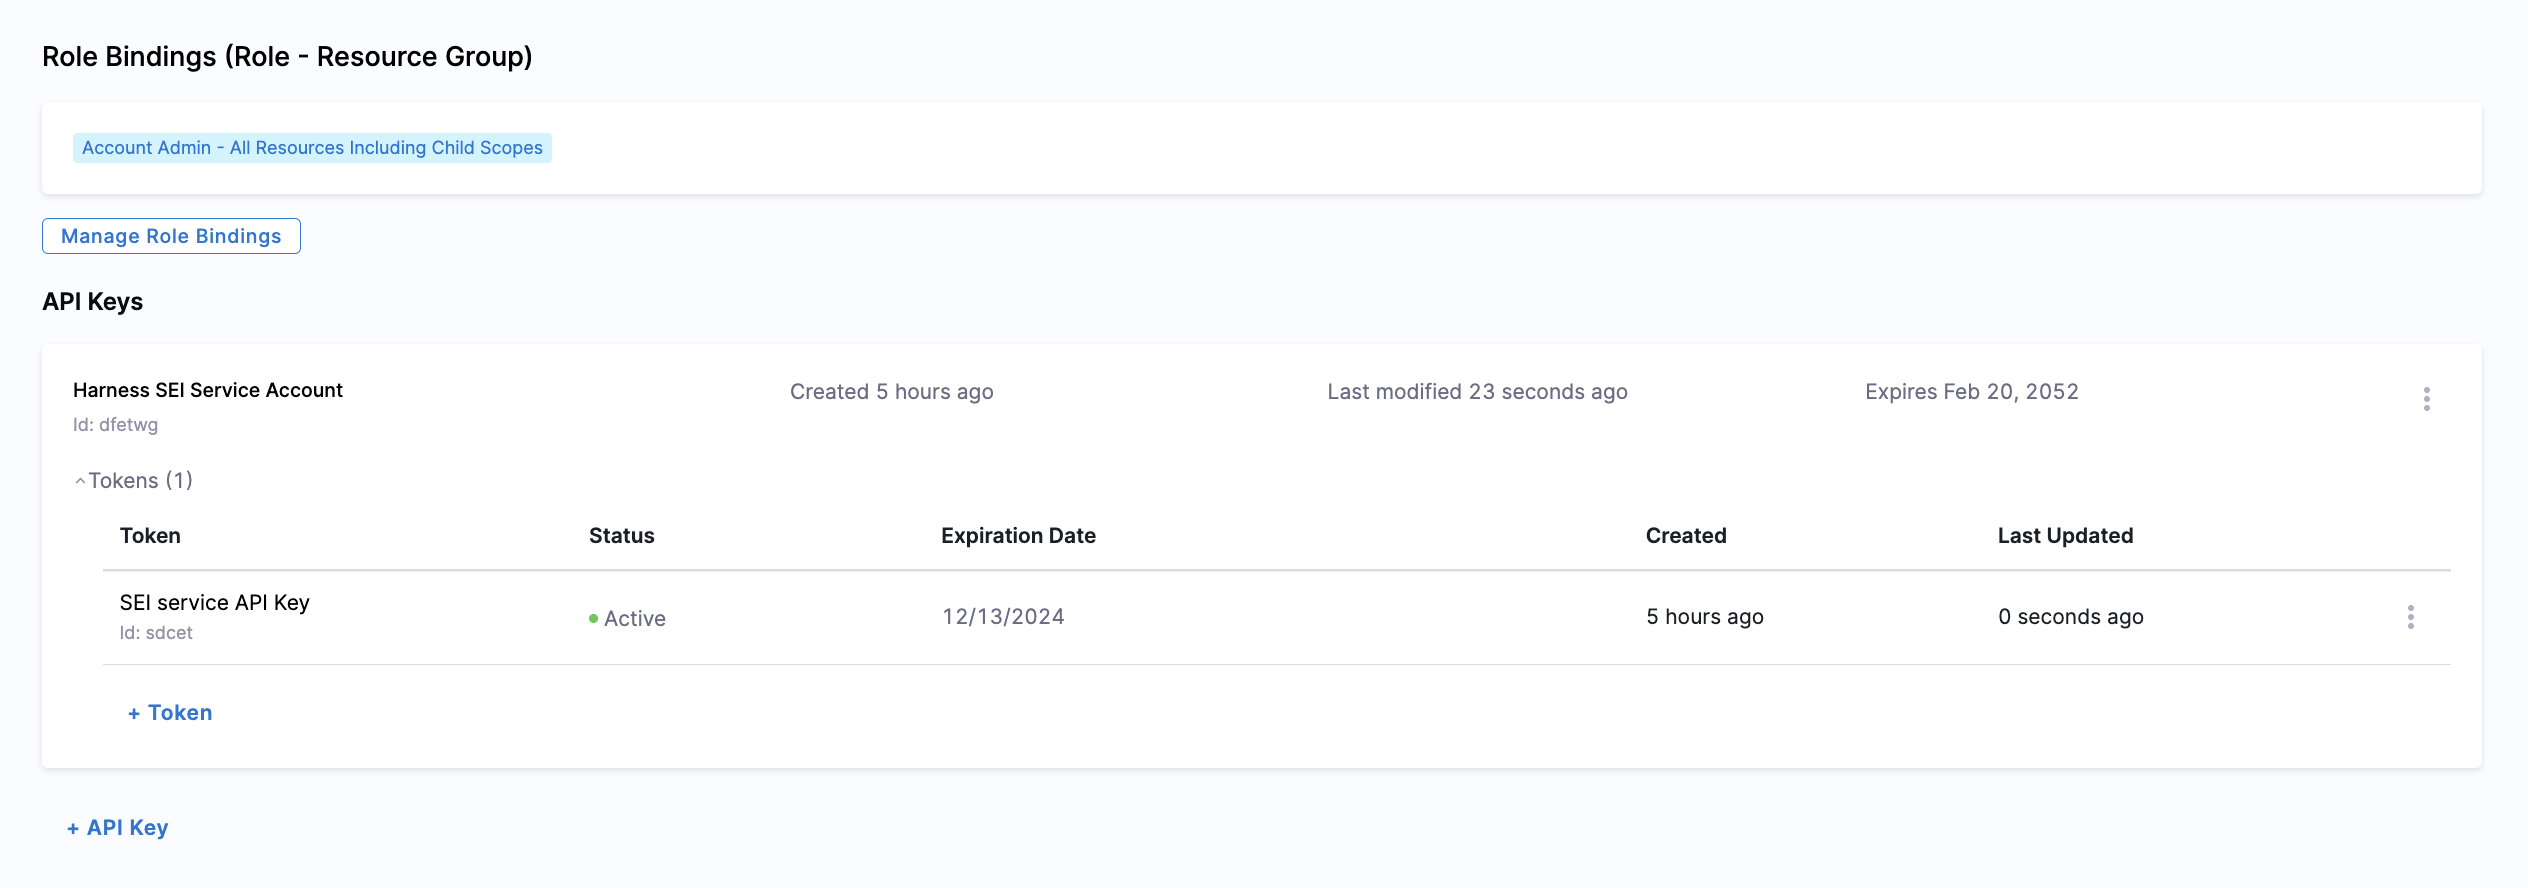
- A Harness API key and token.
- The Harness Service Account used to generate the API key must have a role binding as Account Viewer with the resource group set to All Resources Including Child Scopes. Copy the account ID and token somewhere that you can retrieve them when you configure the integration.

Add the integration
- In your Harness Project, go to the SEI Module, and select Account.
- Select Integrations under Data Settings.
- Select Available Integrations, locate the Harness NG integration, and select Install.
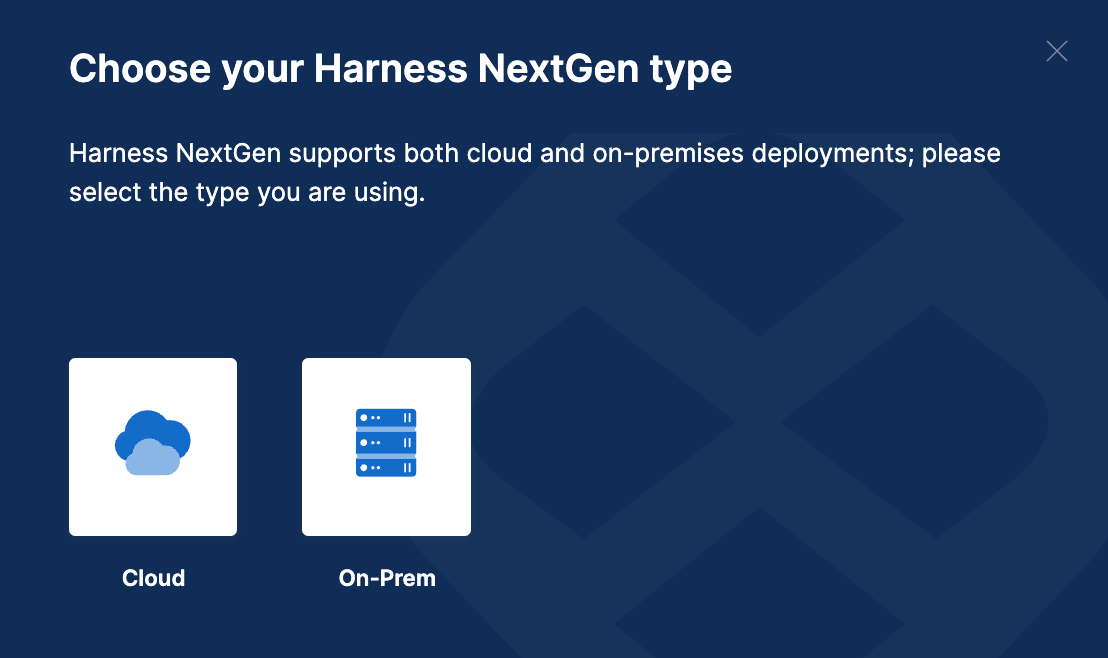
- Cloud
- Harness Self-Managed Enterprise Edition
- Select the type of the HarnessNG account as Cloud.

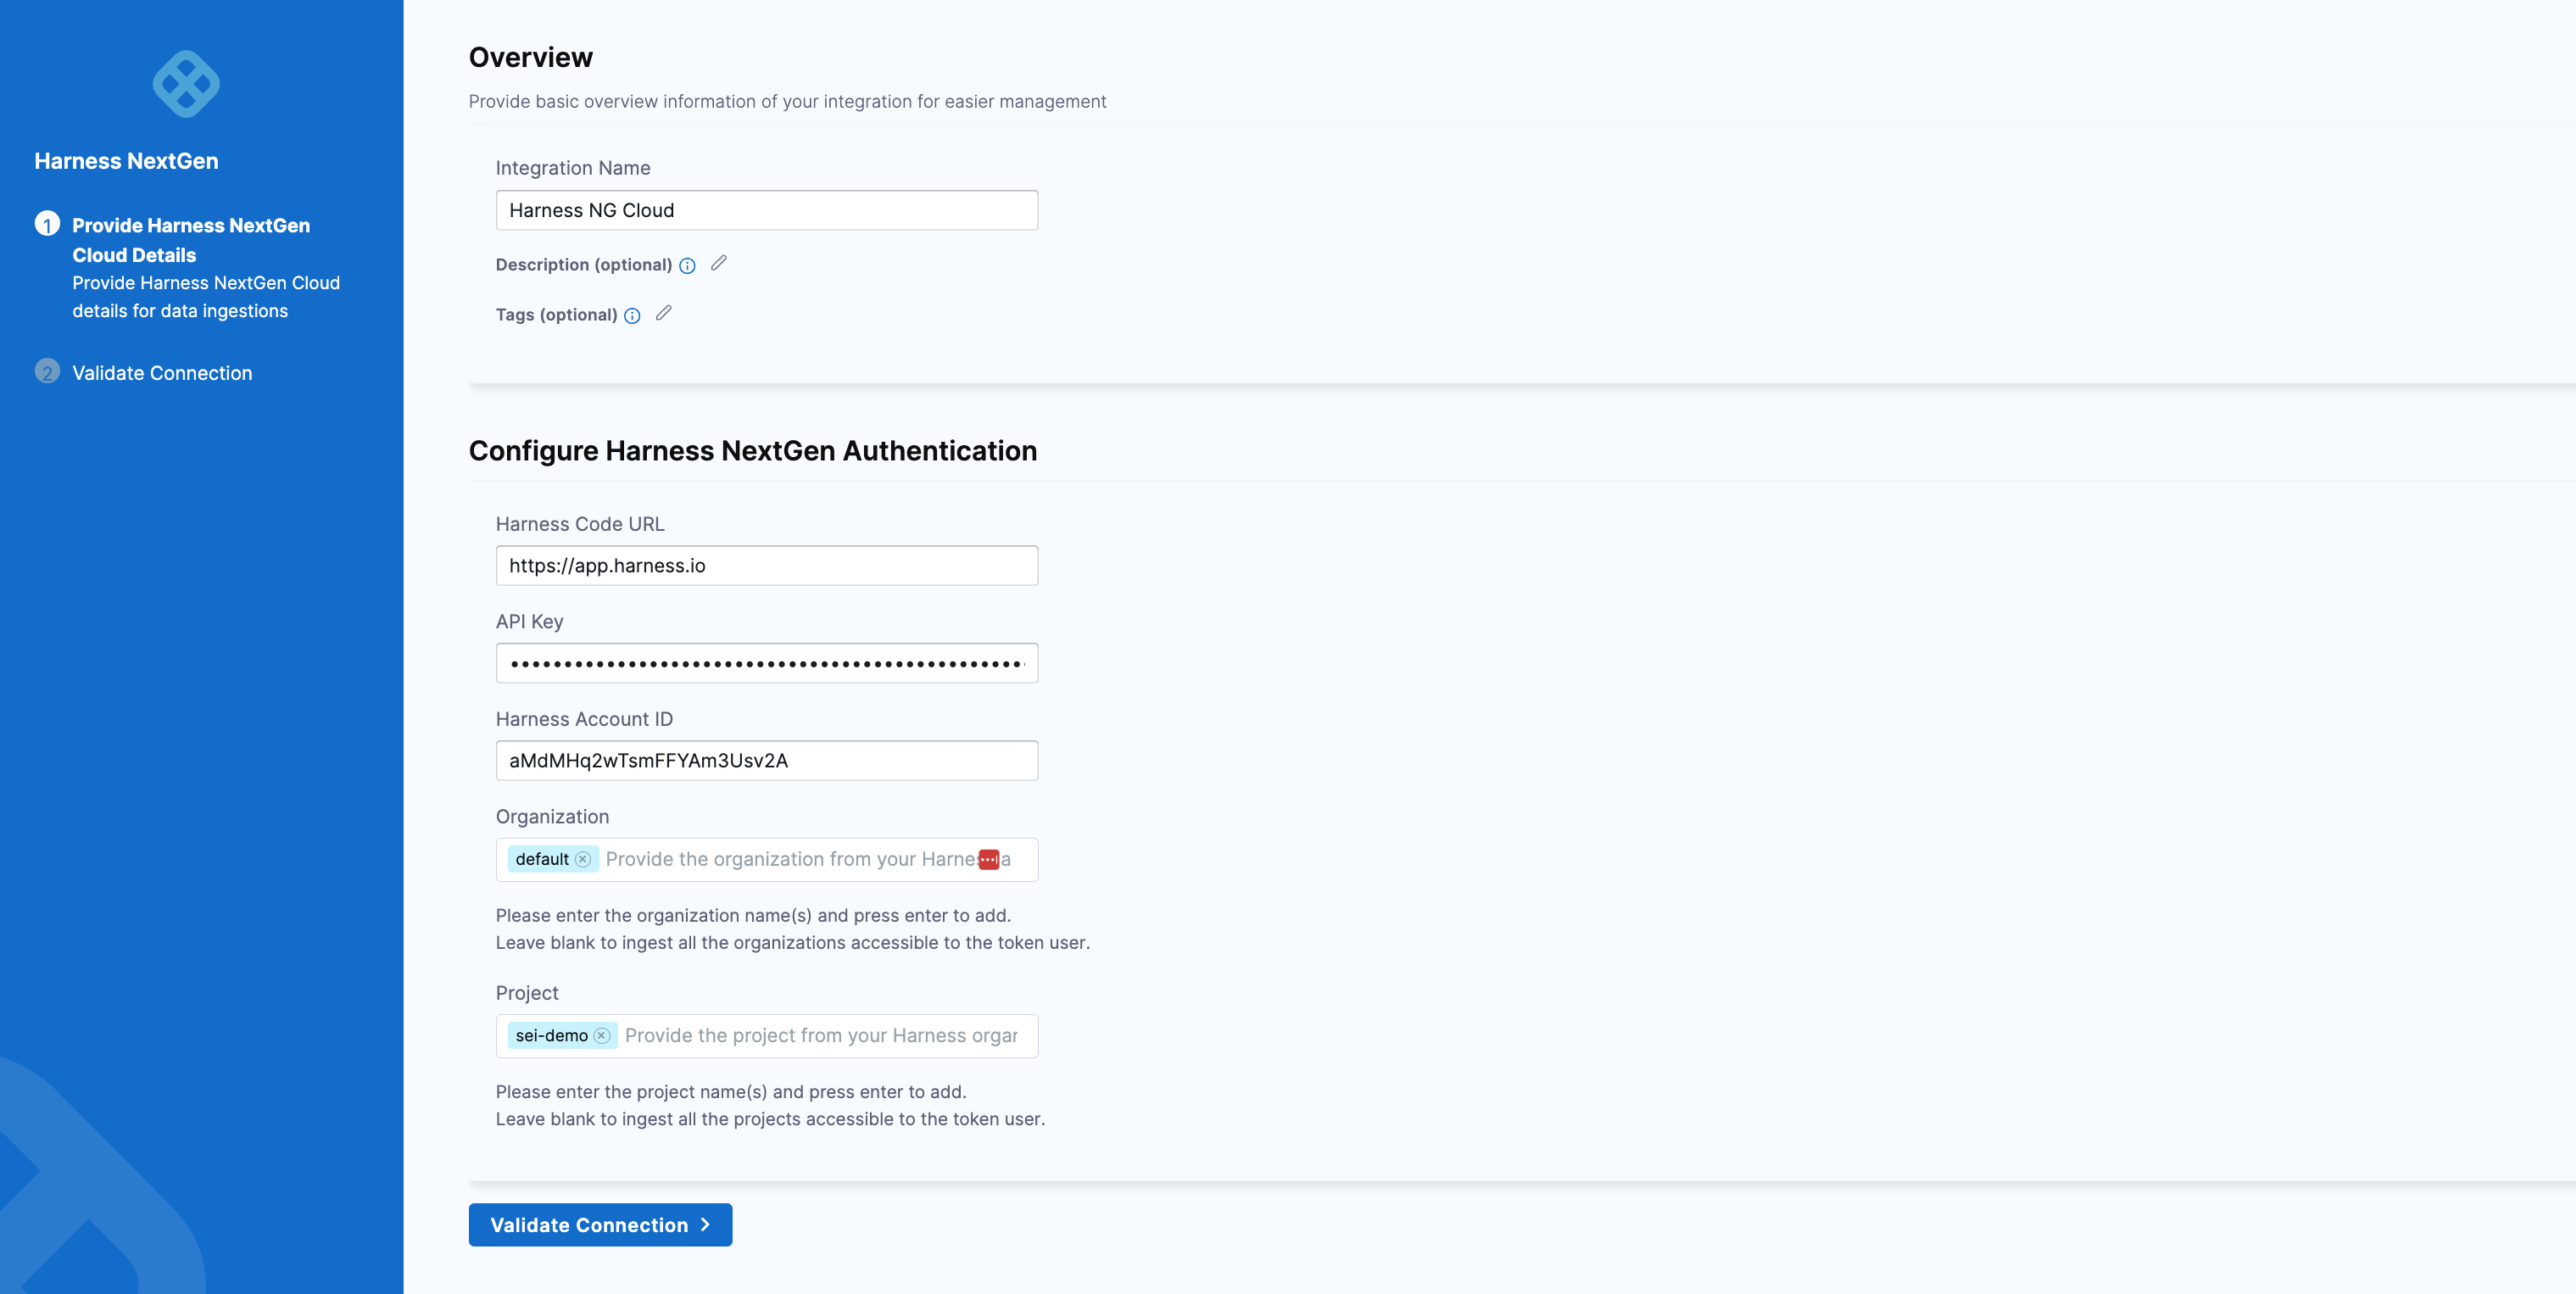
- Configure and Save the integration.
-
URL: Enter
https://app.harness.io. -
API key: Enter your Harness personal access token.
-
Account ID: Enter your Harness account ID.
-
Name: Enter a name for the integration.
-
Description and Tags are optional.
-
Organization: Enter your organization name. If you have multiple organizations, you can use a comma-separated list.
For example, "Youtube, YouTubeTV." Please note that organization names are case-sensitive. You can leave this field blank to include all organizations accessible to the token user.
-
Project: Enter your project name. Similarly, you can use a comma-separated list if you have multiple projects.
For example, "
org/project,org2/project2" Like organization names, project names are case-sensitive. Leaving this field blank will ingest all the projects from organizations accessible to the token user.
-
- Click on Validate Connection to run the pre-flight checks and validate the connection. Once successful, you'll have the integration set up under the Your Integrations tab.

You can connect Harness SEI with Harness Self-Managed Enterprise Edition (Harness On-Prem), using the Ingestion Satellite
The steps for configuring the integration using Satellite is similar to configuring the integration on cloud using the API key, with the exception of using satellite to communicate with the Harness NG server.
- Select the type of the HarnessNG account as On-Prem.

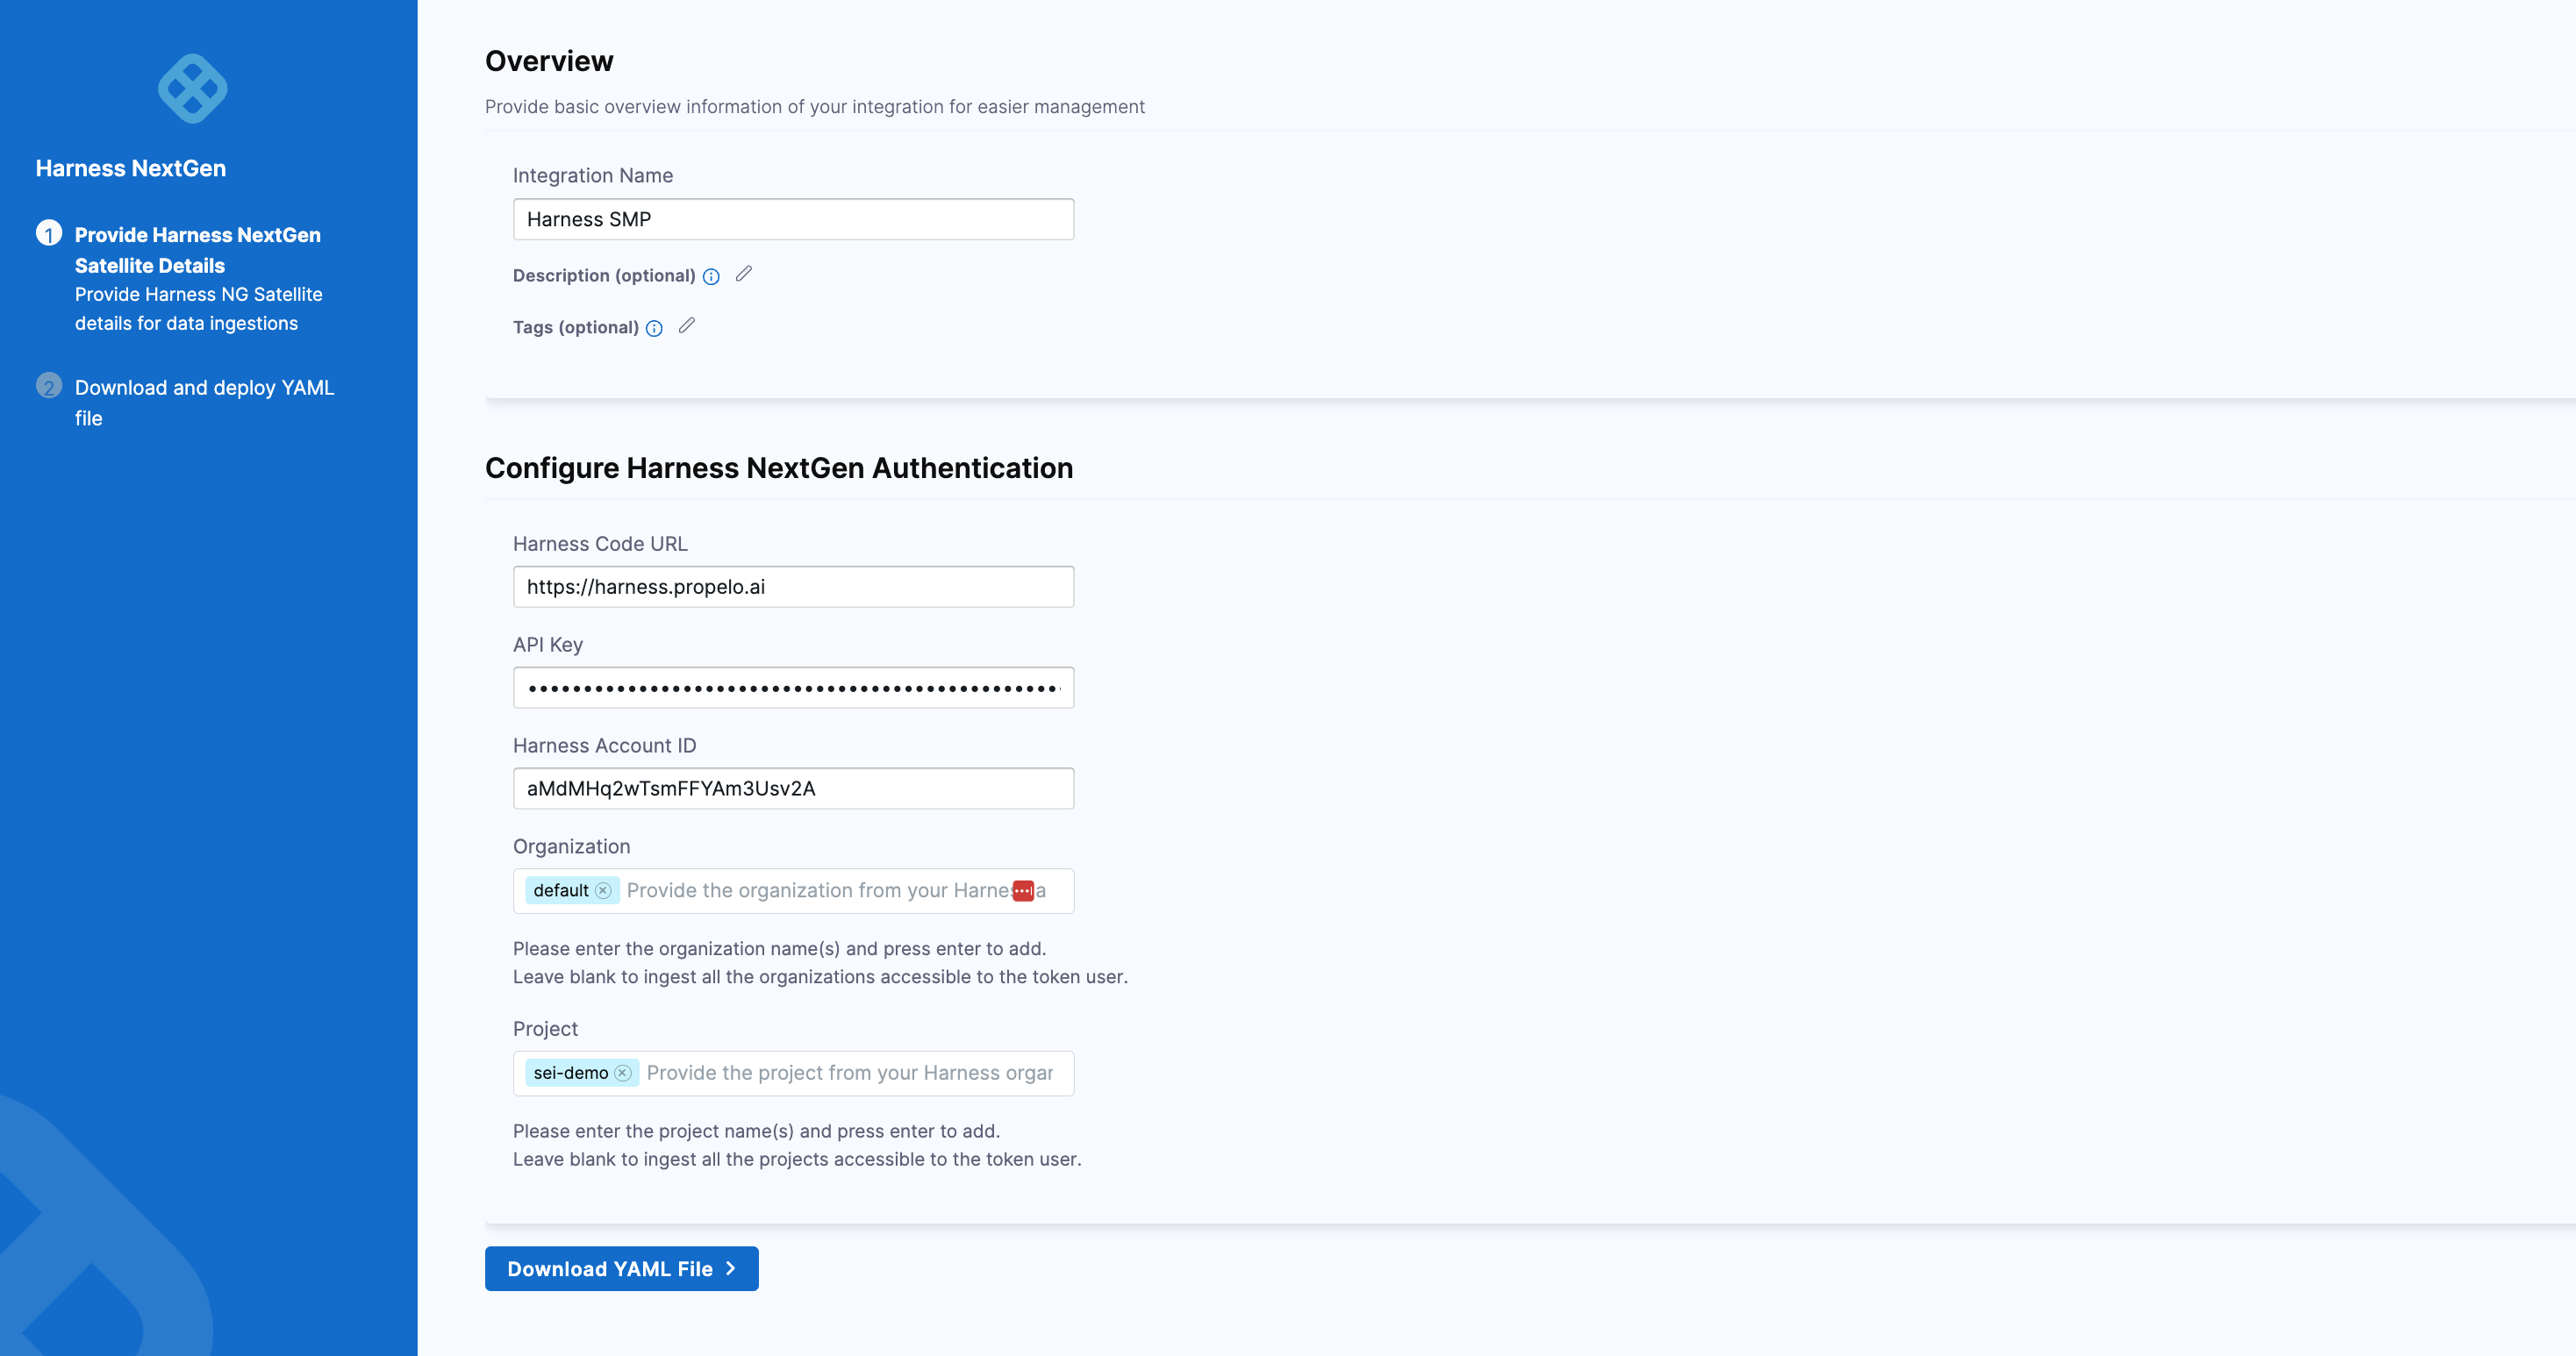
- Configure and Save the integration.
-
URL: Enter
https://app.harness.io. -
API key: Enter your Harness personal access token.
-
Account ID: Enter your Harness account ID.
-
Name: Enter a name for the integration.
-
Description and Tags are optional.
-
Organization: Enter your organization name. If you have multiple organizations, you can use a comma-separated list.
For example, "Youtube, YouTubeTV." Please note that organization names are case-sensitive. You can leave this field blank to include all organizations accessible to the token user.
-
Project: Enter your project name. Similarly, you can use a comma-separated list if you have multiple projects.
For example, "
org/project,org2/project2" Like organization names, project names are case-sensitive. Leaving this field blank will ingest all the projects from organizations accessible to the token user.
-
- Click on Download YAML File and save the
satellite.ymlfile. Update it following the instructions here.

If you experience any issues while configuring the integration using the Ingestion Satellite, refer to the Ingestion Satellite Troubleshooting and FAQs.
Here’s a sample satellite.yml file:
satellite:
  tenant: <ACCOUNT_ID>
  api_key: <ACCOUNT_API_KEY>
  url: 'https://app.harness.io/gratis/sei/api'
  # Note that this URL is relative to the Environment of your Harness Account.

integrations:
  - id: '<INTEGRATION_ID>'
    application: harnessng
    url: '<HARNESS_URL>'
    api_key: <HARNESS_API_KEY>
    metadata:
      accountId: <HARNESS_NG_ACCOUNTID>
      organization: default
      project: default