> For the complete documentation index, see [llms.txt](https://developer.harness.io/llms.txt). Markdown versions of documentation pages are available by appending `.md` to page URLs; this page is available as [Markdown](https://developer.harness.io/software-engineering-insights/use-software-engineering-insights/setup-sei/sei-propels-scripts/tables.md).
# Configure tables
Import CSVs into SEI Tables.
SEI Tables can contain any custom data that you enter manually, pull from a [Propel](/software-engineering-insights/use-software-engineering-insights/setup-sei/sei-propels-scripts/propels-overview.md), or import from a CSV file. You can then display Table data on [Table reports](/software-engineering-insights/use-software-engineering-insights/setup-sei/sei-propels-scripts/table-reports.md).
### Import CSVs
1. In your Harness project, go to the SEI module, and select **Account**.
2. Select **Tables** under **Advanced Features**.
3. Select **Import CSV**, select the file to import, and select **Import**.
4. [Customize the Table](#customize-tables) as desired.
5. Select **Save**.
#### Re-import CSV
After creating a Table from an imported CSV, you can re-import the CSV to update the Table data.
1. In your Harness project, go to the SEI module, and select **Account**.
2. Select **Tables** under **Advanced Features**.
3. Select the Table you want to edit.
4. Select **Re-import CSV**, select the file to import, and select **Import**.
5. Select **Save**.
### Manually create Tables
1. In your Harness project, go to the SEI module, and select **Account**.
2. Select **Tables** under **Advanced Features**.
3. Select **Add Table**, enter a **Name**, and select **Create**.
4. Enter row and column data.
5. [Customize the Table](#customize-tables) as desired.
6. Select **Save**.
### Customize Tables
There are many ways to customize Tables. You can add or remove rows and columns, apply color coding, configure preset values, and more.
{% hint style="info" %}
Each time you save a Table, SEI creates a **Version**. When viewing a Table, select **Version** to switch to a different version of the Table.
{% endhint %}
#### Add or remove rows and columns
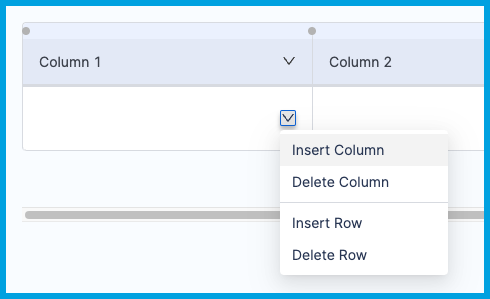
To add or remove rows and columns, select the **Arrow** in any non-header cell, and select **Insert Column**, **Delete Column**, **Insert Row**, or **Delete Row**.
Rows and columns are added or removed relative to the selected cell. If you want to delete a row or column, make sure you select a cell in the row or column that you want to delete.
To resize rows and columns, select and drag the borders between rows and columns.
#### Rename Tables and columns
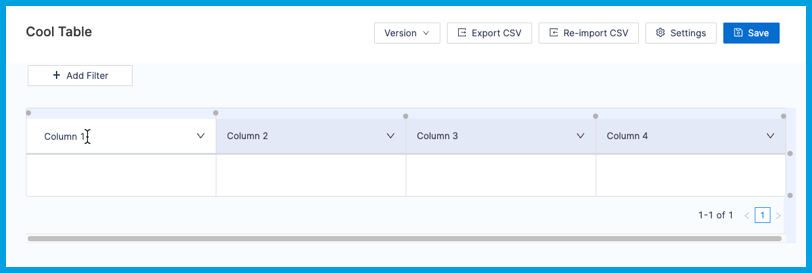
To rename a Table, select **Settings**, enter the new name, and select **Update**.
To rename a column, select the column header cell, enter the new name, and then press the Tab key.
#### Set column data types
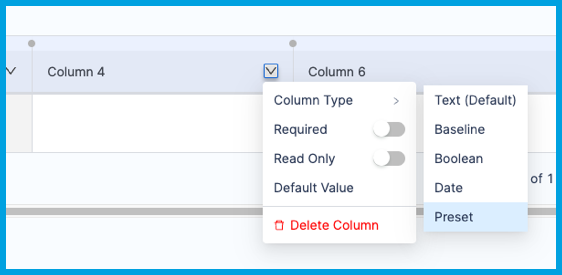
You can specify the column data type to ensure uniformly-formatted values. Data types include:
* **Text:** Cells can contain any free text value. This is equivalent to string.
* **Baseline:** Use this option to configure baselines for [Custom Table reports](/software-engineering-insights/use-software-engineering-insights/setup-sei/sei-propels-scripts/table-reports.md). Baselines establish value ranges, such as target performance ranges or low/medium/high performance thresholds.
* **Boolean:** Cells must contain either `True` or `False`.
* **Date:** Cells must contain date-formatted values.
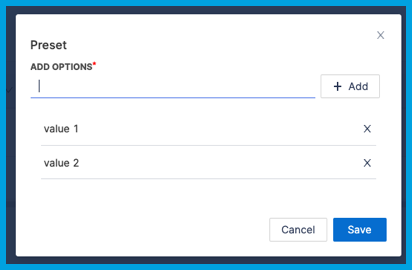
* **Preset:** Cells can only contain values from a predefined list of possible values. If you select this option, you must add predefined values.
To set a column's data type:
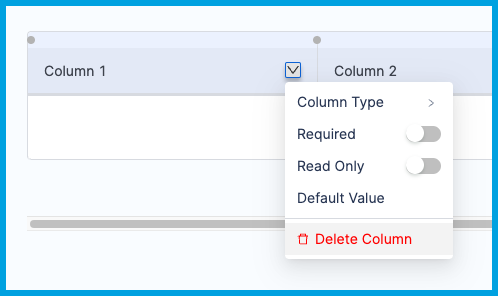
1. Select the **Arrow** in the column header, select **Column Type**, and then select the desired data type.
2. Select the desired data type.
3. If you selected **Preset**, add preset values.
4. Select **Save**.
#### Set a default value
Default values prevent columns from having empty cells.
To add a default value:
1. Select the **Arrow** in the column header, and select **Default Value**.
2. Enter the desired default value, and select **Set**.
3. The next time you save the Table, any empty cells in this column are populated with the default value.
To remove a previously-set default value:
1. Select the **Arrow** in the column header, and select **Default Value**.
2. Clear the default value field, and select **Set**.
3. Select **Save**. Values in column cells don't change when you remove the default value. Any cells containing the former default value retain that value.
#### Set required or read-only columns
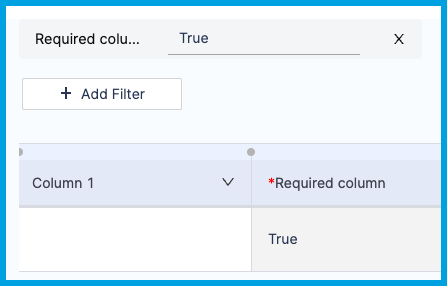
To specify required or read-only columns, select the **Arrow** in the column header, and select **Required** or **Read-Only**.
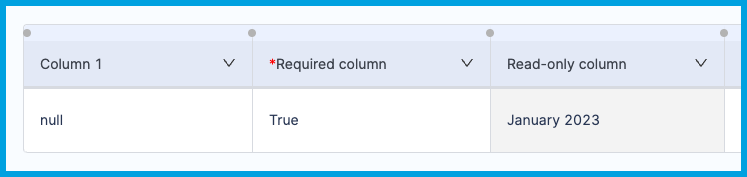
Required columns are indicated by an asterisk (`*`) in the column header.
Read-only columns are indicated by shading. As long as the column is marked read-only, you can't edit the data in the column or the [column data type](#set-column-data-types).
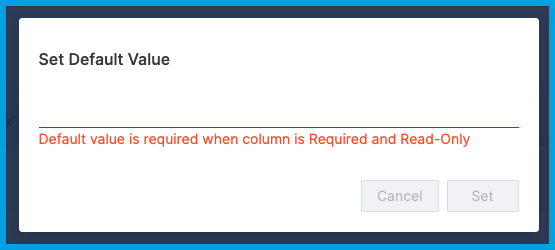
If a column is both **Required** or **Read-Only**, you *must* specify a [default value](#set-a-default-value). If you have not already set a default value, you're prompted to provide one upon selecting both **Required** and **Read-Only**.
#### Apply color coding
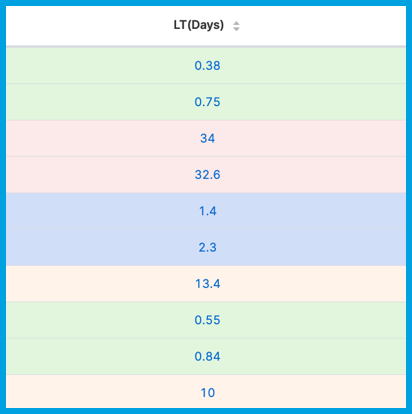
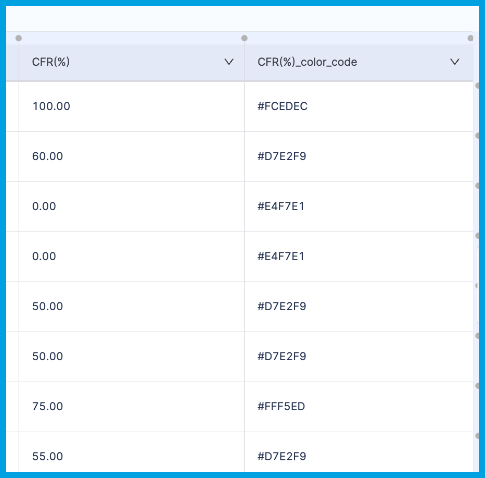
You can apply color coding to change how cells look in [Table reports](/software-engineering-insights/use-software-engineering-insights/setup-sei/sei-propels-scripts/table-reports.md). Color coding is useful for quickly identifying low/medium/high values.
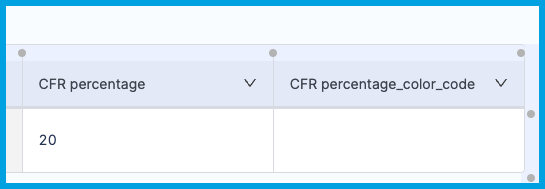
1. For any column that you want to have color coding, [add a column](#add-or-remove-rows-and-columns) with the same name and the suffix of `_color_code`.
For example, if you want to apply color coding to a column called `CFR percentage`, add a column named `CFR percentage_color_code`.
2. In the `_color_code` column, enter a hexadecimal code in each cell to define the color you want to use for each value.
3. Select **Save**.
#### Apply filters
Table filters are similar to report filters. By applying a filter to a Table, you can refine the data before displaying it on a [Table report](/software-engineering-insights/use-software-engineering-insights/setup-sei/sei-propels-scripts/table-reports.md), which may include additional filters for further refinement and focus.
To add a filter:
1. Select **Add Filter**.
2. Select one or more columns, and then select **OK**. One filter is added for each selected column.
3. Enter or select the filter value in the filter field. The table updates in real time to reflect your filter value.
Table filters have a one-to-one relationship between columns and filter values. To apply dynamic and complex filters, use a [Table report](/software-engineering-insights/use-software-engineering-insights/setup-sei/sei-propels-scripts/table-reports.md) on an Insight.
#### Insert hyperlinks
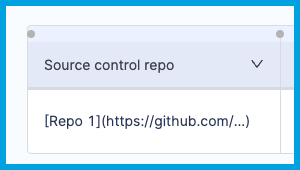
You can use Markdown-formatted hyperlinks (`[value](link)`) in any cell where you want to provide additional information through a hyperlink.
The links are rendered as in-line hyperlinks when presented on a [Table report](/software-engineering-insights/use-software-engineering-insights/setup-sei/sei-propels-scripts/table-reports.md).
{% @harness-feedback/feedback %}