For the complete documentation index, see llms.txt. This page is also available as Markdown.

Custom Auth

If you wish to generate an authentication method using a mechanism not listed, select from the drop-down menu and specify your own authentication logic. You can define the mechanism in either of the following ways:

  • Using AI

  • Using Code

The following tabs highlight detailed information on the above methods:

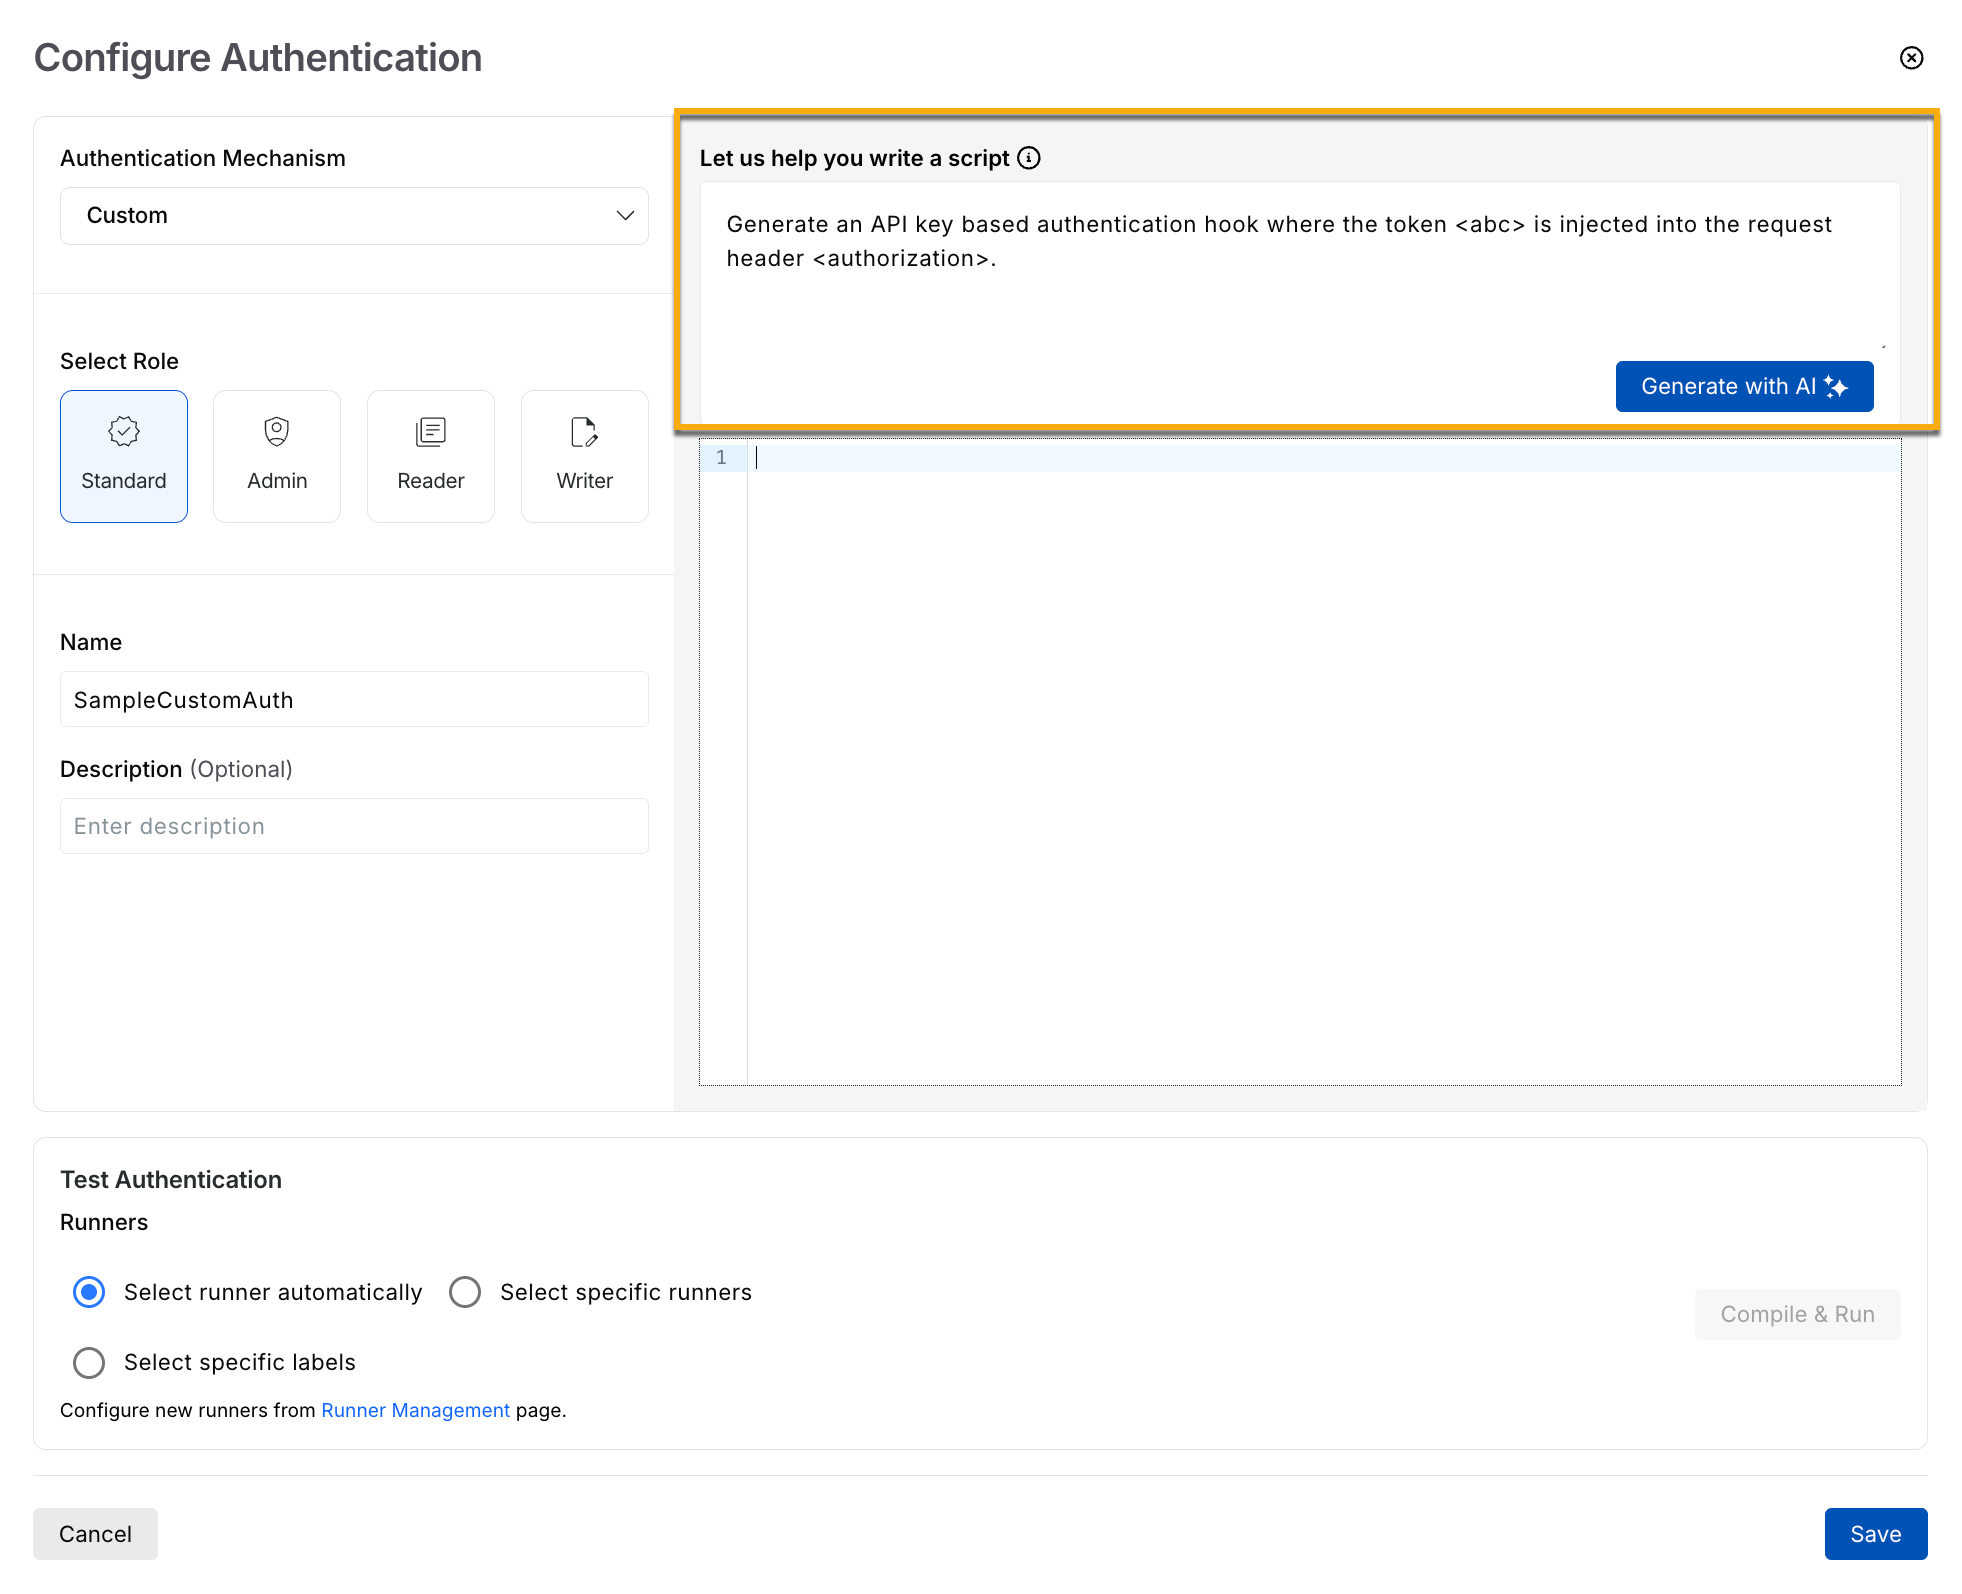
Traceable allows you to create an authentication code using AI. Traceable facilitates this using prompts.

To enable this feature, navigate to SettingsAI Features, and enable the AI Auth Generator toggle.

To ensure accurate and secure code generation, you must structure your prompt with the following guidelines in mind:

  • Validate first — Test your authentication flow independently to confirm that it works end-to-end before submitting it.

  • Specify the Auth method — Clearly specify the exact authentication mechanism you wish to generate the code for, such as API Key, JWT, or Mutual TLS.

  • Provide all necessary inputs — Include all necessary details, such as keys, secrets, endpoints, scopes, headers, and formats. Traceable recommends using placeholders only where intentional.

  • Describe the full logic — Outline the complete token flow, including information on how to obtain it, where Traceable should inject it, and any retry or refresh steps involved.

The following are some sample prompts categorized by Auth Type. You can replace the placeholder values in these prompts and specify them on the Traceable platform.

When generating authentication code using AI, ensure that you do not include any real keys, secrets, or tokens in the prompt.

Generating Custom Authentication Code using AI

Auth Type

Prompt

API Key

Generate an API Key-based authentication hook where the token <token> is injected into the request header <authorization>.

Basic Auth

Generate a Basic Auth-based authentication hook where the username is <john-doe> and the password is <sample-password>.

Bearer

Generate a bearer token-based authentication hook where the token <token> is injected into the request header <authorization>.

HMAC

Generate an HMAC-based authentication hook with the following inputs:

Access Key: <Access Key>

Secret Key: <Secret Key>

Algorithm: HMAC SHA 256

Signature Header: <H1>

JWT

  • Explicit Token — Generate a JWT-based authentication hook where the token <token> is injected into the query parameter <authorization>.

  • Dynamic Token — Generate a JWT-based authentication hook where the token is injected into the query parameter <authorization>. For the token, use the information below:

    Key: <Key 1> Algorithm: SHA-1 Claims: <c1, v1>

PoP Token Signature

Generate a PoP Token Signature-based authentication hook where the key is <Pvt-Key> and the header to inject is <Pop-Header>.

Content Signature

Generate a Content Signature-based authentication hook where the secret key is <Sample-Key> and the header is <Sample-Header>.

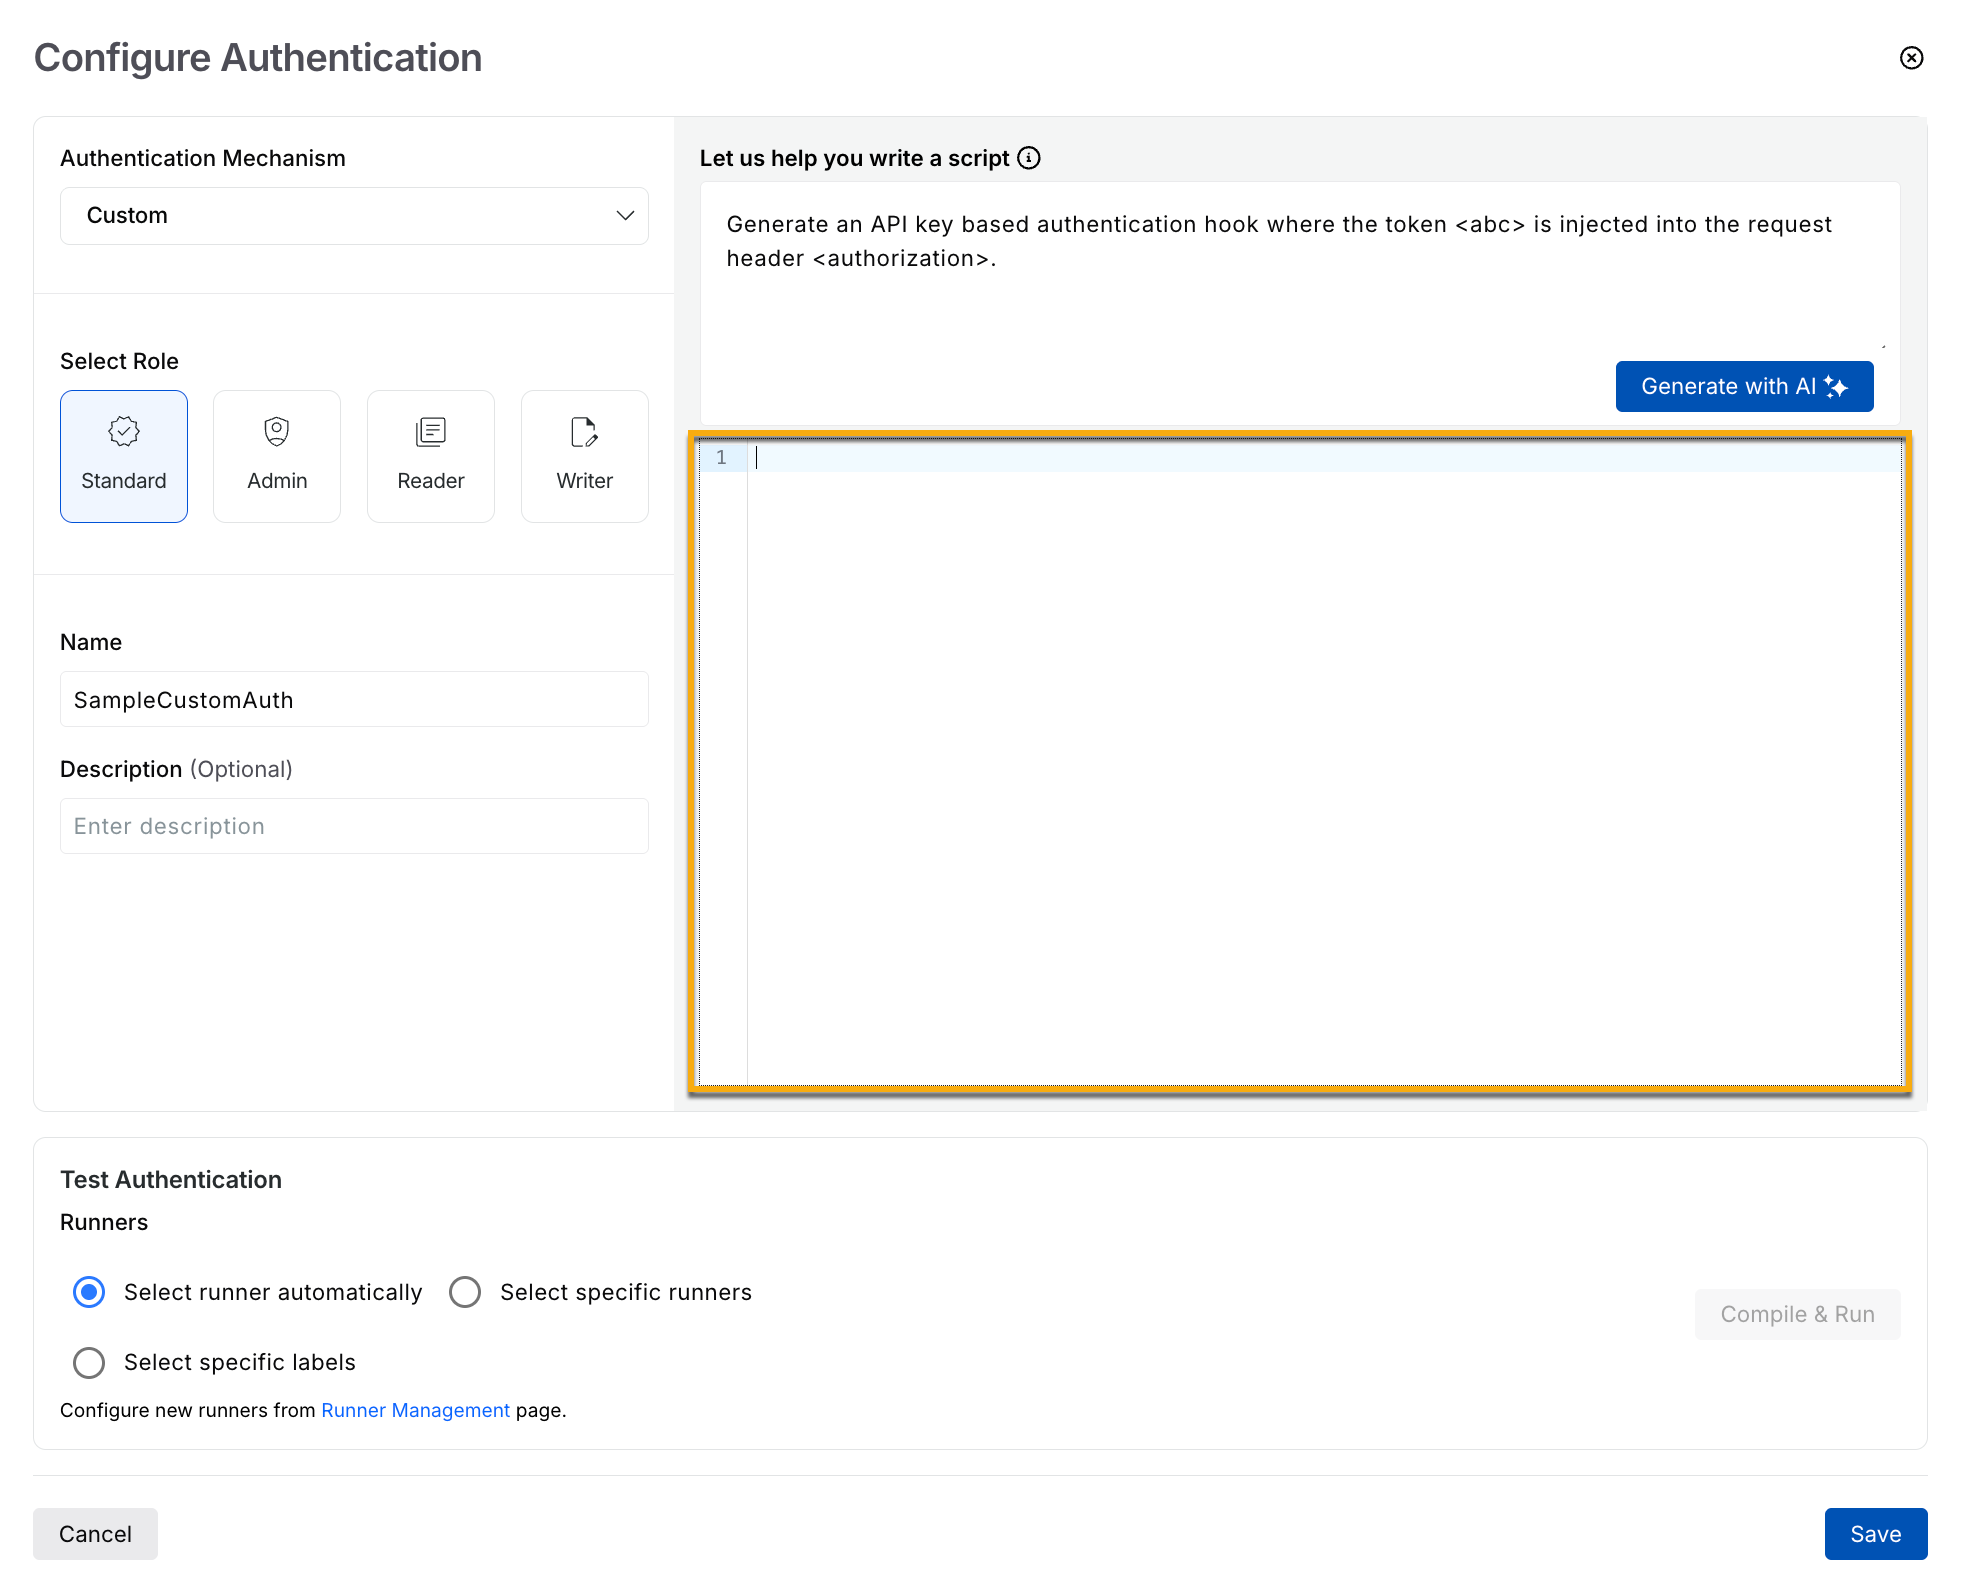
You can write authentication code in Python, depending on your comfort level and the complexity of the use case. Writing an authentication code is a multi-step process. The following sections outline the information you need to create code for an authentication mechanism.

Configuring Custom Authentication using Code

Understanding the components

The following table outlines the components required to implement an authentication mechanism, along with a description of each.

Component

Description

ScanContext

This stores the scan context and remains available throughout the entire scan duration. It functions like a dictionary (built on Python’s UserDict), allowing you to add any information needed throughout the scan lifecycle.

Hooks use simple set and get operations to save values and retrieve them later, which helps avoid repeated computation and keeps the logic efficient.

The following is a sample logic that you can use:

PluginContext

This stores information needed throughout the plugin’s execution. It behaves like a dictionary (built on Python’s UserDict) and contains the following types of metadata:

  • Plugin metadata — The plugin name and category

  • Testsuite metadata — The API name or ID, service name or ID, and environment name

Hooks use this context to quickly access plugin details, enabling logic that is specific to a particular plugin, API, or service.

The following is a sample logic that you can use:

TestCase

This represents an individual test within a plugin. It contains all the details for that test, handles the request execution, and is the level at which authentication hooks are applied.

Hooks interact with the test case to access or update its attributes, typically as the first step when preparing or modifying a request.

The following is a sample logic that you can use:


Writing the hook

Hooks consist mainly of two components:

  • Token Generation — Each hook must generate an authentication token before sending the request. Some mechanisms (such as API keys) provide the token directly, while others (such as PoP tokens) require custom logic. When creating custom logic, ensure the token-generation steps are accurate.

  • Token Injection — After generating the token, the hook injects it into the request, usually in the header, cookie, or query parameters. You can define where Traceable should inject the token.

The following sections outline the guidelines for syntax and usage of various components in the authentication hook:

Library Usage

  • You can import any internal Python libraries directly.

  • You can also import any libraries listed in the requirements file.

  • To use a library that is not included in the requirements file or is not an internal library, refer to the example below:

Logging Syntax

To log anything inside the hook, you can use the following syntax:

Sending a Request

In many hooks, you may need to call an endpoint, such as a login API, to obtain an authentication token from its response. Use the following syntax to send HTTP requests from within a hook:

Sending requests may throw exceptions. Therefore, you should always handle this flow within a try-catch block to prevent unwanted failures.

Session Management

In some cases, generating a token may require multiple sequential requests. To handle these scenarios, you can use Python’s built-in requests.Session object to maintain a shared session across requests. For example, you might first log in to the platform and then make additional calls within the same session to retrieve the authentication token.

Platform Plugin Attributes

Consider the following hook, which injects an API key into the request header:

The above hook ensures that the API token is added to the request header for all requests sent from the CLI. In addition, you must set the following attributes for the plugins can manage tests:

  • mutated.auth.attribute — Specifies the location where the token is being injected.

  • mutated.role.user — Stores the actual token for a normal user.

  • mutated.role.bolauser — Stores the actual token for a BOLA user (used by the user-level BOLA plugin described below).

User Level BOLA Plugin Handling

Consider the following hook, which injects an API key into the request header:

Each hook in Traceable must handle two user types: a normal user and a BOLA user. By default, the hook treats the normal user as the active user and sets the required attributes accordingly. If you wish to run a user-level BOLA plugin, you can modify the hook to mark the BOLA user as active instead and set the corresponding attributes.

Attributes Usage

In any hook, Traceable needs to get or set various attributes based on your configuration. For example, if you need to add a token to the authorization header of a request, you would set an attribute in the following manner:

Similarly, to retrieve any attribute, you must access it using the correct key. Traceable follows a specific format for getting and setting attributes; using arbitrary keys may cause the hook to behave unexpectedly. The following are some commonly used attributes.

Traceable uses the same key for retrieving and setting values.

Injection
Attribute
Default Value

Setting a request header <sample>

“mutated.http.request.header.<sample>”

NA

Setting a query param <sample>

“mutated.http.request.query.param.<sample>”

NA

Setting a cookie <sample>

“mutated.http.request.cookie.<sample>”

NA

Fetching URL

“mutated.http.request.url”

NA

Fetching payload

“mutated.http.request.body”

NA

Fetching request method

“mutated.http.request.method”

NA

Setting a path param <sample>

“mutated.http.request.path.param.<sample>”

NA

Fetching host

“mutated.net.host.name”

traceable.ai

Fetching port

“mutated.net.host.port”

443

Fetching scheme

“mutated.net.host.scheme”

https


Sample authentication hook template

The following is a sample hook that you can use to define the authentication mechanism using code:

Last updated

Was this helpful?