IntelliJ IDEA
With IntelliJ IDEA support, Harness CDE enables seamless and efficient remote development in your Gitspaces with your IDE. This integration leverages JetBrains Gateway to establish a direct remote connection with IntelliJ IDEA, eliminating the need for any prior setup.
This guide provides a step-by-step walkthrough to help you use IntelliJ IDEA with your Gitspaces. Let’s get started!

Pre-Requisites
Install JetBrains Gateway
Before starting out, ensure that JetBrains Gateway is installed on your device.
JetBrains Gateway is a lightweight desktop application that enables you to work remotely with JetBrains IDEs (IntelliJ Idea) without downloading the full IDE. It connects to a remote server, downloads necessary backend components, and opens your project in a JetBrains client.
Recommended Gitspace Configuration
The following Gitspace requirements are optional but highly recommended for the best and most efficient experience when using Gitspaces in IntelliJ IDEA. You can refer to the IntelliJ guide here for detailed information on system requirements for remote development.
Recommended Requirements
To ensure optimal performance while connecting to your Gitspace in IntelliJ IDEA, your Gitspace should meet the following specifications:
- Processor: Minimum of 4 cores (vCPUs) with either x86_64 or arm64 architecture.
- Memory: At least 8 GB RAM.
- Storage: At least 10 GB of available disk space.
If your Gitspace does not meet the recommended requirements, the following warning may appear during your IntelliJ setup. You can choose to create a new Gitspace that adheres to the recommended specifications or proceed with your existing configuration.
Configuring your Gitspace
To meet the recommended specifications, select the "Large" machine type while configuring your Gitspace in the Harness UI. This option provides:
- Processor: 4 cores (CPUs)
- Memory: 32 GB RAM
- Storage: 30 GB Disk Size
Getting started with IntelliJ IDEA
Follow these steps to get started with integrating IntelliJ IDEA into your Gitspaces workflow:
Create a Gitspace
- Navigate to the Harness UI and create a new Gitspace for your project repository.
- Select "IntelliJ" as the IDE during Gitspace creation.
- Add your SSH key and configure the required Gitspace specifications.
For optimal performance, it is recommended to use the "Large" Gitspace machine type. Refer to the "Recommended Gitspace Configuration" section for detailed requirements.
- Click "Create Gitspace".
Open the Gitspace in IntelliJ
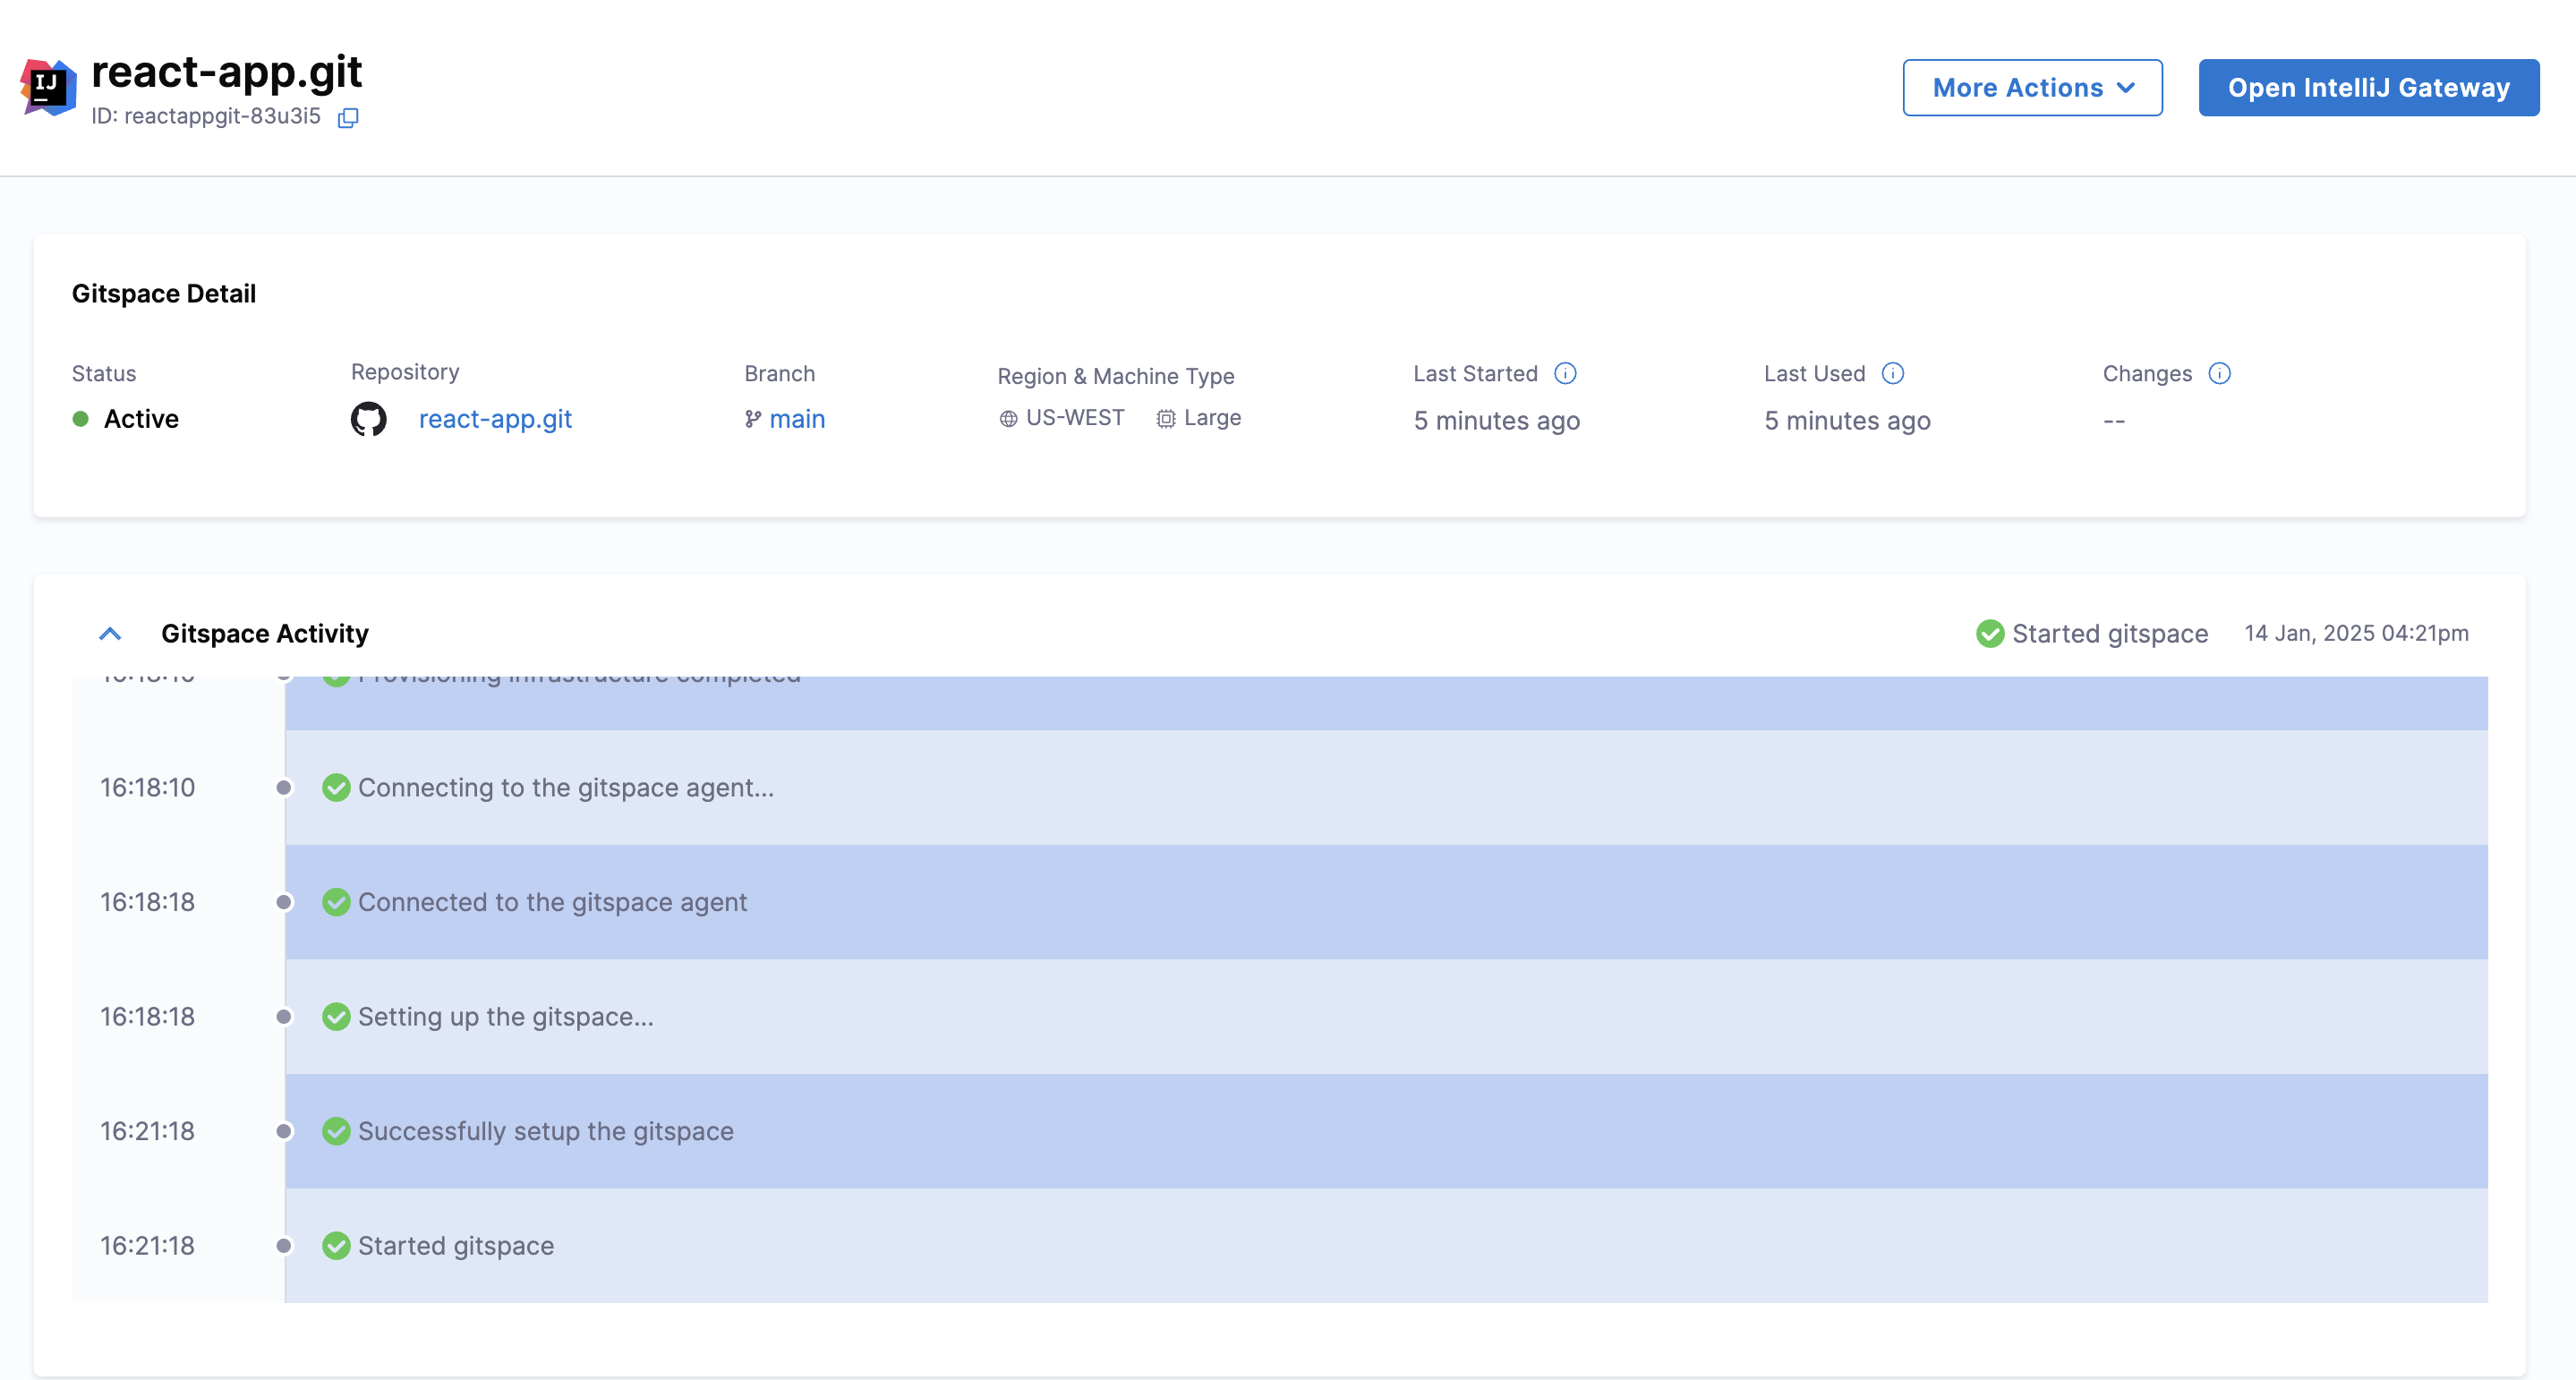
- Once the Gitspace is created and running, click on the "Open IntelliJ Gateway" button.
- A prompt will appear requesting permission to open JetBrains Gateway and establish a connection with the remote server. Click "Open JetBrains Gateway".
Connect to the Remote Server
You will be redirected to JetBrains Gateway, where you will be prompted to connect and establish an SSH connection. Click "Check Connection and Continue" to begin the setup process. This setup process will download the necessary files and tools required for your IntelliJ environment.
In case your Gitspace does not meet the recommended requirements, you may receive the following warning during the above setup. You can either create a new Gitspace to align with the recommended specifications or continue with your current configuration.
Setup Complete
Once the setup completes, your Gitspace will be successfully connected to IntelliJ IDEA IDE. Congratulations! You are now ready to work on your Gitspace directly within IntelliJ IDEA.