JetBrains Gateway Plugin
Harness CDE supports seamless and efficient remote development in JetBrains IDEs using JetBrains Gateway.
JetBrains Gateway is a lightweight desktop application that allows you to work remotely with JetBrains IDEs without downloading the full IDE. It connects to a remote server, fetches the necessary backend components, and opens your project in a JetBrains client.
With the Harness Gitspaces Plugin, you can seamlessly access and manage your Gitspaces created in JetBrains IDEs. This plugin ensures smooth navigation and efficient development within your IDE.
The following JetBrains IDEs are supported for remote development:
- IntelliJ IDEA
- PyCharm
- PhpStorm
- GoLand
- CLion
- Rider
- RubyMine
- Webstorm
Pre-Requisites
Install Harness Gitspaces JetBrains Plugin Package
Ensure that you have downloaded the latest version of the Harness Gitspaces JetBrains Gateway Plugin package. Follow these steps to install and configure the plugin.
Install JetBrains Gateway
Before proceeding, ensure that JetBrains Gateway is installed on your device.
Recommended Gitspace Configuration
Refer to this section to understand the recommended Gitspace requirements for optimal performance when connecting to your Gitspace in JetBrains IDEs.
Installing the Plugin
Follow these steps to install the Harness Gitspace Plugin:
- Once you've installed JetBrains Gateway, click the settings icon in the bottom-left corner of the application.
- Select "Manage Providers."
- From the Plugins Marketplace, search for Harness Gitspaces. Click Install.
- Once you've installed the plugin, click "OK" in the bottom-corner page.
- That’s it! You will now see the plugin successfully installed in your JetBrains Gateway connections.
Configuring the Plugin
Now that you've successfully installed the plugin, you can configure it in JetBrains Gateway using the following steps:
- Click on "Harness Gitspaces" from the sidebar connections.
- You will be prompted to configure the app URL in JetBrains Gateway. Enter: "https://app.harness.io" and click "Connect"
- You will be redirected to the Harness platform to sign in. Enter your credentials to log into your account.
- That’s it! Once configured, you can view all your Gitspaces created in JetBrains IDEs directly within the JetBrains Gateway application.

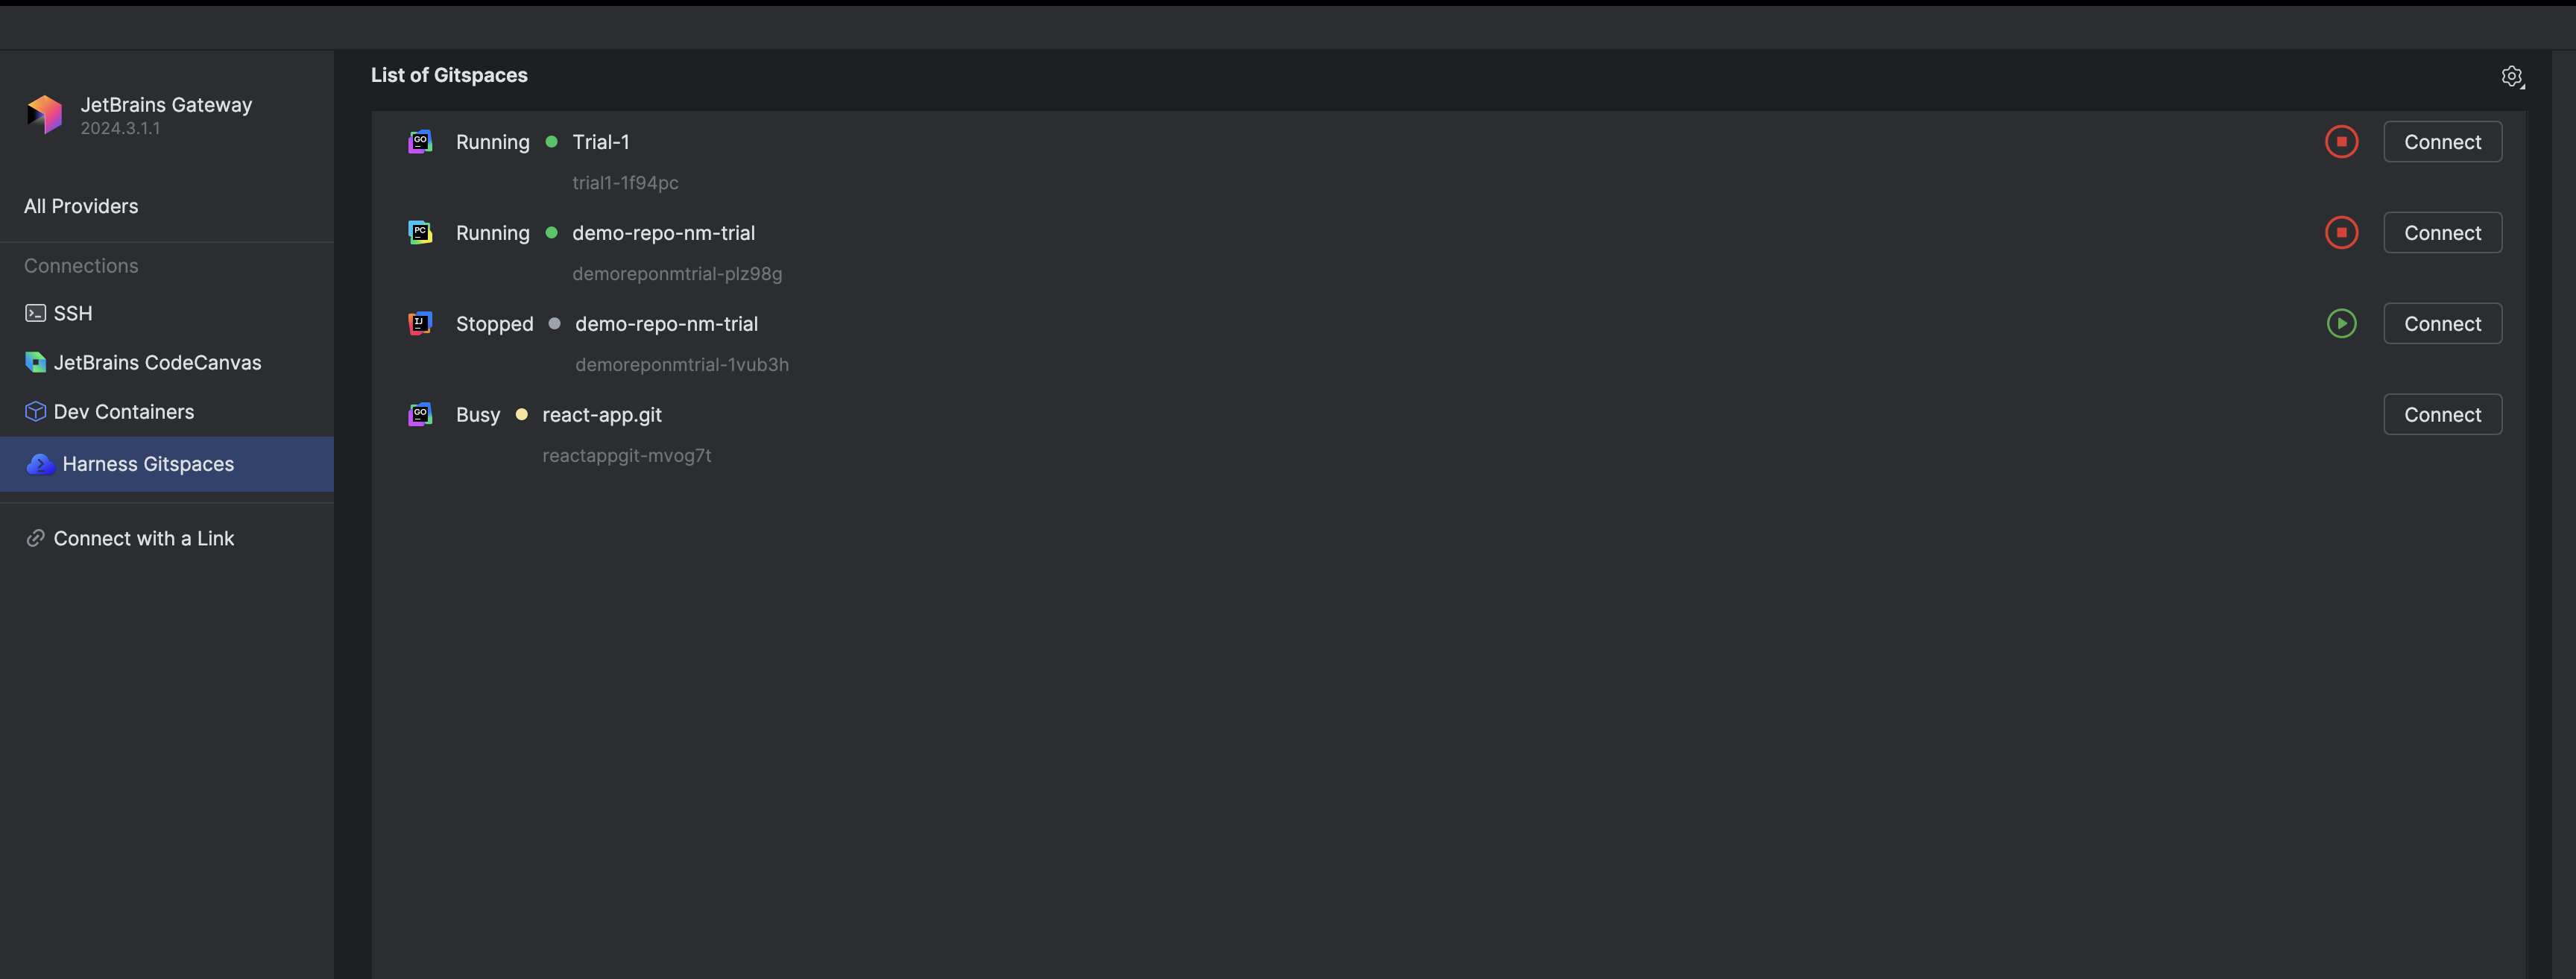
Managing Your Gitspaces
You can access and manage your Gitspaces (only those created in JetBrains IDEs) directly within the JetBrains Gateway application.
Access Your Gitspaces
You can connect to your Gitspaces directly from the Gateway application:
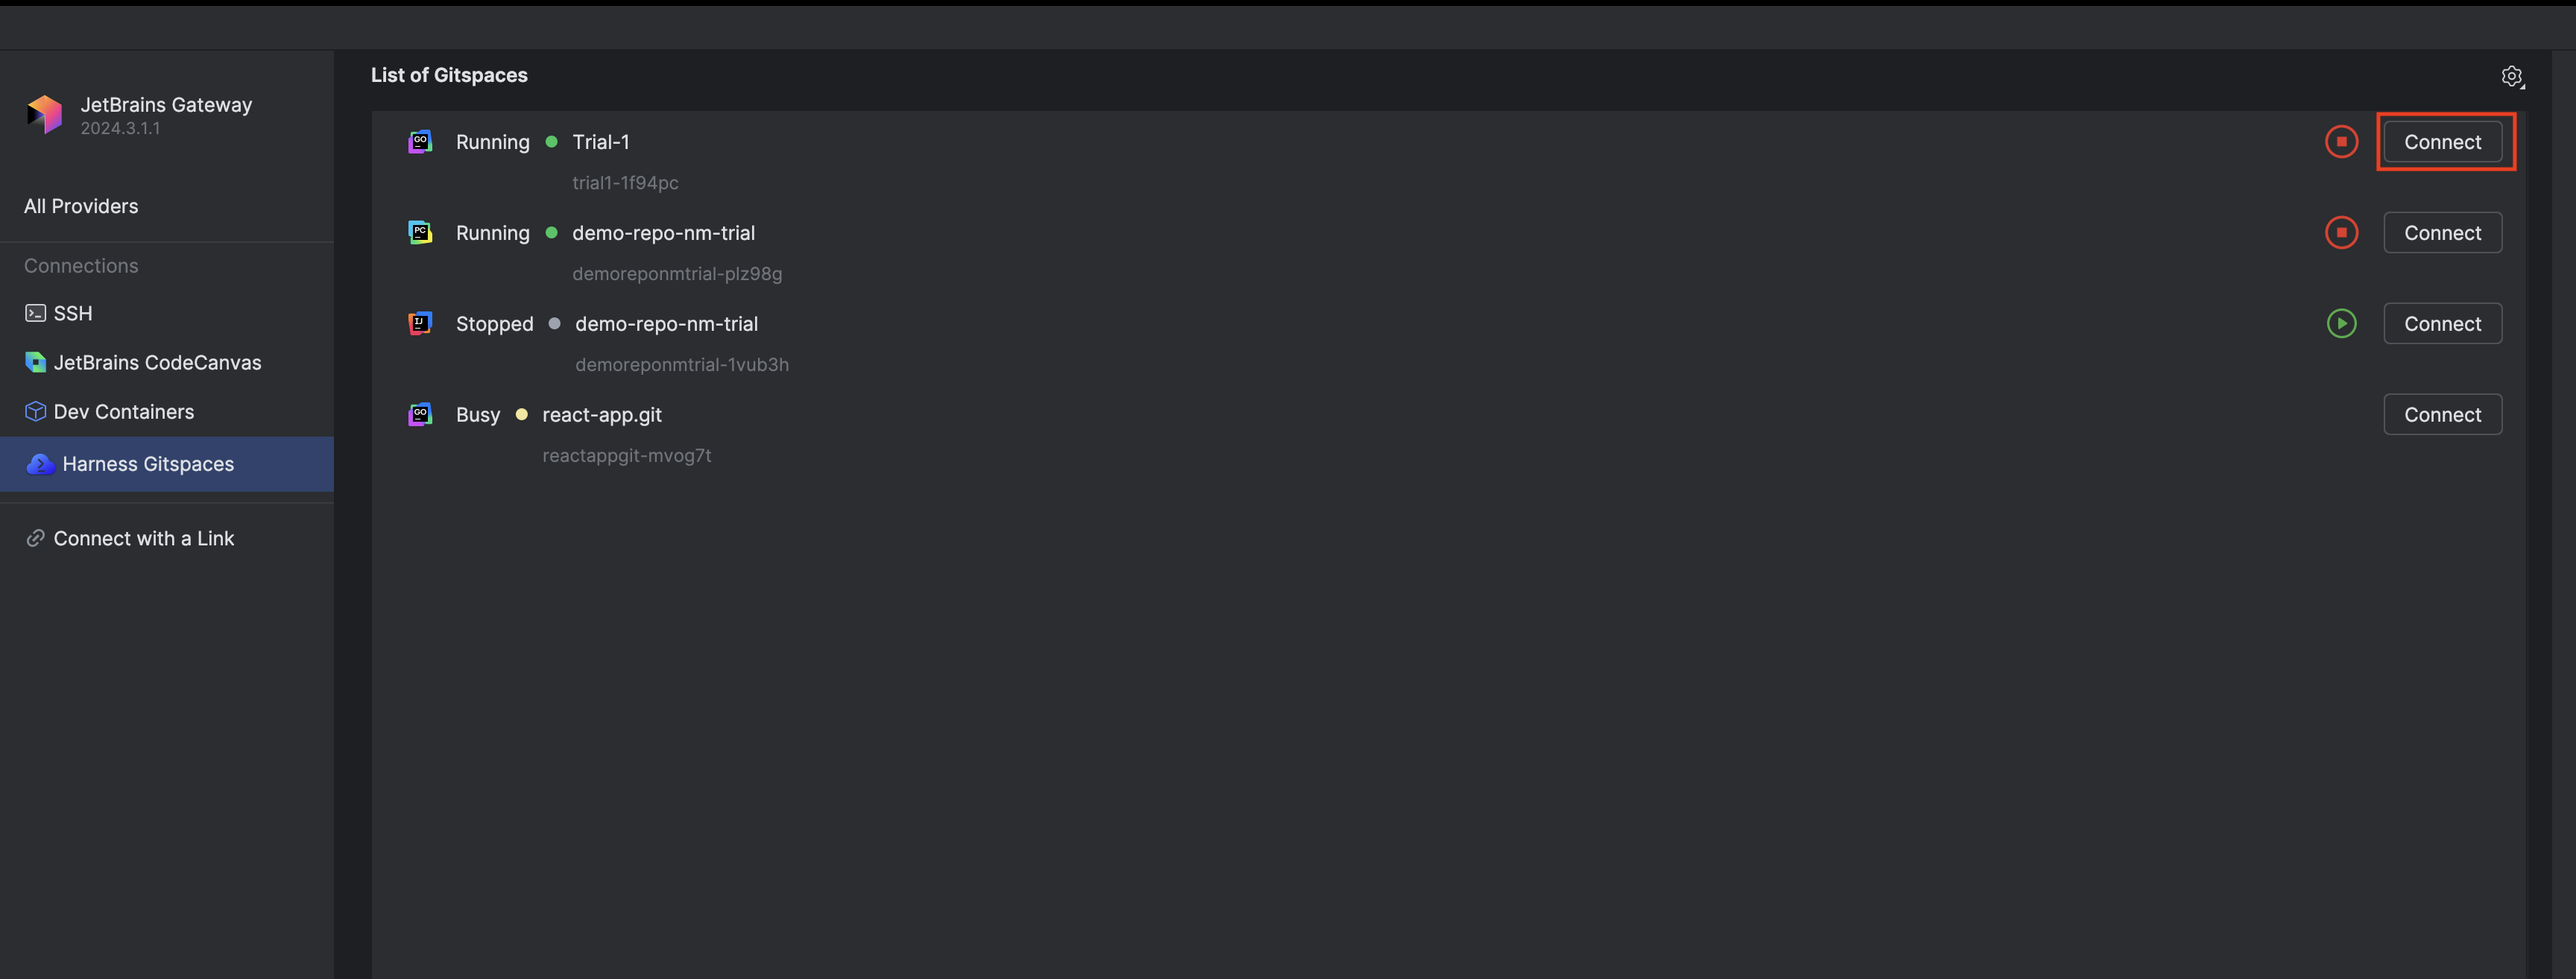
- For an actively running Gitspace, click on "Connect." This will connect you to your remote Gitspace within your selected IDE.
- For a stopped Gitspace, clicking on "Connect" will redirect you to the Harness Gitspaces UI, where you can check its details.
Note: While a Gitspace is transitioning between started and stopped states, its status in the application will be displayed as "Busy." This indicates that the Gitspace is undergoing the transition.
Start Your Gitspaces
You can start your stopped Gitspaces directly from JetBrains Gateway:
- Click the Green Start icon to start your Gitspace. To open your Gitspace in your preferred IDE, refer to the IDE-specific documentation. For example, here’s how you can connect to your Gitspace in IntelliJ IDEA.

- This icon will be visible only if your Gitspace is stopped.
Stop Your Gitspaces
You can stop your active Gitspaces directly from JetBrains Gateway:
- Click the Red Stop icon to stop it from running.

- This icon will be visible only if your Gitspace is currently active.