Add and manage IP allowlists
Management of the IP allowlist involves reviewing and updating the list of approved IP addresses regularly to ensure that only authorized users are granted access. After you enable IP allowlist, only users connecting from the configured IP address/CIDR block will be able to log into Harness.
The following are some key benefits of IP allowlist management:
-
Increased security: By limiting access to approved IP addresses only, you can prevent unauthorized access to sensitive data and resources. This protects against data breaches, cyber-attacks, and other security threats.
-
Improved network performance: By limiting access to approved IP addresses only, you can reduce the number of requests your network receives, which improves network speed and reduces latency.
Harness IP allowlisting is for user connections to a Harness account. It does not perform IP allowlisting for Harness Delegate connections.
This topic explains how to set up an IP allowlist in Harness.
Important
- Make sure you have View, Create/Edit, and Delete permissions for Authentication Settings to add and manage IP allowlists.
- Ensure that your IP is added first when configuring IP allowlist else you'll lose access
- Harness returns a status code of HTTP 401 if an IP address is not allowlisted but tries to access Harness.
- An allowlist can be based on IPv4 or IPv6 or a mix of both.
- The following are the exceptions to the IP allowlist in Harness:
- Calls corresponding to SCIM.
- Calls corresponding to Identity providers.
- API calls corresponding to Harness admin.
- Harness uses an in-memory cache. All caches expire after 5 minutes. Every update takes 5 minutes because there are no manual cache updates.
- Check out the full allowlist for IP addresses and CIDR block.
Add an allowlist
To create an allowlist and add IP addresses to it, do the following:
-
Select ACCOUNT SETTINGS, and then select Authentication.
-
Select Allowlist.
-
Select Add IP Addresses.
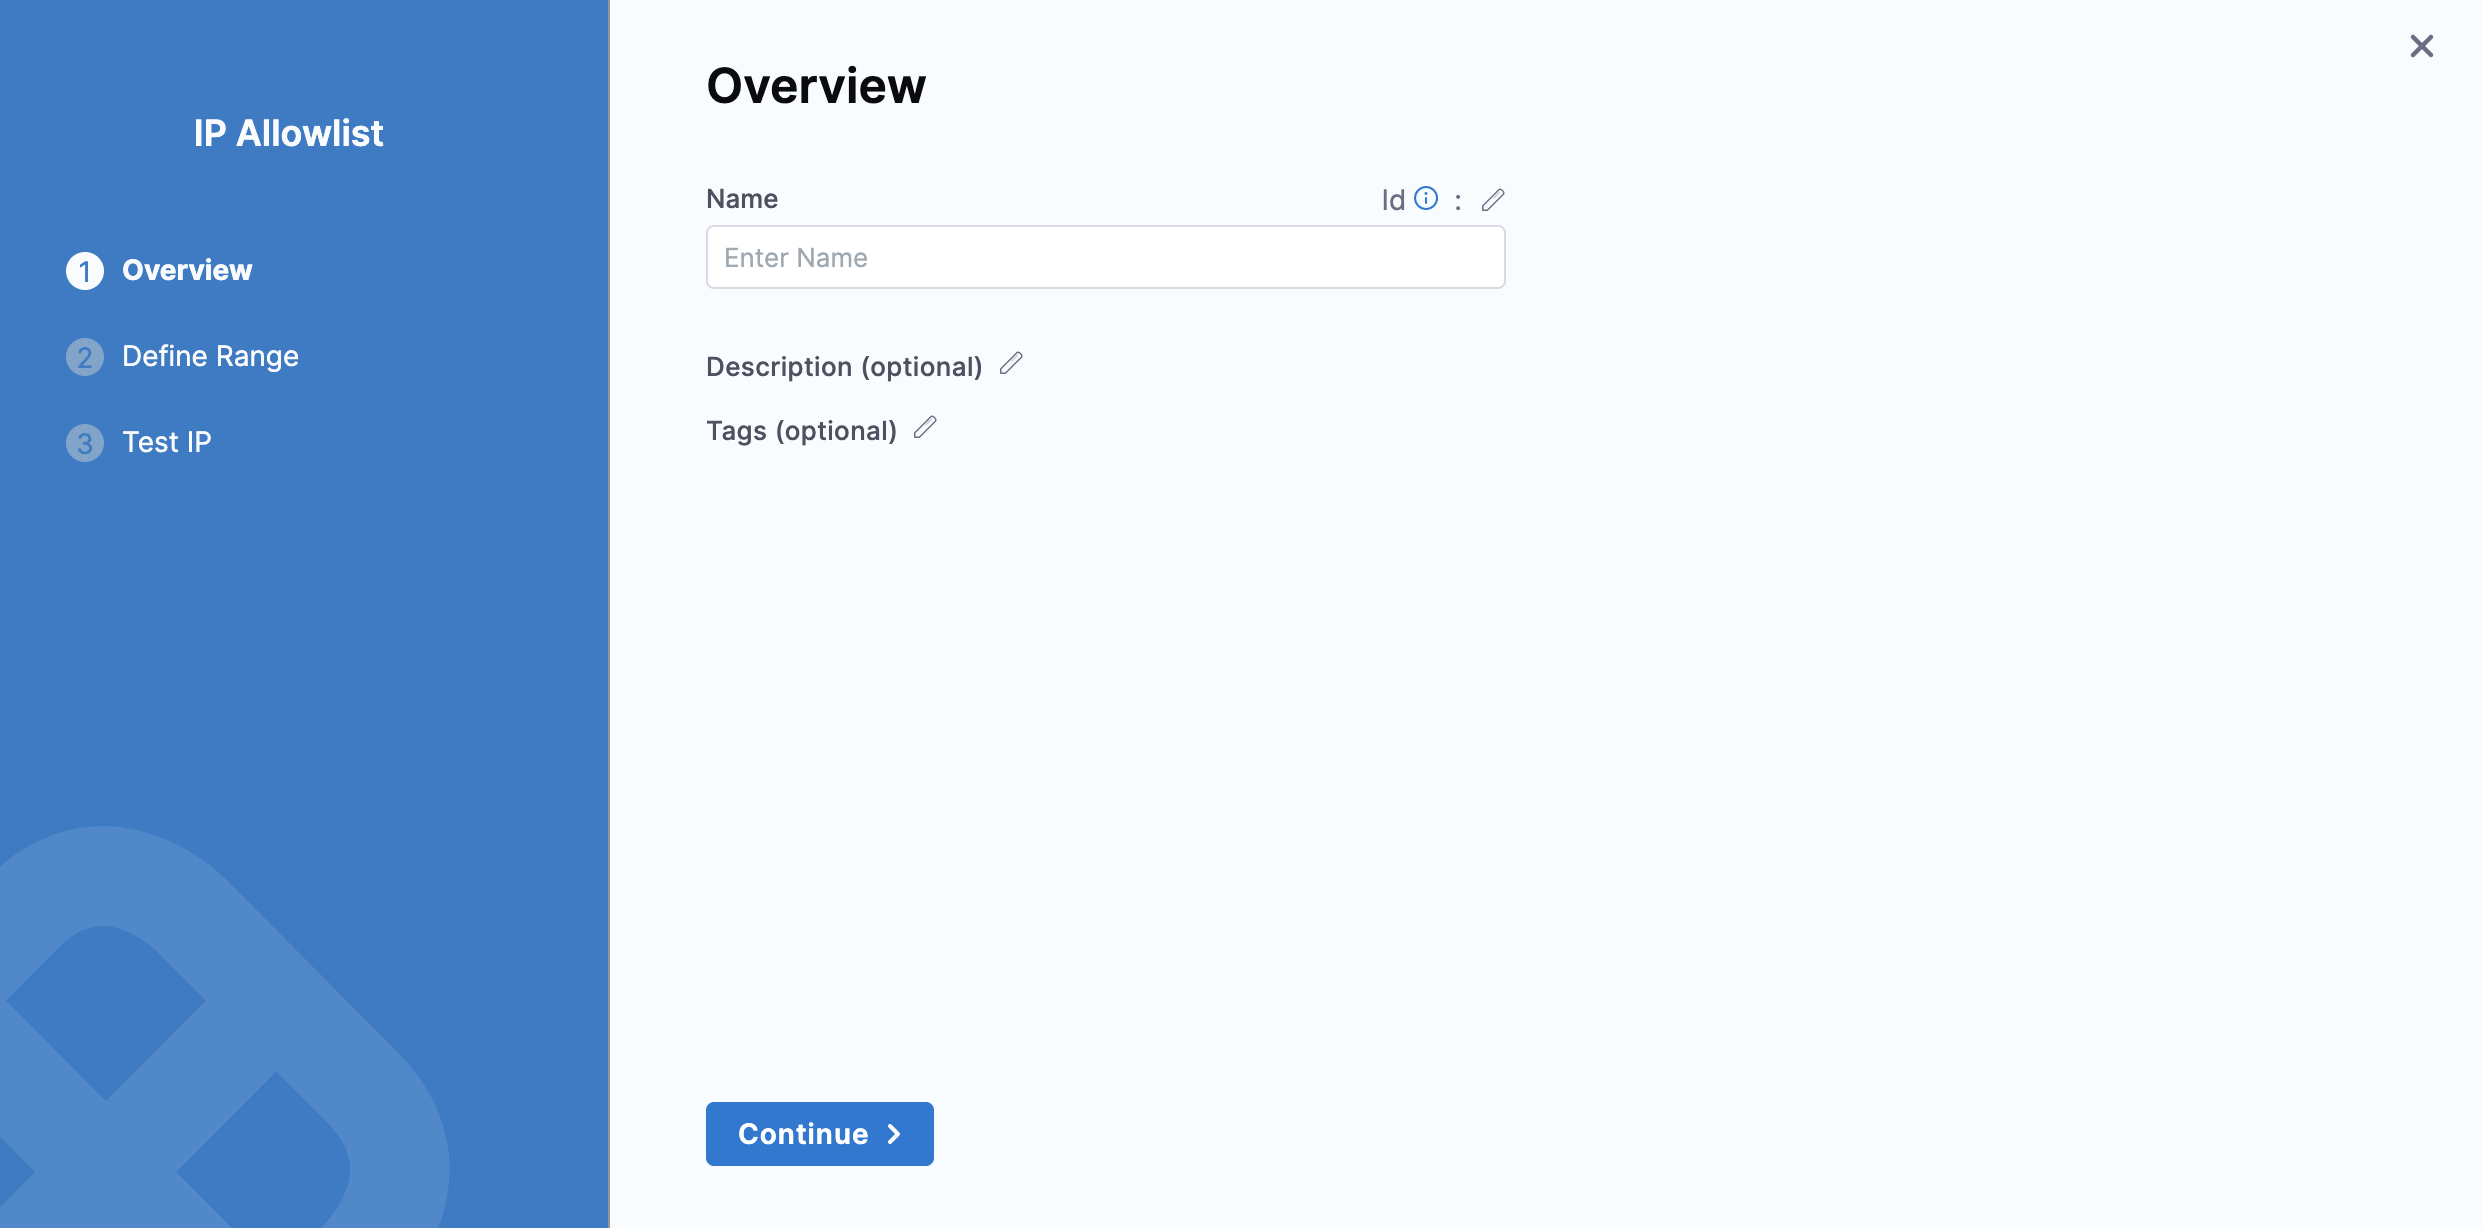
The IP Allowlist settings appear.
-
Enter a Name for the allowlist, and then select Continue.
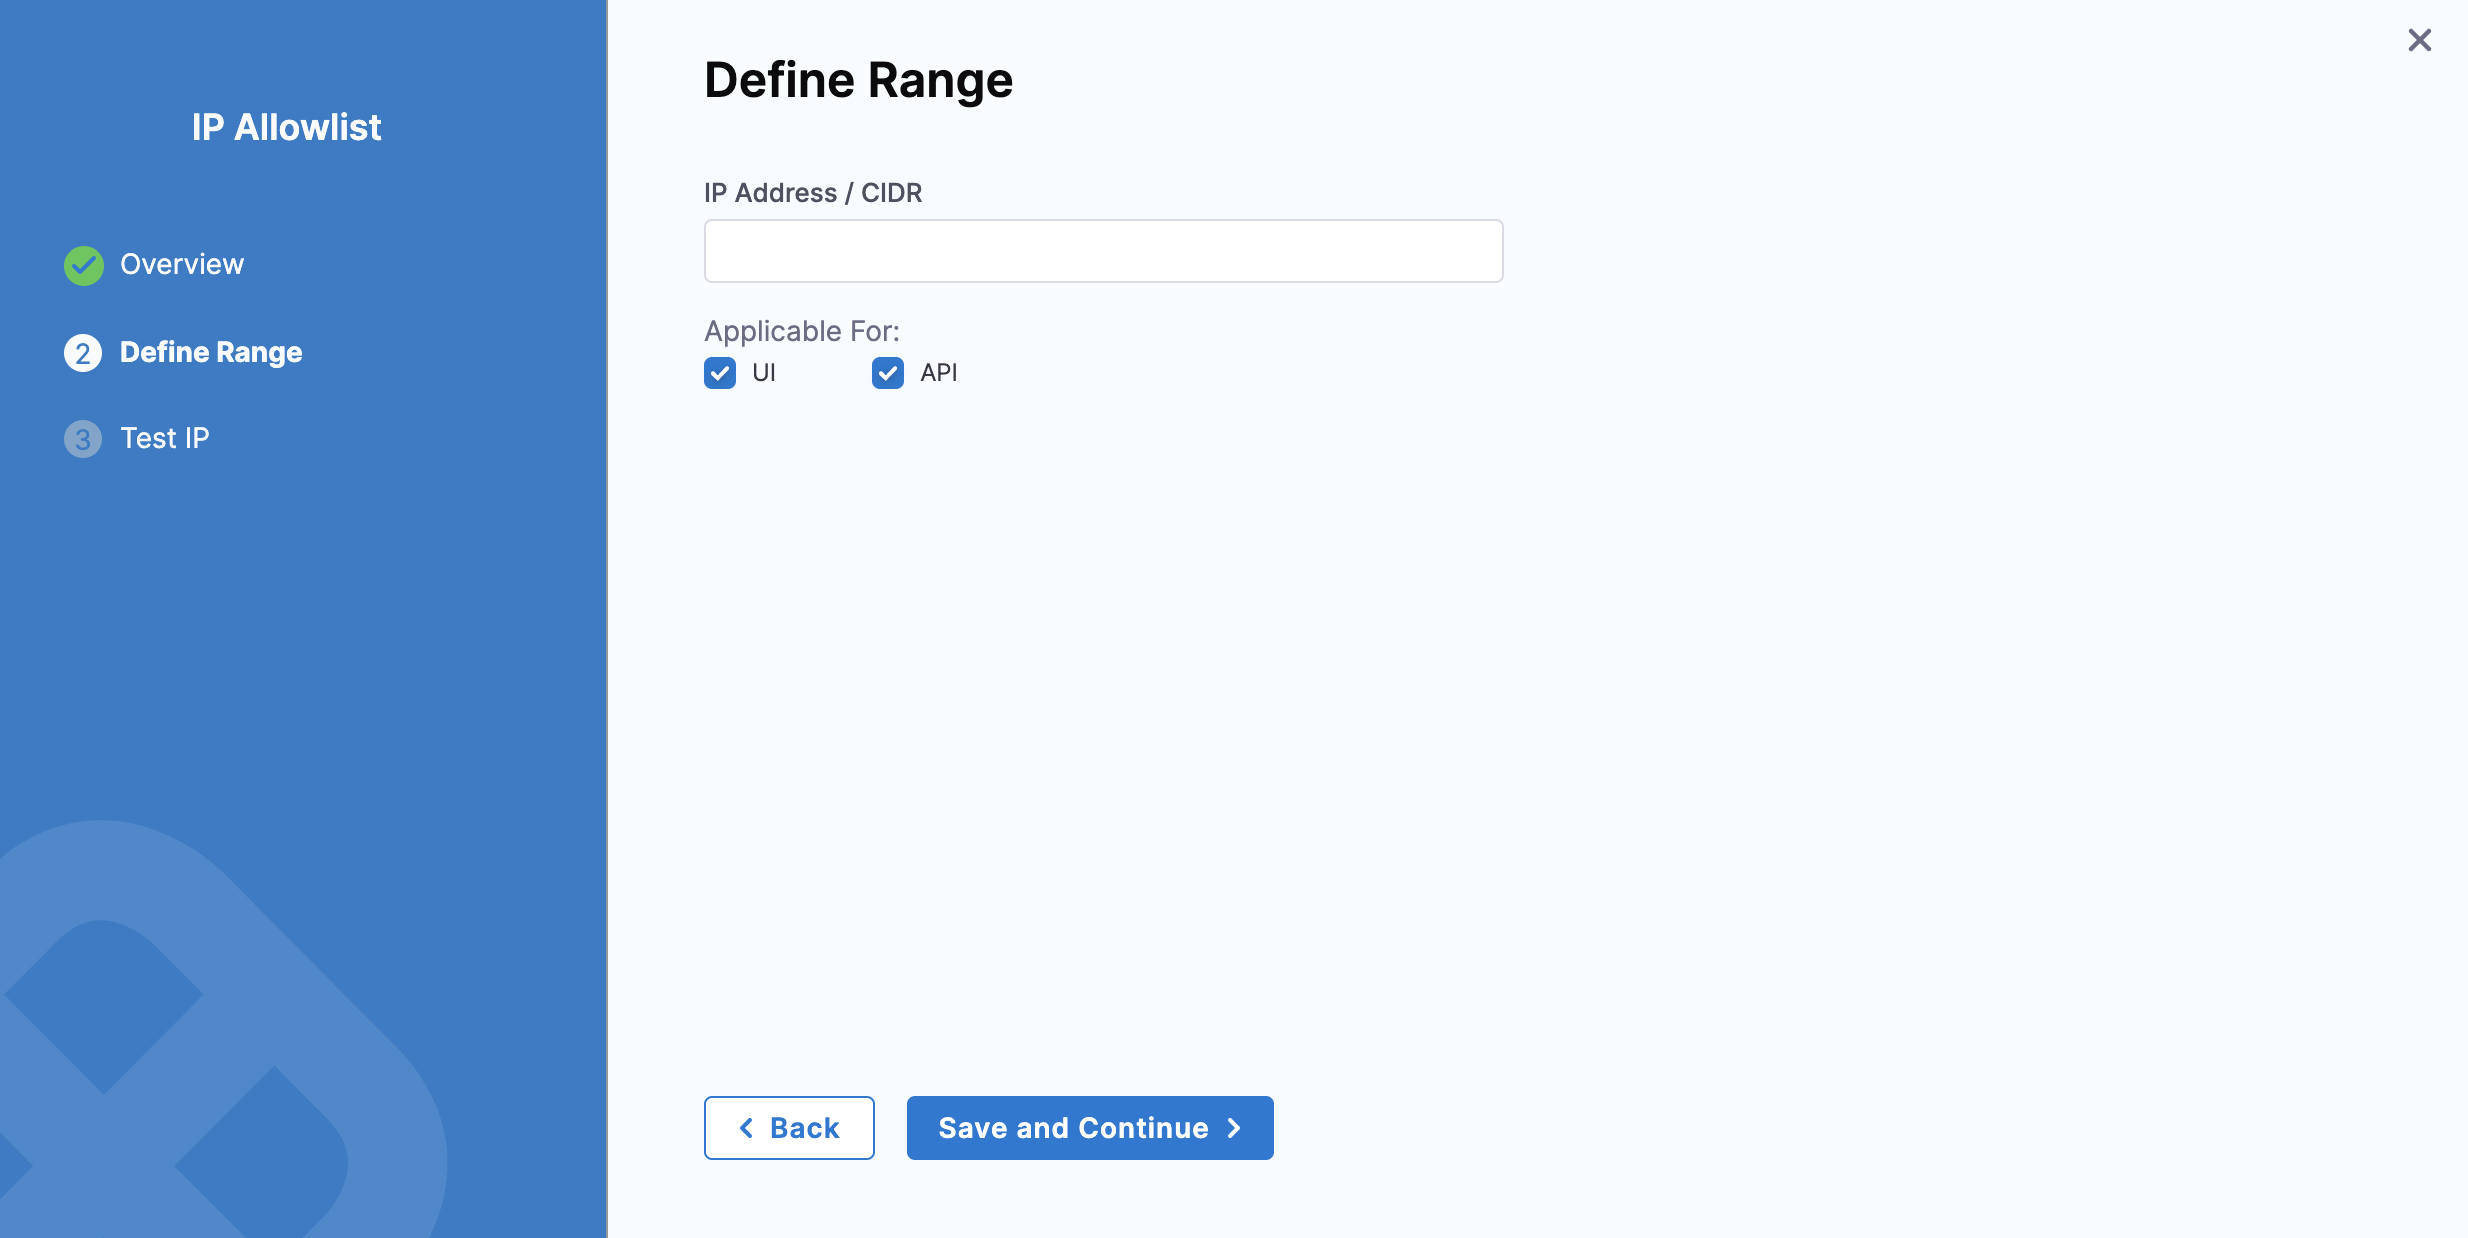
Define the IP range
- In IP Address/CIDR, enter a CIDR, an individual IP address, or a block of IP addresses.
- Select one of the following for the allowlist application:
- UI: Harness allows or blocks the IP address based on the UI request.
- API: Harness checks the API key in the request and allows or blocks the IP address.
-
Select Save and Continue.
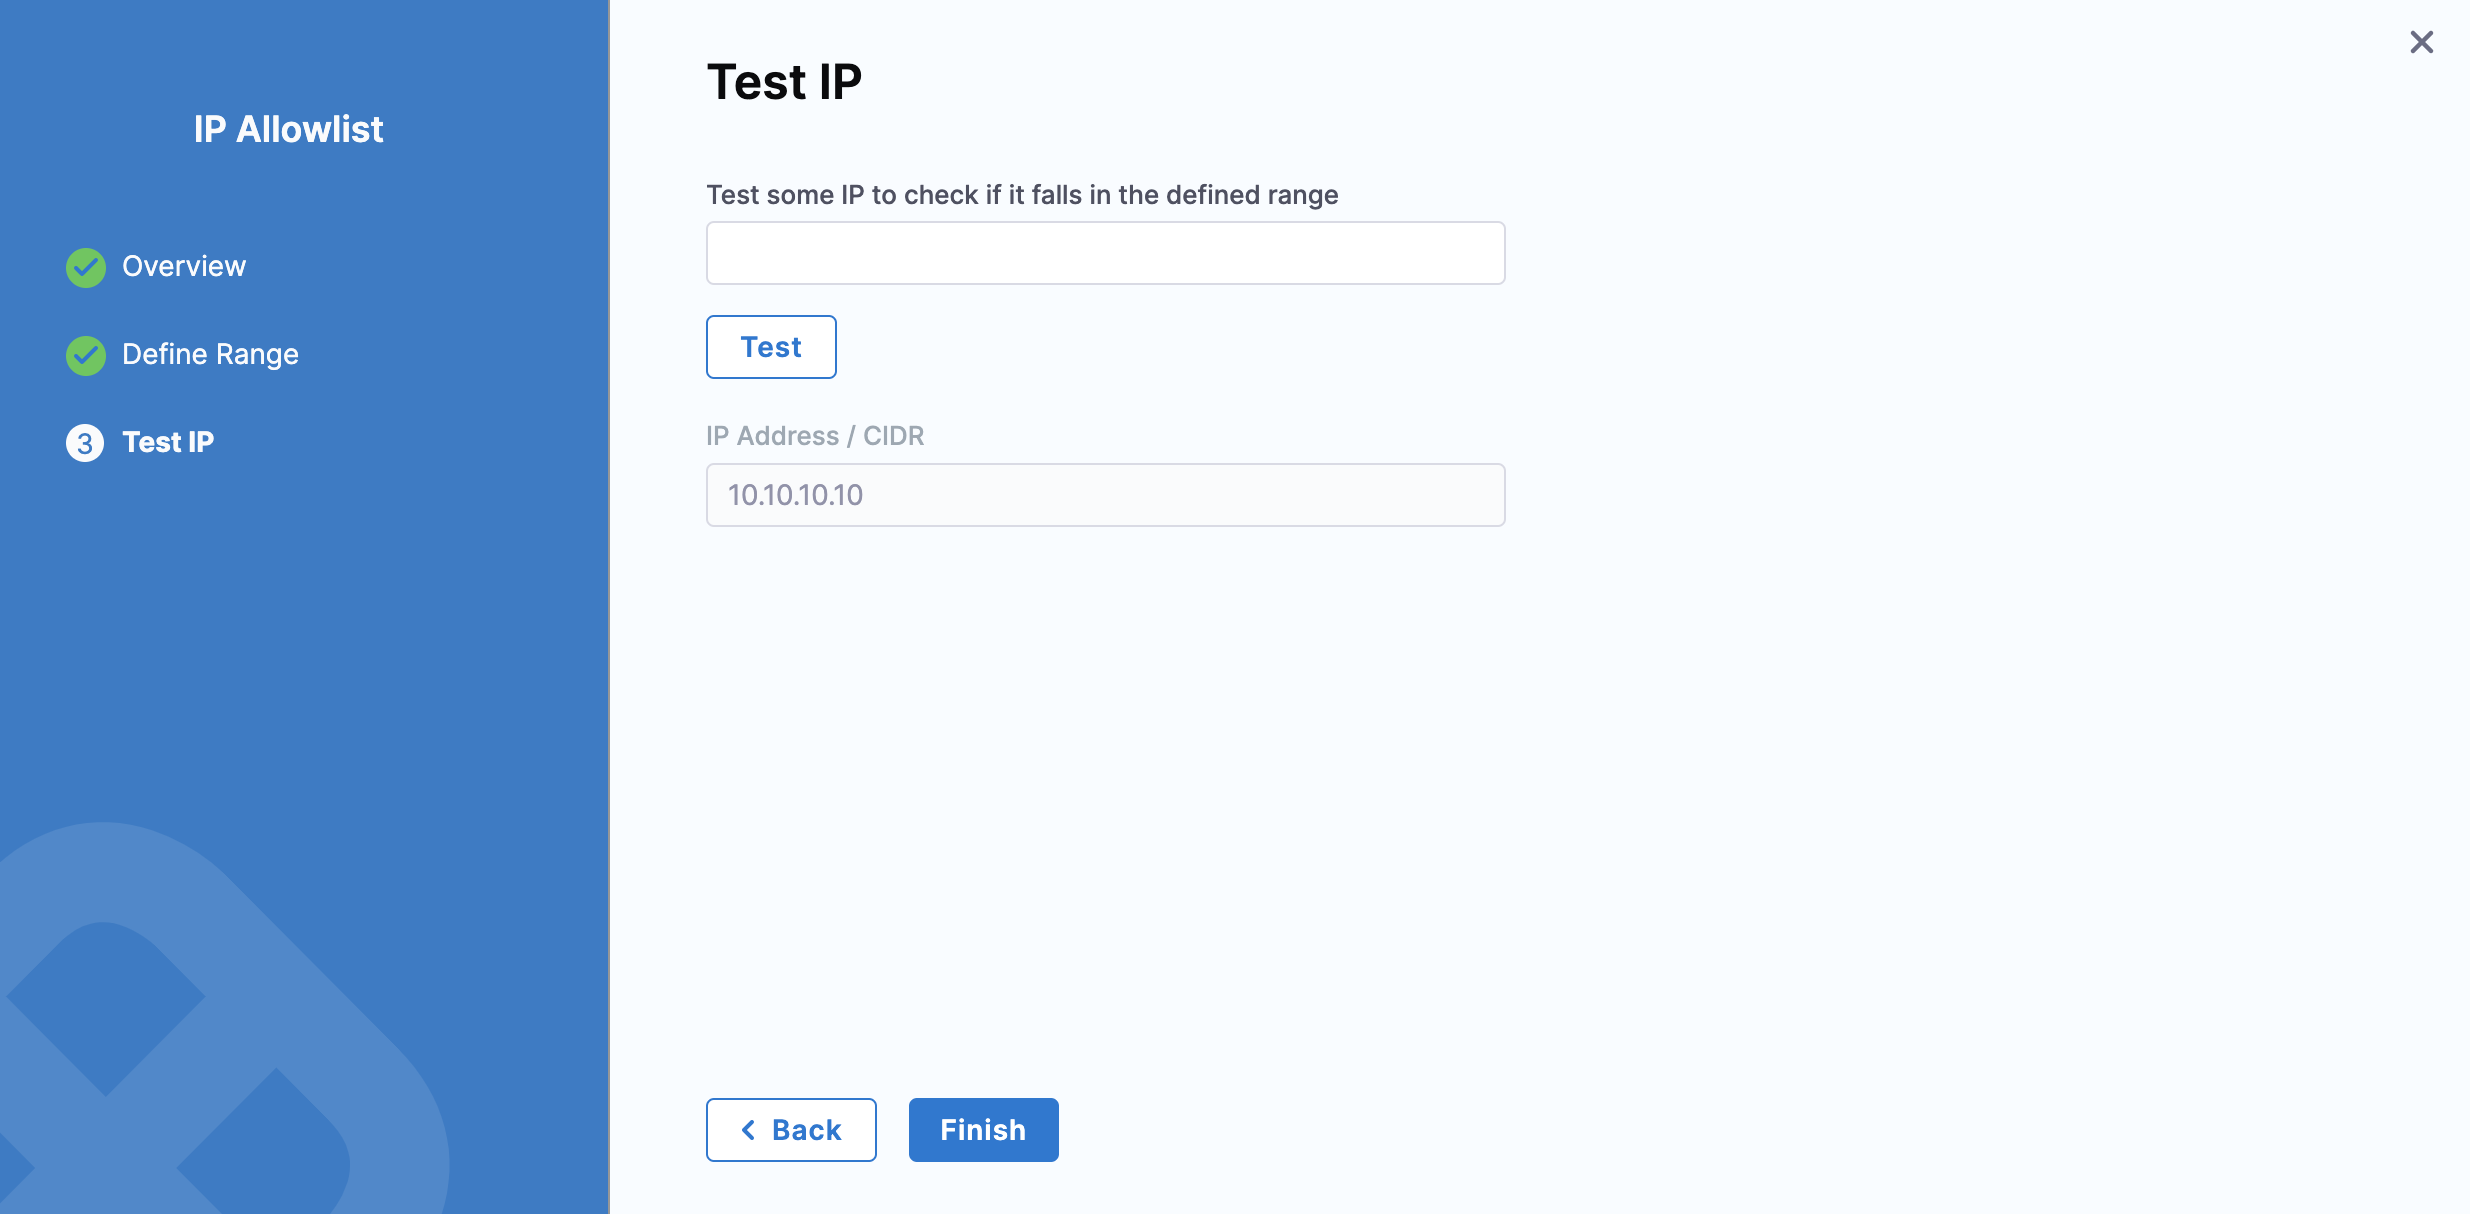
Test IP
-
Enter an IP address to check if it falls within the IP address range configured in the previous step.
-
Select Test.
-
Select Finish.
You can create multiple allowlists and enable or disable them as needed.
Manage IP allowlist
The IP addresses configured in the allowlist now appear in the IP Allowlist.
-
Toggle enable or disable beside the allowlist to enable or disable an allowlist.
-
Select the three-dot menu to edit or delete an allowlist. Select Check any IP for allowlist to check if an IP address is allowed.
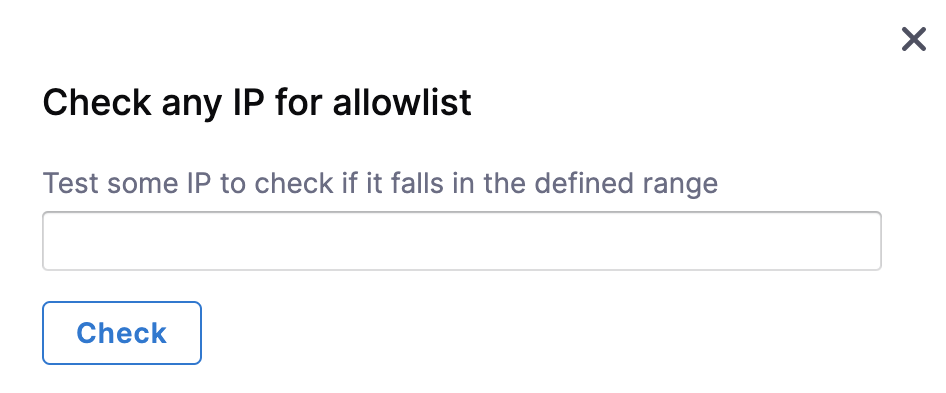
Enter an IP address or a range of IP addresses and select Check.
importantMake sure that your current IP address is allowlisted in all enabled configurations, otherwise, they may get locked out.