SEI GitHub Enhanced integration - BETA
GitHub provides hosting for software development and version control using Git.
The new experience for the GitHub integration is currently in BETA and is behind the Feature Flag <SEI_EASY_ONBOARDING_GITHUB>. Please contact Harness Support to enable this feature.
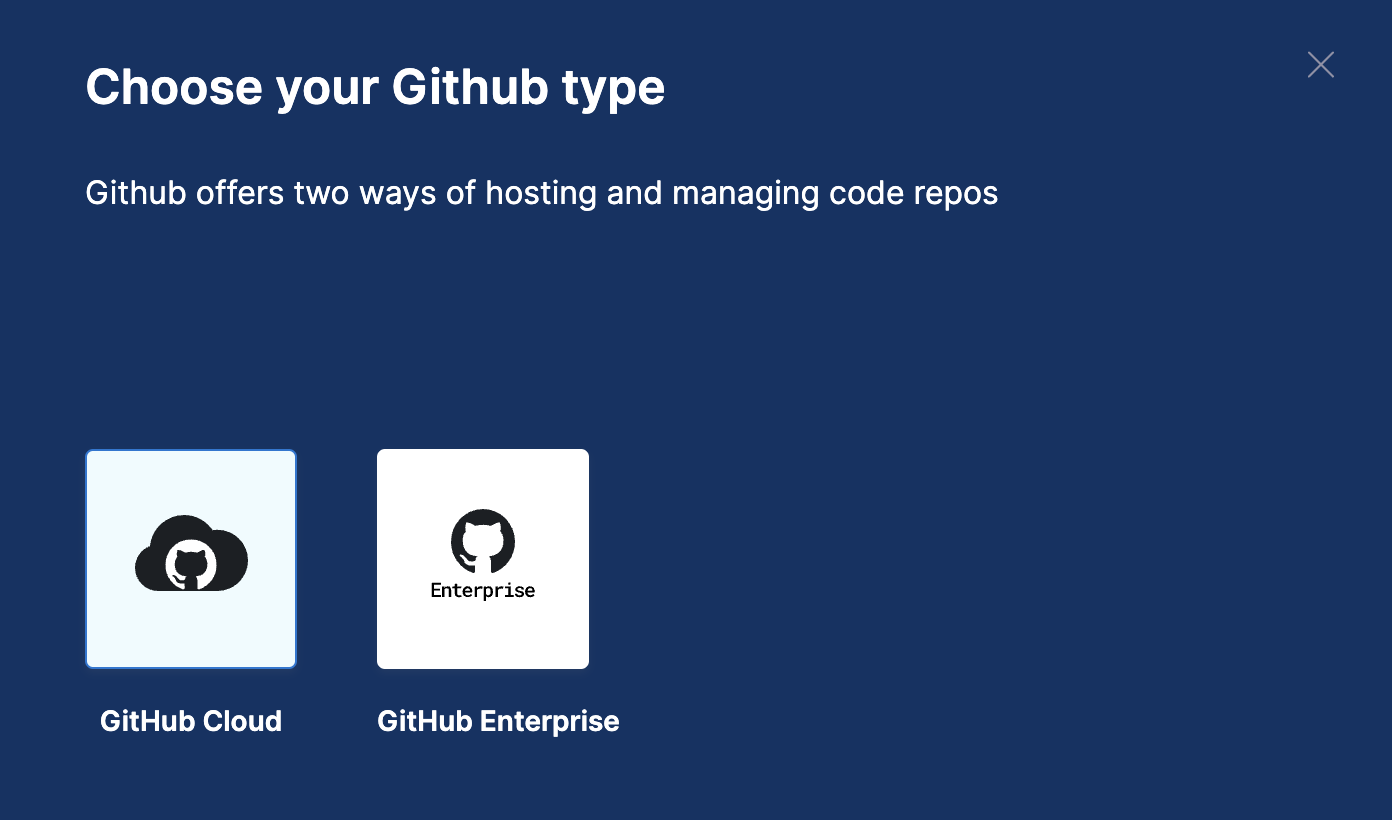
To integrate SEI with Github, you must choose your Github type. SEI supports two integrations to integrate SEI with GitHub:
- GitHub Cloud
- GitHub Enterprise
SEI only ingests repositories from organizations. SEI doesn't ingest your personal repos or repos where you are a collaborator but not a member of the affiliated organization.
In other words, the owner of the GitHub personal access token that is associated with the integration must be a direct member of an organization for a repo to be ingested by SEI.
Connect with GitHub Cloud
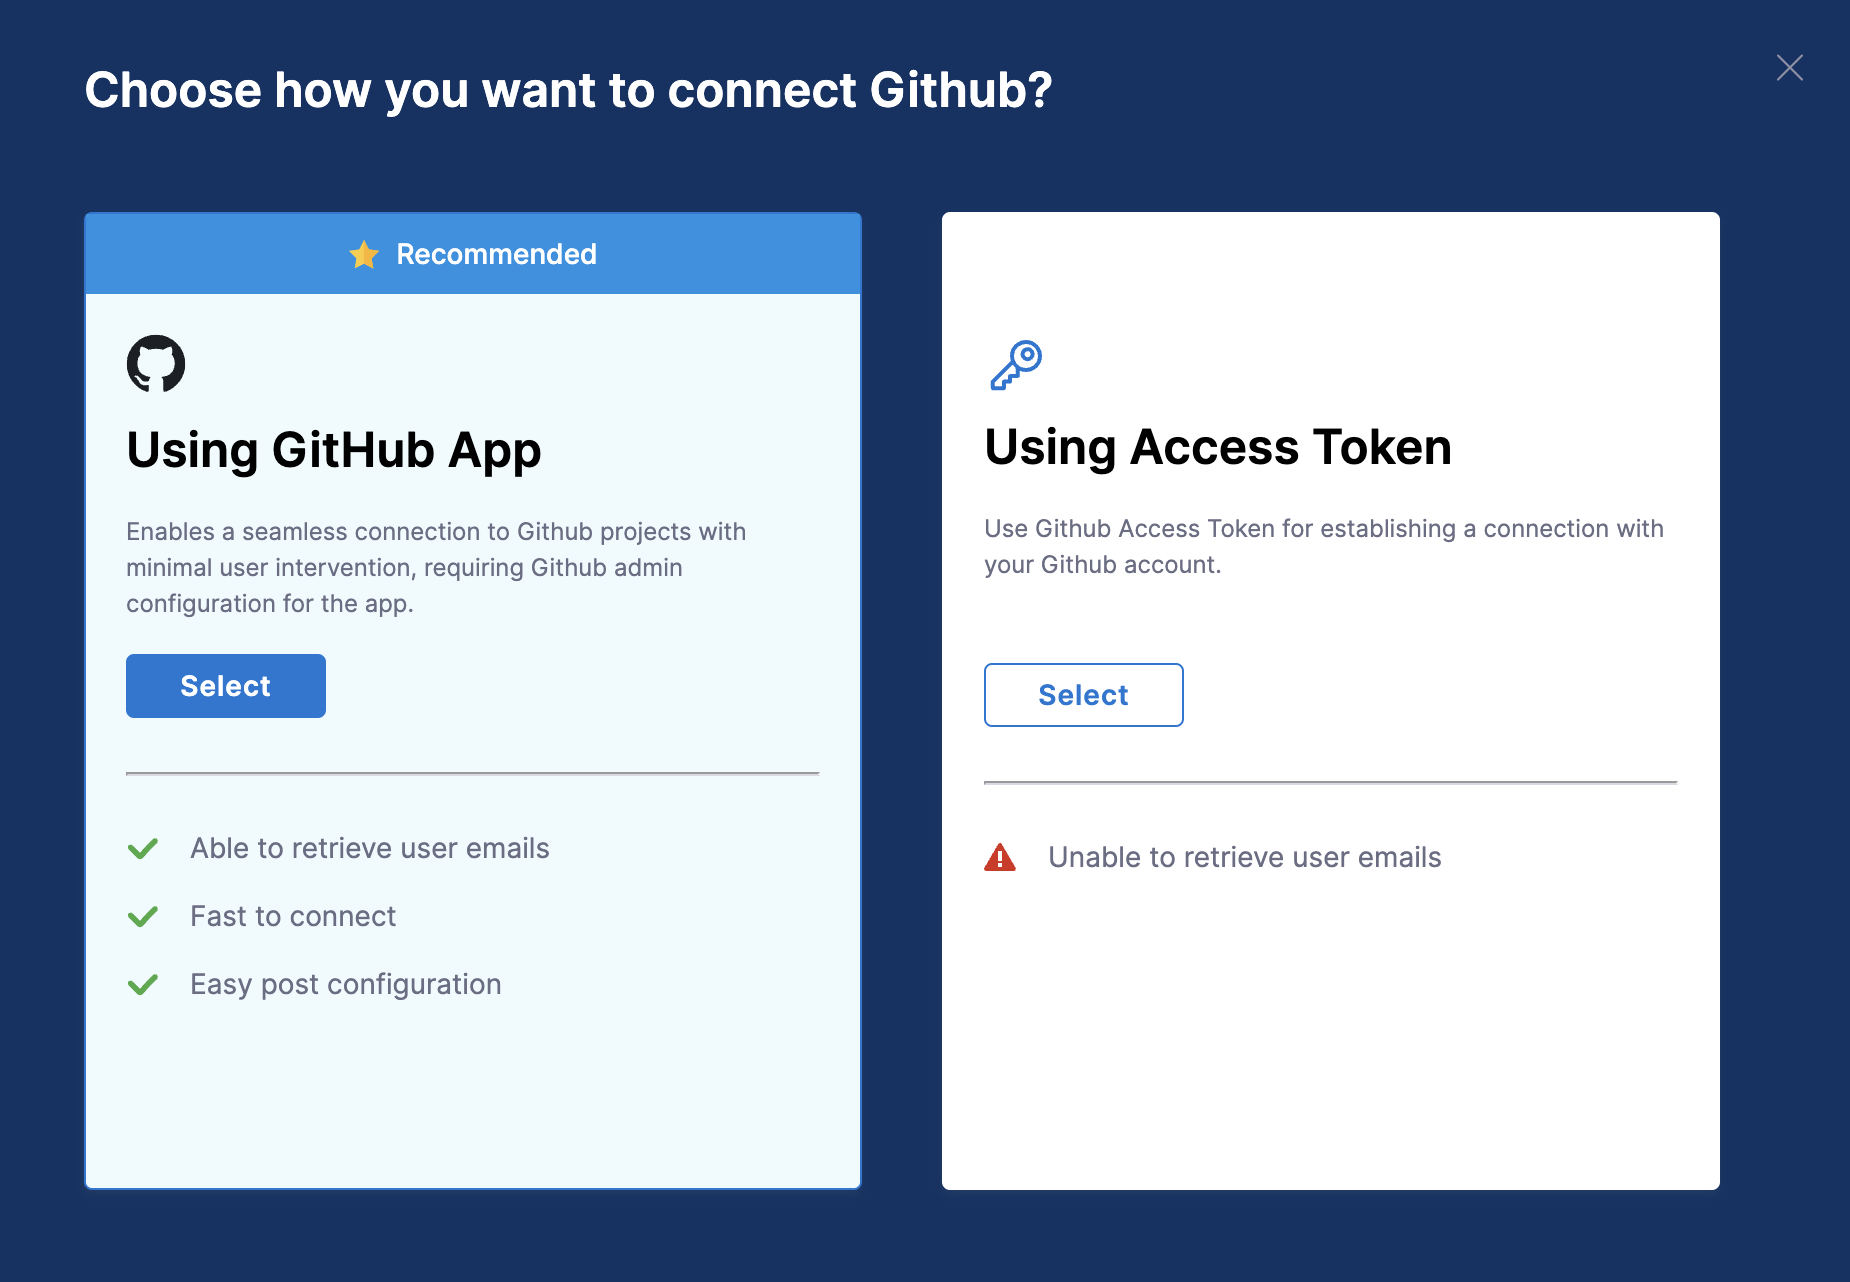
For the integration type as Cloud, you can choose how you want to connect GitHub i.e.
- GitHub App
- GitHub Access Token
Configure the integration using the GitHub App
The GitHub App facilitates a seamless connection to GitHub with minimal user intervention, requiring GitHub organization admin configuration for the app.
Using the GitHub App allows you to retrieve all user emails from GitHub, making it faster and easier to connect and manage the integration.
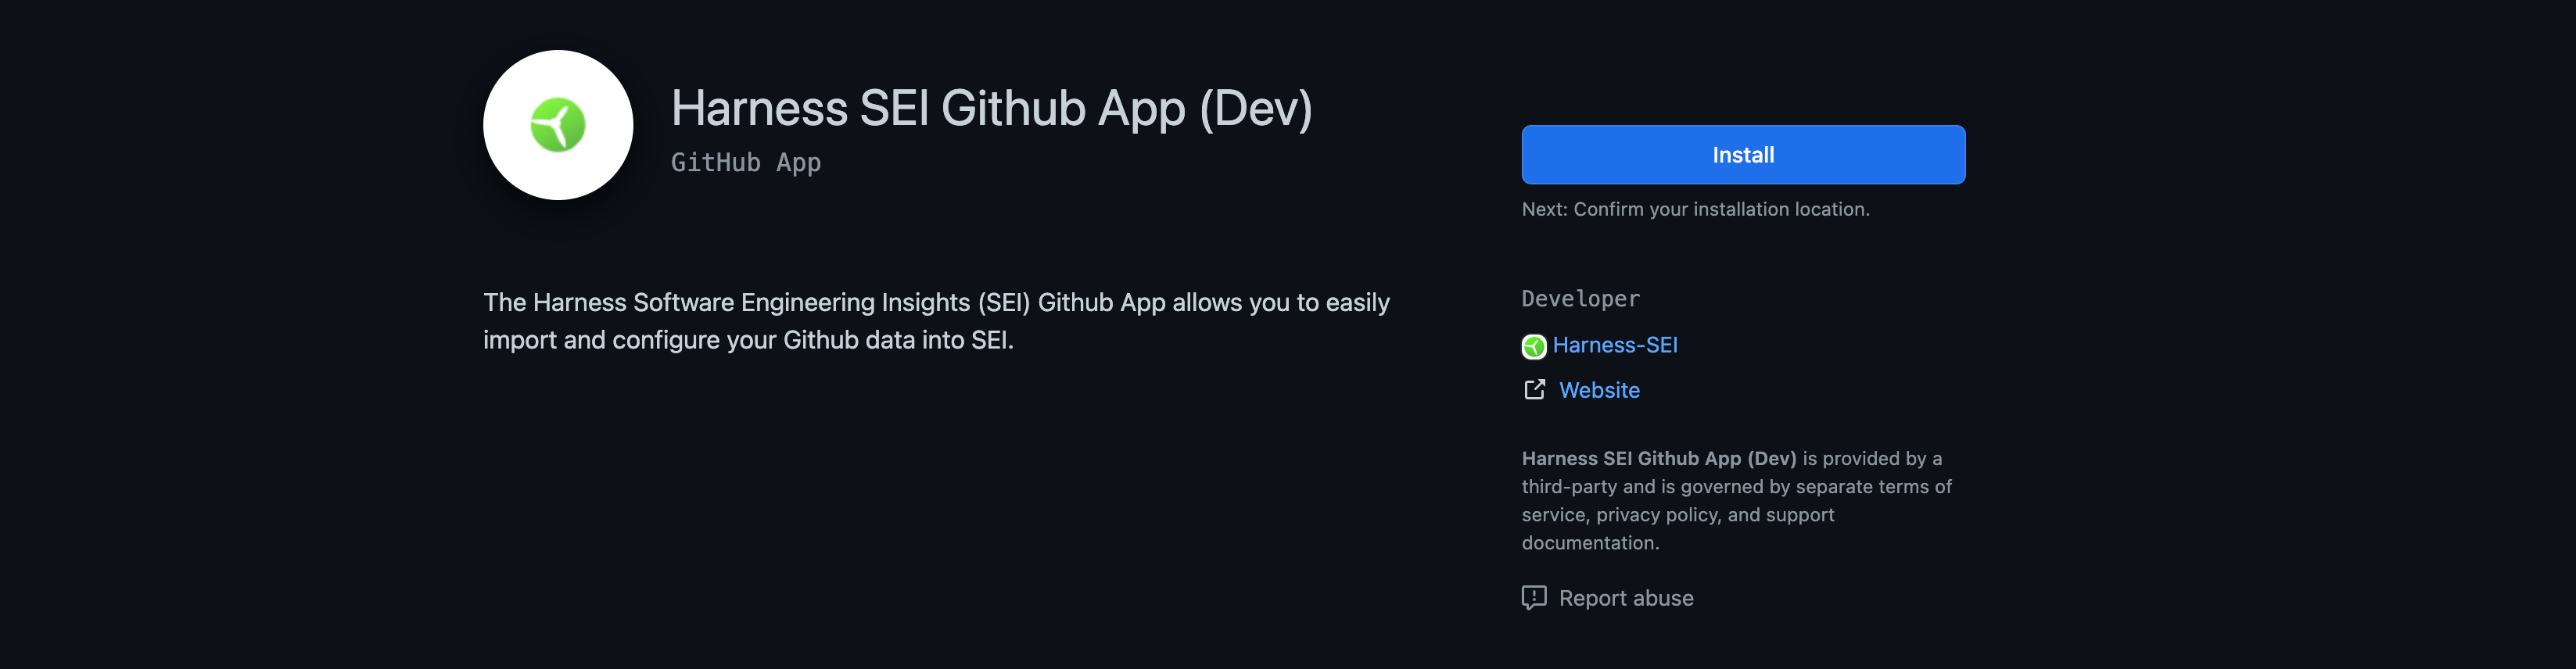
The following permissions are required to configure the Harness SEI Github App integration:
- Read access to administration, code, commit statuses, issues, metadata, and pull requests: This allows the app to view and access information about your repositories, including code, commits, issues, and metadata.
- Read access to email addresses: This allows the app to view the email addresses of users who have authorized the app.

It is important to note that these permissions are requested by the Harness SEI Github App. This means that the app will request these permissions from GitHub on its behalf, and not on behalf of the user who is installing the app.
To set up the integration using the GitHub App:
-
Select Integrations under Settings.
-
Select Available Integrations, locate the GitHub integration, and select Install.
-
Select GitHub Cloud as the integration type.
-
Select the GitHub App tile to set up the connection with GitHub.
-
Verify that your account is an owner of the GitHub organisation that you want to connect. To do this, go to your GitHub organisation page and ensure that your account is listed as an owner.
-
If you've previously connected SEI to GitHub, you may need to remove the SEI app from GitHub before proceeding.
-
Click the Connect GitHub button to begin authentication.
-
Once authenticated, you'll be prompted to select the repositories that SEI will monitor. You can choose to monitor all repositories or select specific ones.
Note that if you select All Repositories, SEI will automatically monitor all existing and future repositories. If you select Only Selected Repositories, SEI will only monitor the repositories you've chosen.
-
Now on the GitHub App settings page add the basic overview information:
- Integration Name: Name for your integration.
- Description (optional): Add a description for the integration.
- Tags (optional): Add tags for the integration if required.
-
Once you've configured the settings click on Finalize Integration to save the integration.
Configure the integration using Access Token
Before you configure the SEI GitHub integration, you must generate a GitHub Personal Access Token.
Authenticate with GitHub
To create a GitHub personal access token to configure the SEI GitHub integration.
-
Log in to your GitHub account and create a Personal Access Token. For instructions, go to the GitHub documentation on Managing your personal access tokens.
-
Select the following permissions for your personal access token:
- All
reposcopes, including the parentreposcope. The top-levelreposcope is required for SEI to have the required visibility into your repos.
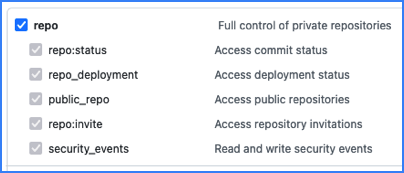
- The
read:orgscope underadmin:org.

- All
-
Copy the token somewhere that you can retrieve it when you configure the integration.
-
If your GitHub organization uses SAML SSO, enable SSO for your personal access token. For instructions, go to the GitHub documentation on Authorizing a personal access token for use with SAML SSO.
Configure the integration
-
Select Integrations under Settings.
-
Select Available Integrations, locate the GitHub integration, and select Install.
-
Select GitHub Cloud as the
integration type. -
Select the Using Access Token tile to set up the connection with GitHub.
-
Configure the integration settings and authentication:
- Integration Name: Name for your integration.
- Description (optional): Add a description for the integration.
- Tags (optional): Add tags for the integration if required.
-
Add the PAT Key that you previously generated for your GitHub account.
-
If applicable, configure the Additional Options. This allows you to specifically select the fields that you want to include in the data ingestion.
- Fetch PRs: Allow SEI to ingest PR data from GitHub.
- Fetch Issues: Allow SEI to ingest data from GitHub Issues.
- Fetch Projects: Allow SEI to ingest data from GitHub Projects.
- Fetch Commits: Allow SEI to ingest commit metadata from GitHub.
- Fetch Commit Files: Allow SEI to ingest data within commits from GitHub.
The support for Connecting via Webhook has been deprecated as part of this feature.
- Click on Validate Connection to validate the connection, and once successful, you'll have the integration set up under the Your Integrations tab.
Connect with GitHub Enterprise
To connect with the GitHub Enterprise, you can use the Ingestion Satellite to integrate with on-premises GitHub Enterprise instances. The configuration process for the integration is similar to setting up the integration in the cloud but instead uses the satellite to communicate with the GitHub server.
To set up the integration for the GitHub Enterprise:
- Select Integrations under Settings.
- Select Available Integrations, locate the GitHub integration, and select Install.
- Select GitHub Enterprise as the integration type.
- Define the integration settings:
- Integration Name: Name for your integration.
- Description (optional): Add a description for the integration.
- Tags (optional): Add tags for the integration if required.
- Configure the integration settings and authentication:
- Add the PAT Key that you previously generated for your GitHub account. Note that you can add multiple PATs for the same integration.
- Enter the URL of your GitHub Enterprise On-prem instance, for example,
<https://GITHUB.ORGANIZATION-DOMAIN>. Ensure it's a valid URL.
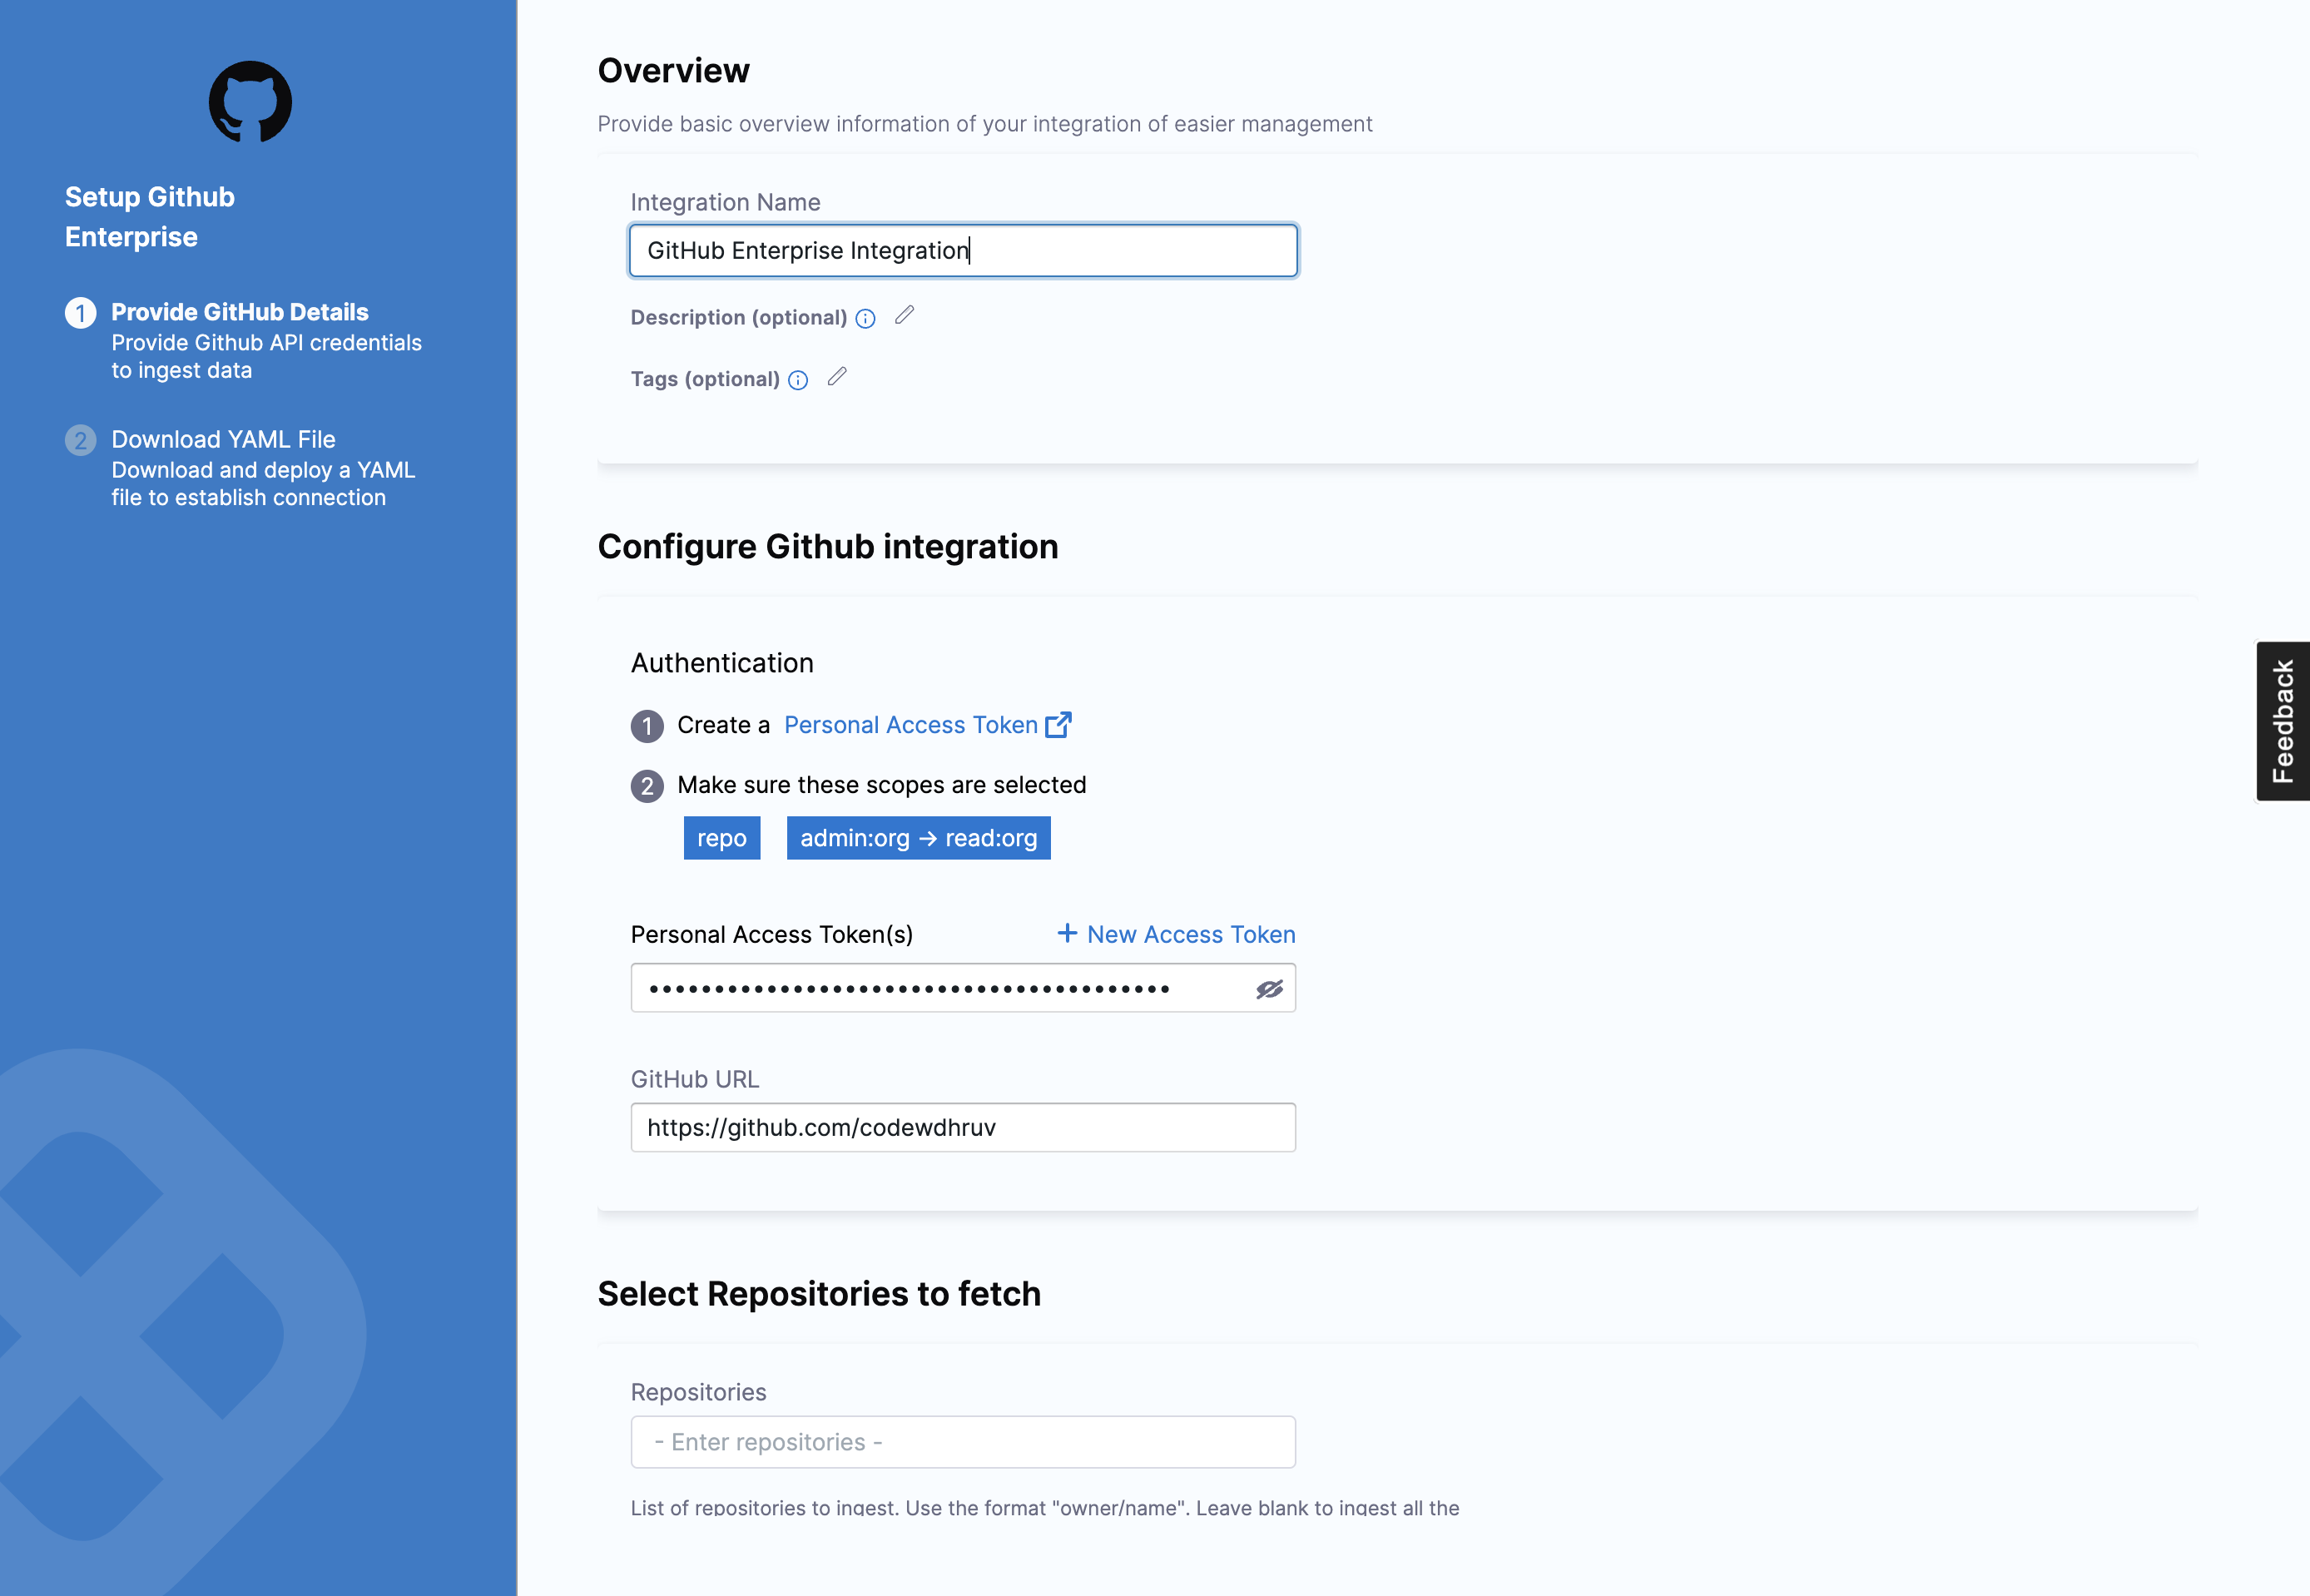
- If applicable, configure the Additional Options.
- Specify the repositories for which you want to ingest the data on SEI. Use the format username/repository-name. Leave this field blank to ingest all the repositories.
- Specifically, select the fields that you want to include in the data ingestion.
- Fetch PRs: Allow SEI to ingest PR data from GitHub.
- Fetch Issues: Allow SEI to ingest data from GitHub Issues.
- Fetch Projects: Allow SEI to ingest data from GitHub Projects.
- Fetch Commits: Allow SEI to ingest commit metadata from GitHub.
- Fetch Commit Files: Allow SEI to ingest data within commits from GitHub.
- Once you've configured the integration, click on Download YAML File to download the satellite.yml file.
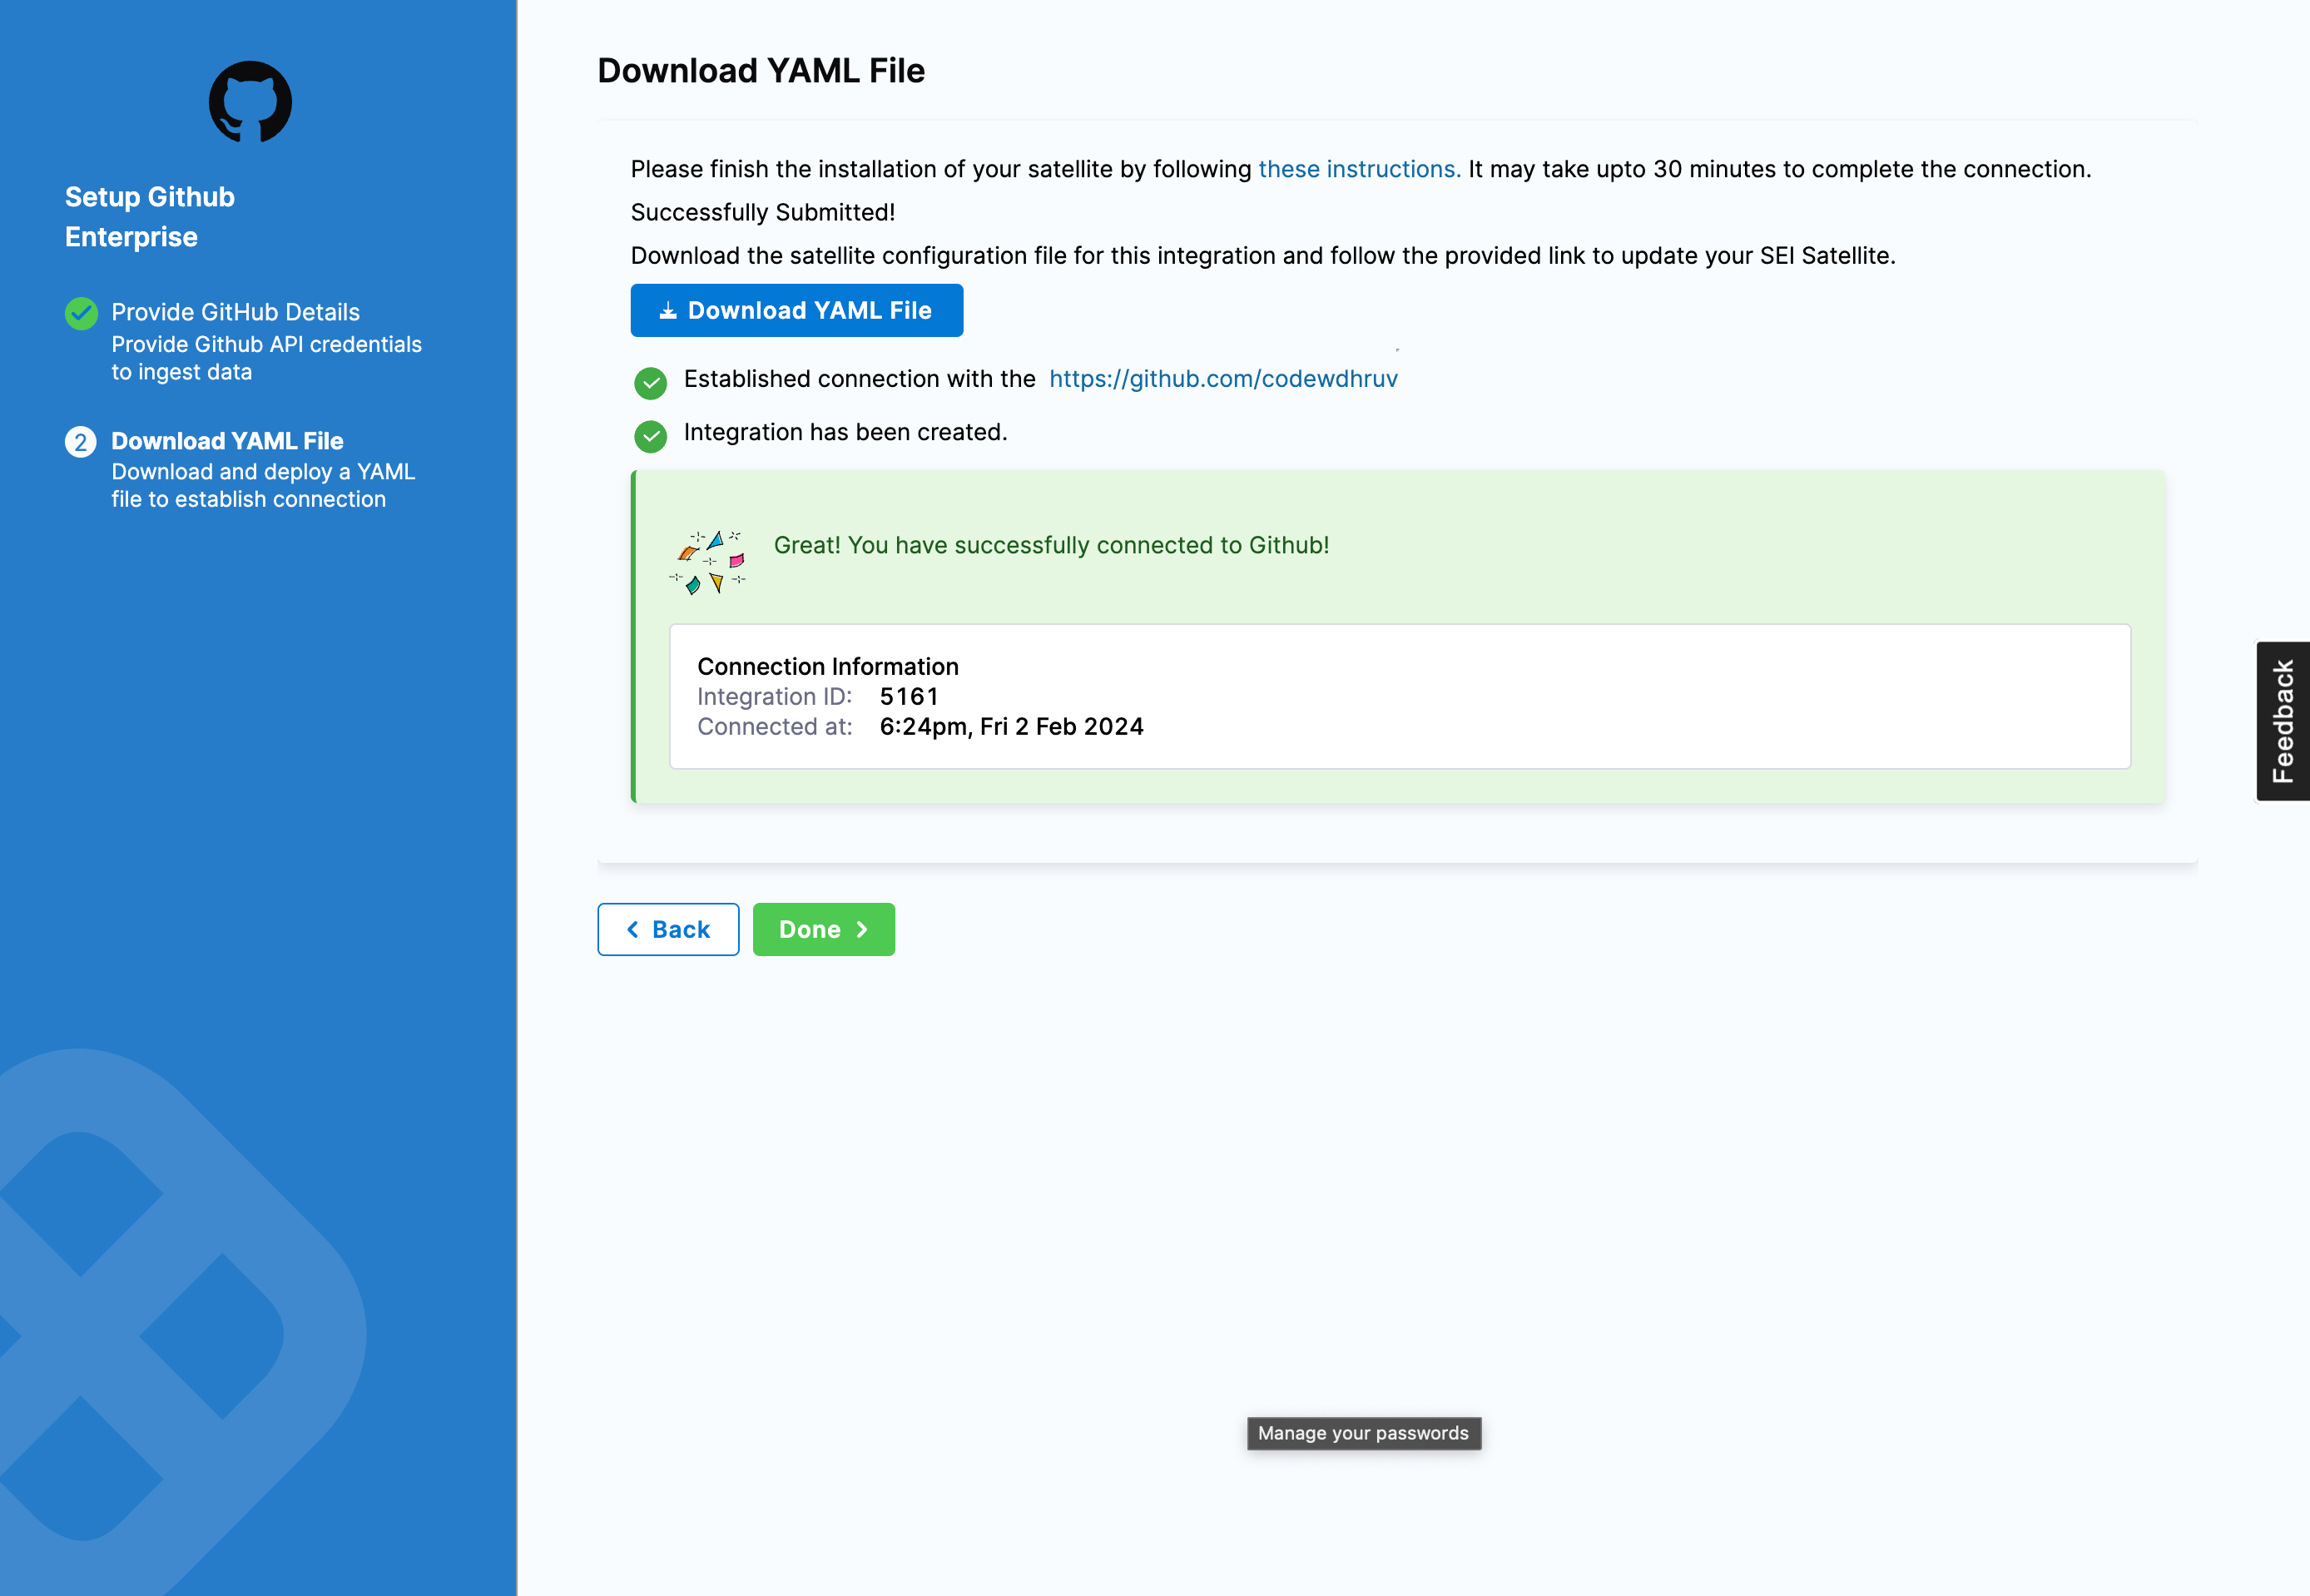
Once you have downloaded the satellite.yml file update it following the instructions here.
Please note that after adding an integration, it may take up to 24 hours for the data to be fully reflected on SEI. This means that any widgets you configure on Insights using this integration may not display data until the synchronization is completed.
Here’s a sample satellite.yml file:
satellite:
  tenant: <ACCOUNT_NAME>
  api_key: <SEI_API_KEY>
  url: 'https://app.harness.io/gratis/sei/api' # Note that this URL is relative to the Environment of your Harness Account.
integrations:
  - id: '<INTEGRATION_ID>'
    application: github
    url: '<GITHUB_ENTERPRISE_INSTANCE_URL>'
    authentication: multiple_api_keys
    keys:
      - api_key: <GITHUB_PAT>
    metadata:
      fetch_prs: true
      fetch_issues: true
      fetch_projects: false
      fetch_commits: true
      fetch_commit_files: true
If you encounter any issues during the integration process, go to the Satellite integration Troubleshooting and FAQs