Role-based access control (RBAC)
Introduction
Role-based access control (RBAC) lets you control who can access your resources and what actions they can perform on the resources.
Access Control for Software Catalog
Edit Access
Every entity in the Software Catalog has a corresponding catalog-info.yaml definition file stored in one of your Git repositories. You can restrict the edit access of the component definition by controlling who has access to the corresponding git repository. Ideally the YAML should live in the same repository as the code base so that the owners working on the application can keep their Catalog YAML up to date.
View Access
Catalog is central to Harness IDP, and each and every user having access to your account can view the catalog entities. However, you can control the ability to delete the components using the Catalog Access Policies as described below.
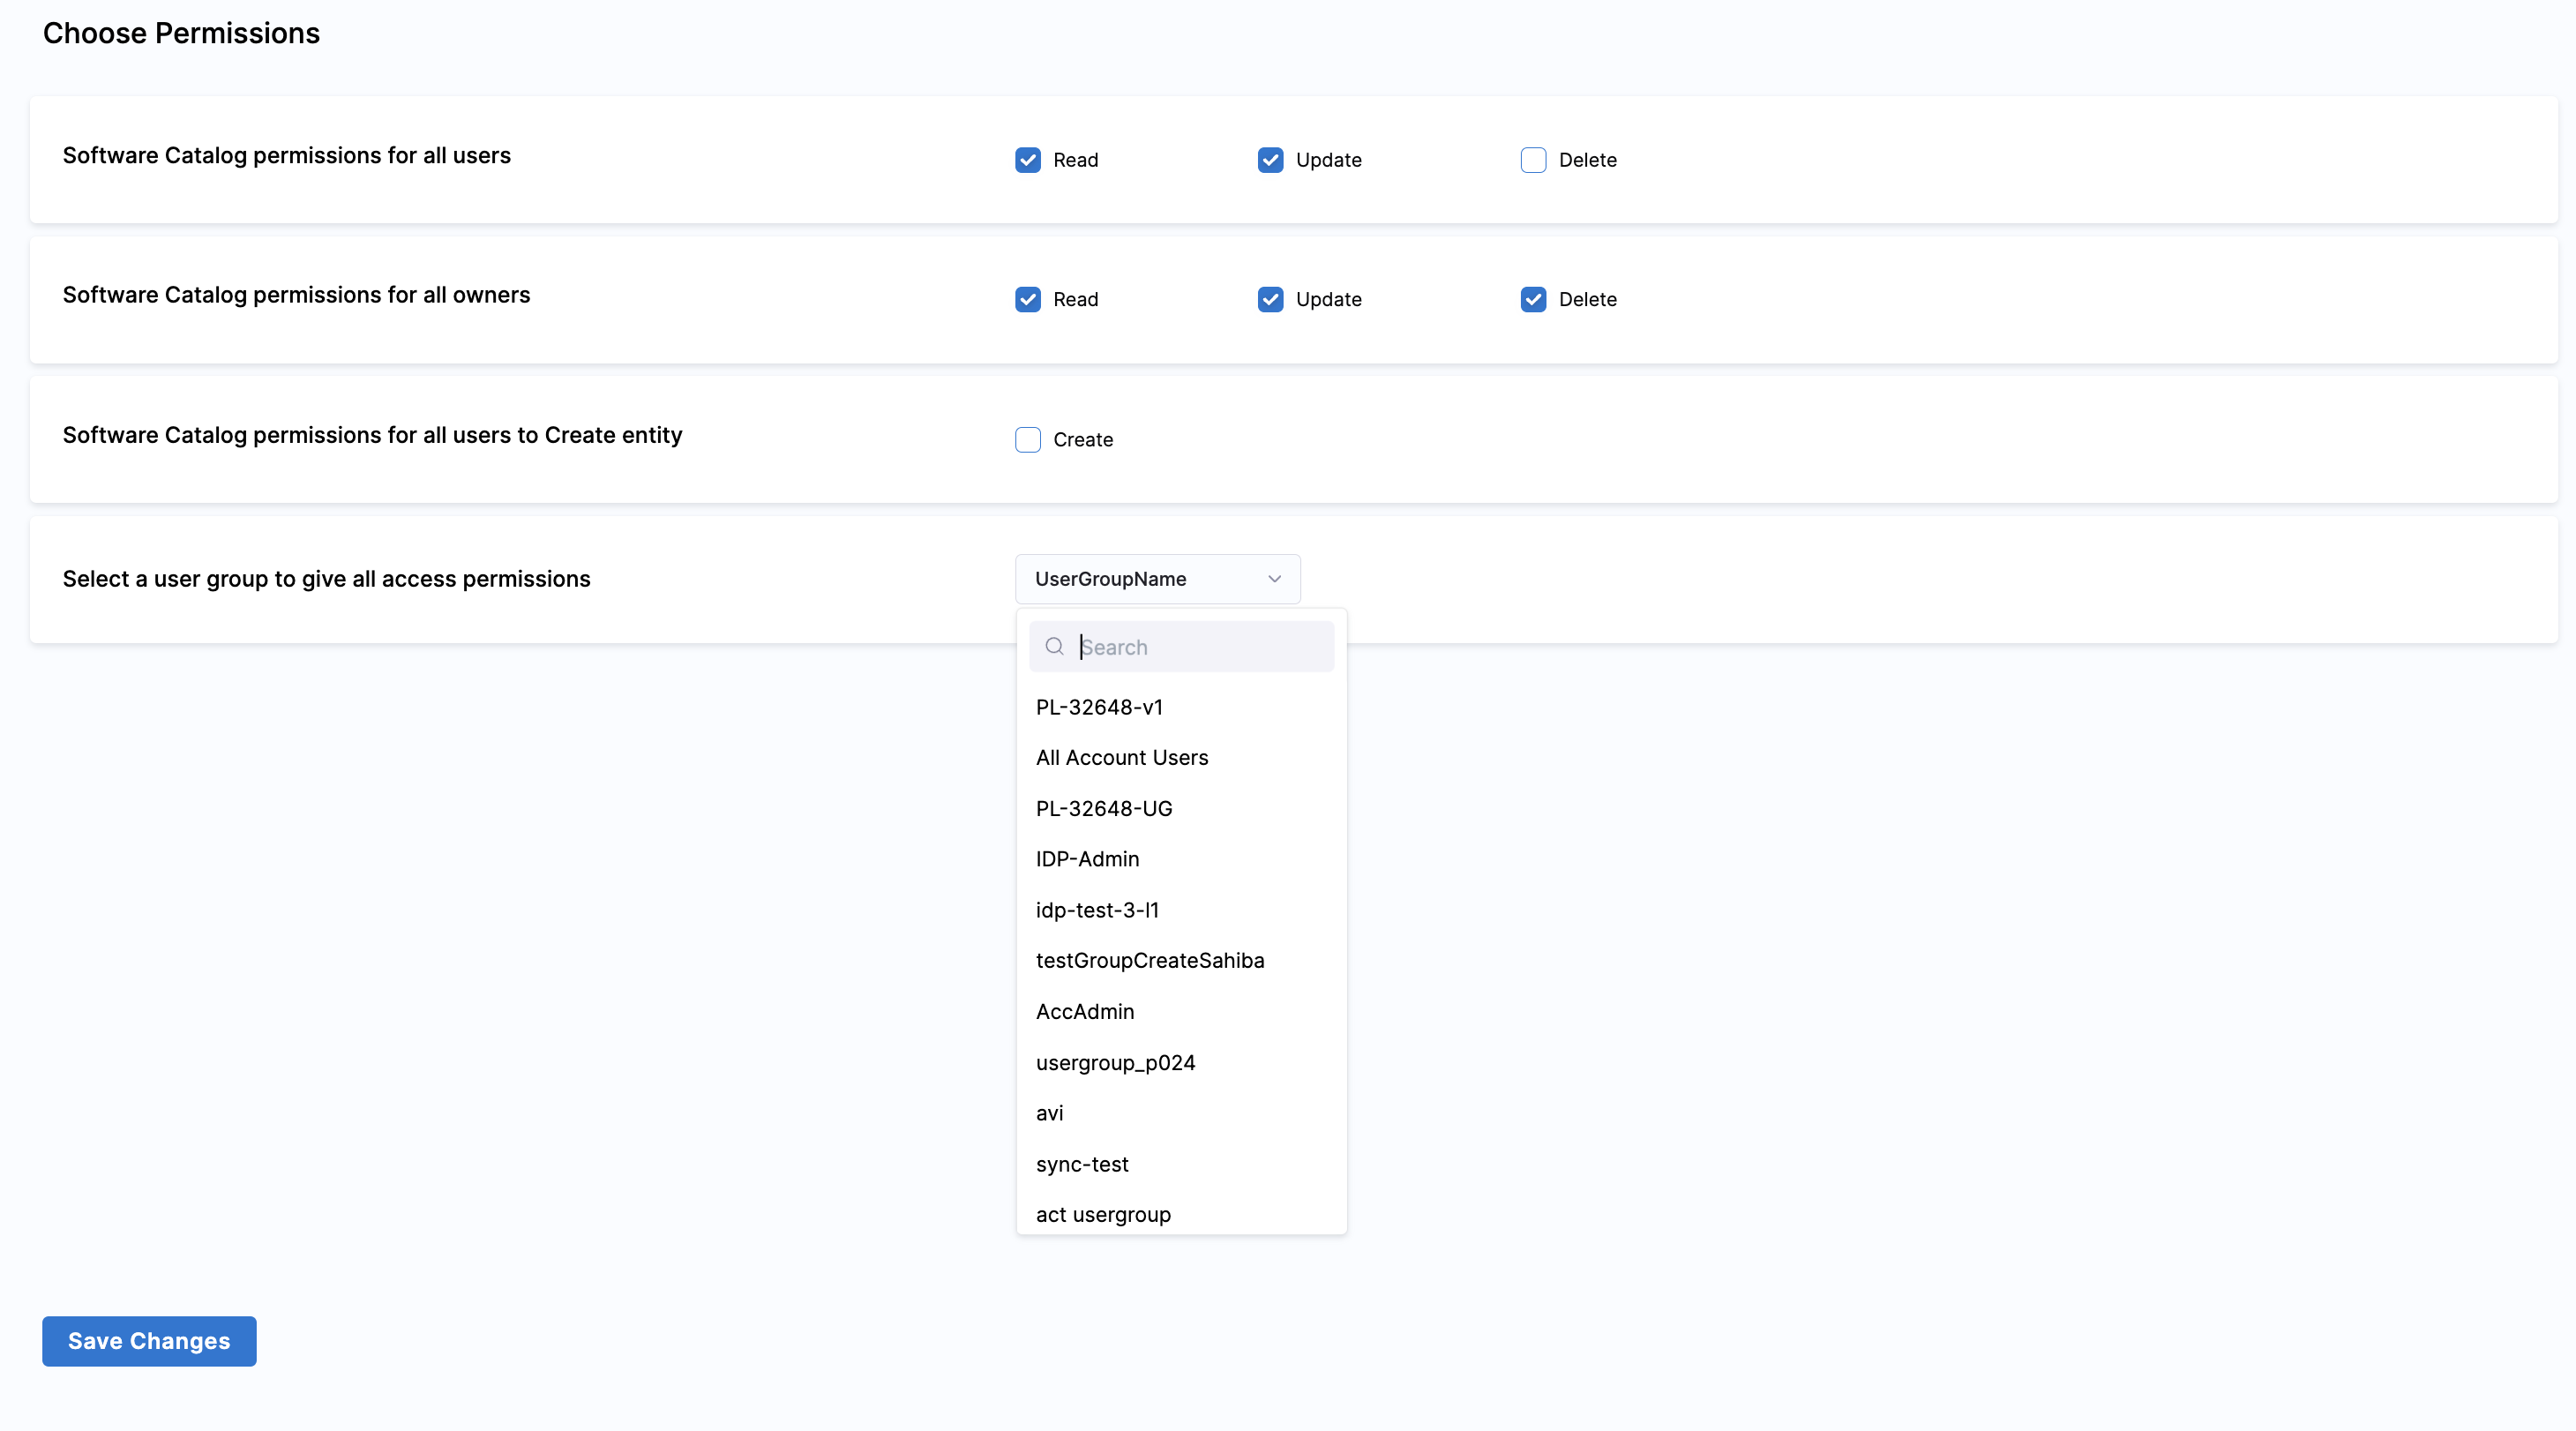
Catalog Access Policies
These policies can be used to determine the access on Catalog components based on the Owners. These are available under Access Control in side IDP ADMIN section.
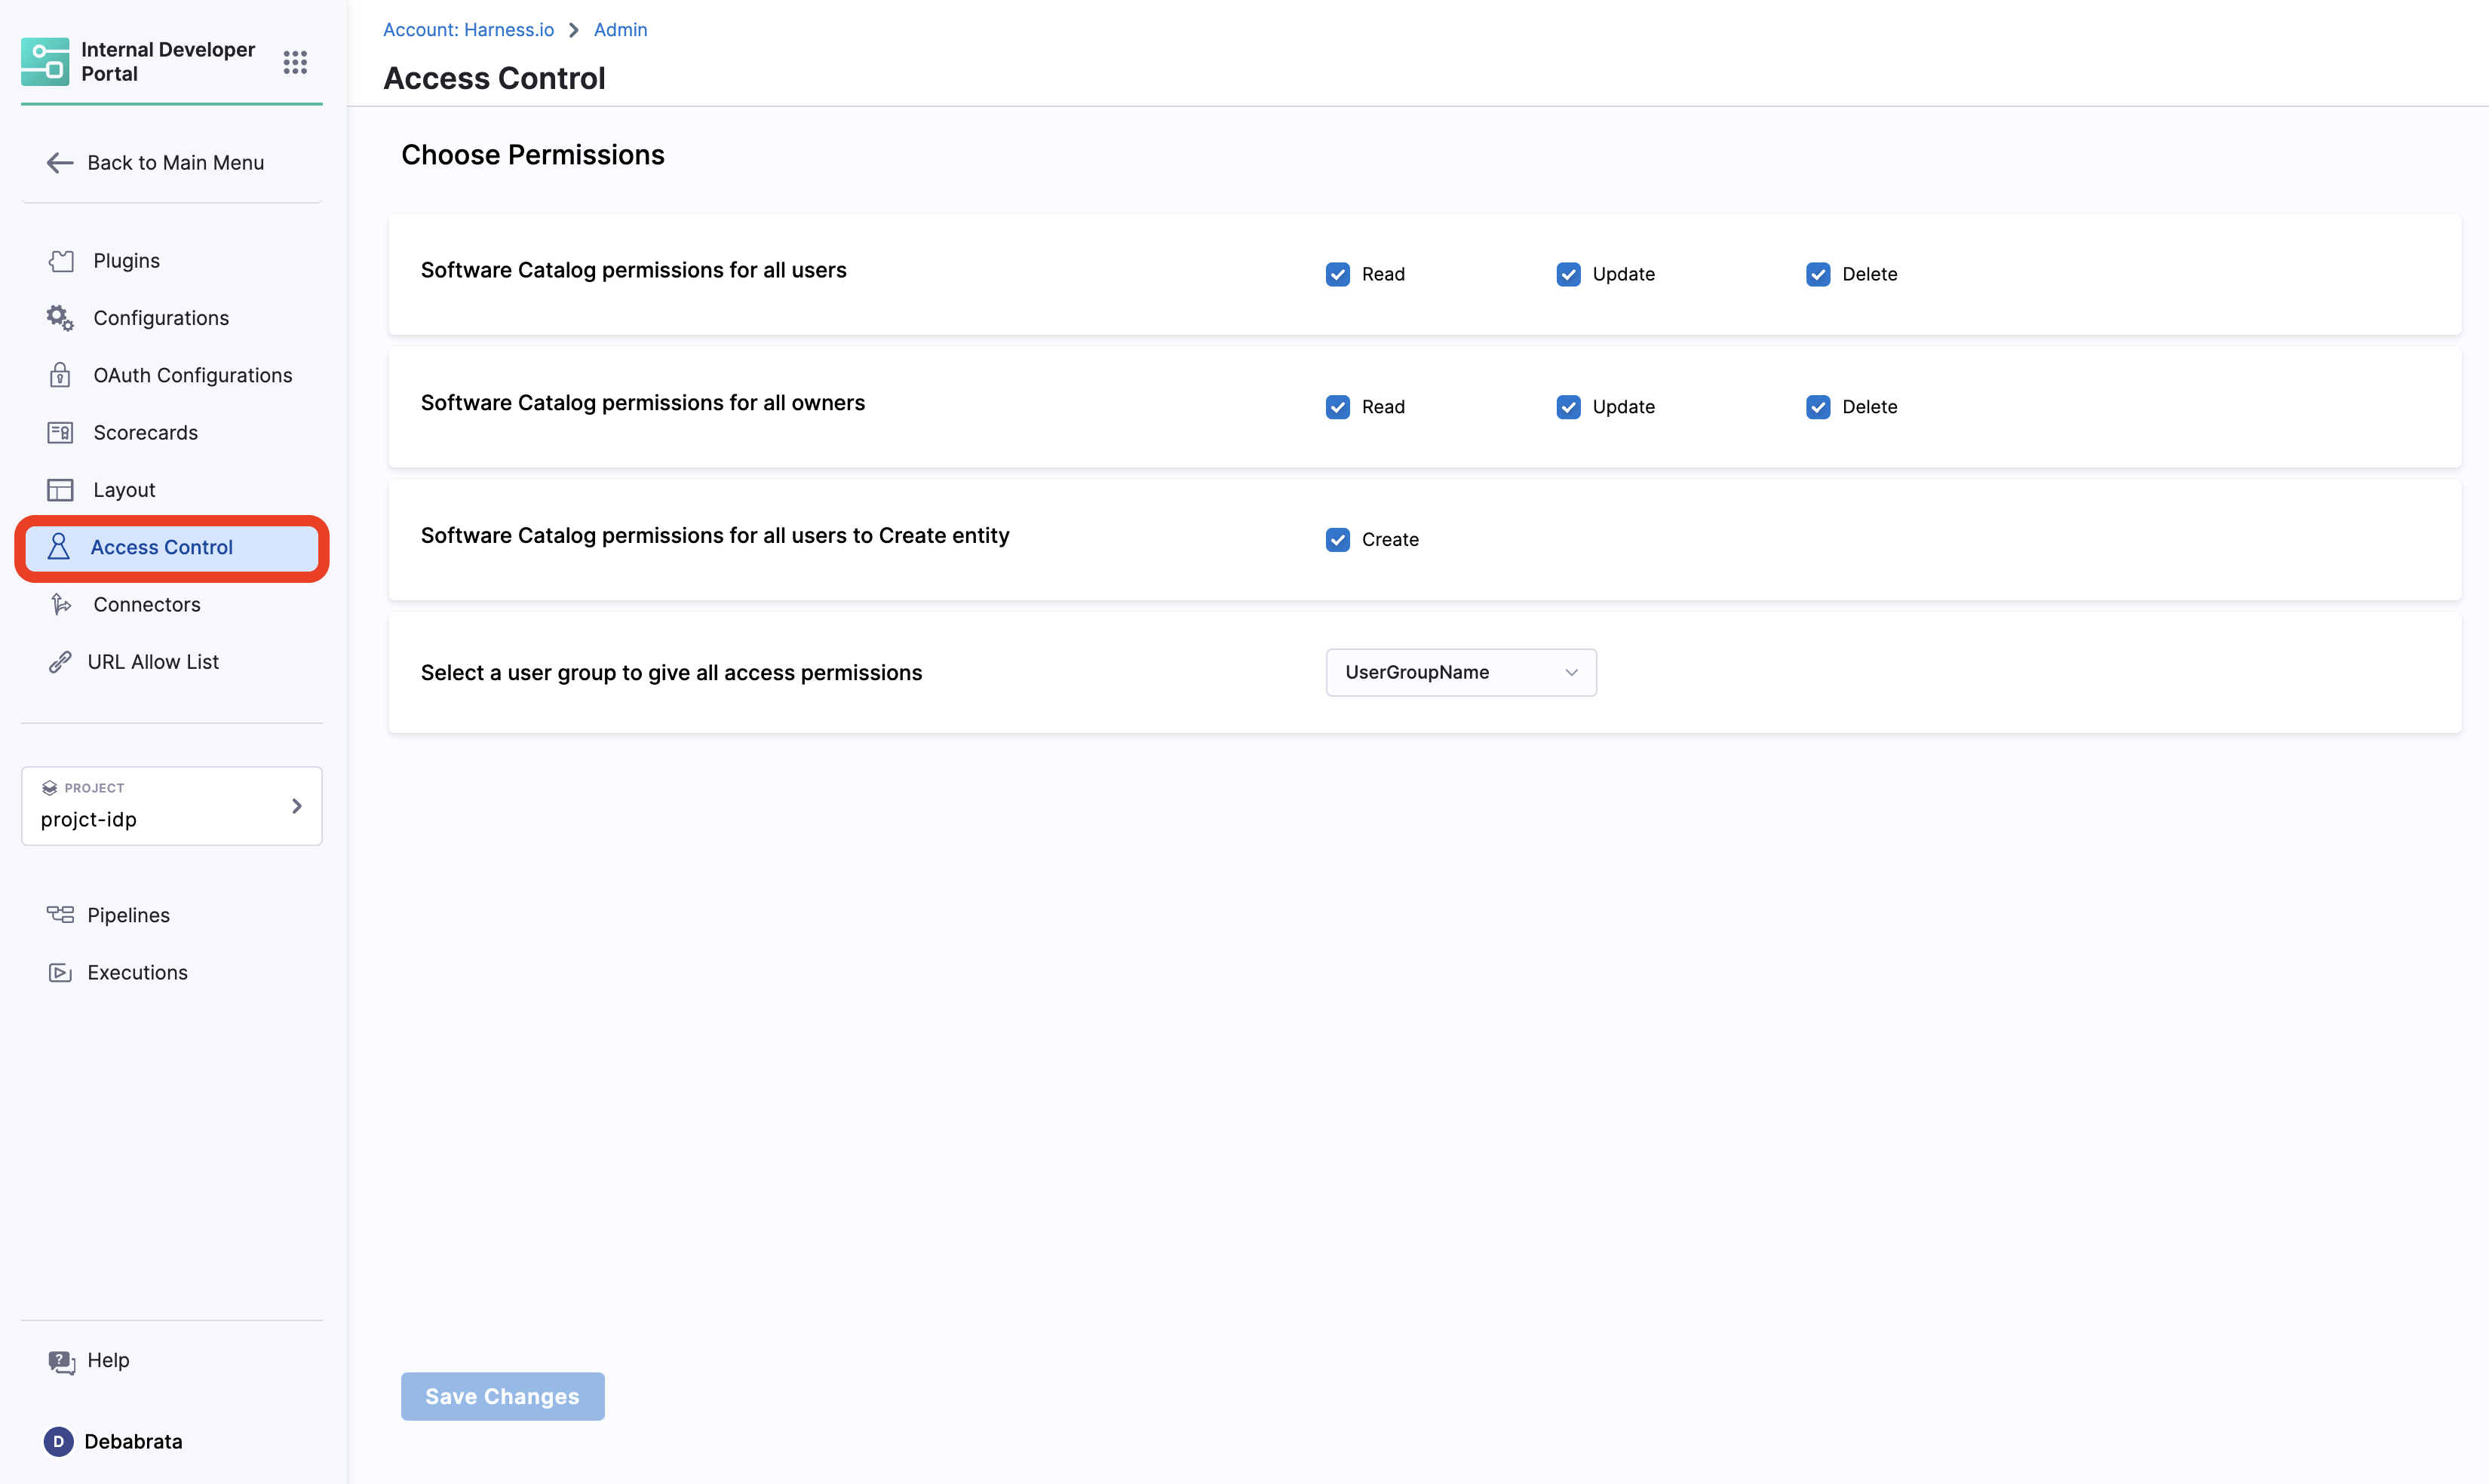
Use cases:
- In case you want to restrict the creation and management of workflows for a specific user group, you can do so by selecting the specific user group name from the dropdown followed by the disabling the Create under Software Catalog permissions for all users to Create entity.
Hide Catalog Entities
Catalog Entities can be hidden from the users, except for the owner user-group by using either one of the hidden,secrets or private tag as shown in the example below.
apiVersion: backstage.io/v1alpha1
kind: Component
metadata:
  name: my-new-service
  description: Description of my new service
  tags:
    - hidden
spec:
  type: service
  lifecycle: production
  owner: team-a
Access Control for Self Service Workflows
View Access
Every user in the account has view access to all the Workflows in IDP. There is an upcoming feature request to remove view access if the user does not have view access of the pipelines configured in the Workflow definition. Although even if the user can view workflows, they will not be able to execute them if they do not have access to the pipeline as described below.
Execute Access
The permission to execute IDP Self Service Workflows is inherited from the access to the pipeline used to configure them. If a user has permissions to Run a pipeline then only they can trigger the corresponding IDP Workflow.
Edit Access
Workflows being a catalog entity has a corresponding workflow.yaml or template.yaml definition file as well stored in one of your Git repositories. You can restrict the edit access of the workflow definition by controlling who has access to the corresponding Git repository.
Hide Workflows
You can hide the workflows, suggested using while the workflow is in development phase, by using the same tags used to hide catalog entities.
Managing Pipelines RBAC for Workflows
While creating a Workflow for new service or developer onboarding, that use Harness Pipeline as an orchestrator, you often want everyone added to your account to have the ability to execute the Workflow i.e., run the Harness Pipeline. You also don't want to add every single user individually, especially if you have thousands of users. Using the "Assign Role Bindings" option under Project Settings → Access Control → User Group page, you can assign the Pipeline Executor role to everyone by using default user groups such as All Account Users or All Organization Users, without granting elevated permissions like Pipeline Edit or Pipeline Delete.
If you want to give Pipeline Execute permission only to specific pipelines within your project, you can create a Resource Group and assign the role binding only to the Resource Group, rather than all resources.
Here's a video tutorial on the Pipelines RBAC.
Platform Level RBAC
To do this Harness provides a logical structure comprising of Account, Organization and Project that naturally aligns with how most organizations are structured and Harness IDP is an Account Level module.
- Account: Account is the topmost entity that can exercise control and has visibility over the entire platform. It is your Harness account and it encompasses all the resources within your Harness subscription. It provides a way to manage billing, user authentication, and global settings for all the organizations and projects within the account. Users with account-level permissions can manage the account-level settings, including billing, subscription, and SSO configuration. Resources, such as connectors, created at the account scope are available for use in all the organizations and projects within that account.
Before configuring RBAC in Harness IDP, you should have an understanding of:
- Role-based access control (RBAC) in Harness
- User and Role Management in the Harness Software Delivery Platform
In Harness, RBAC policies are defined using:
-
Role – A Role is a set of permissions that allow or deny specific operations on a specific set of resources.
-
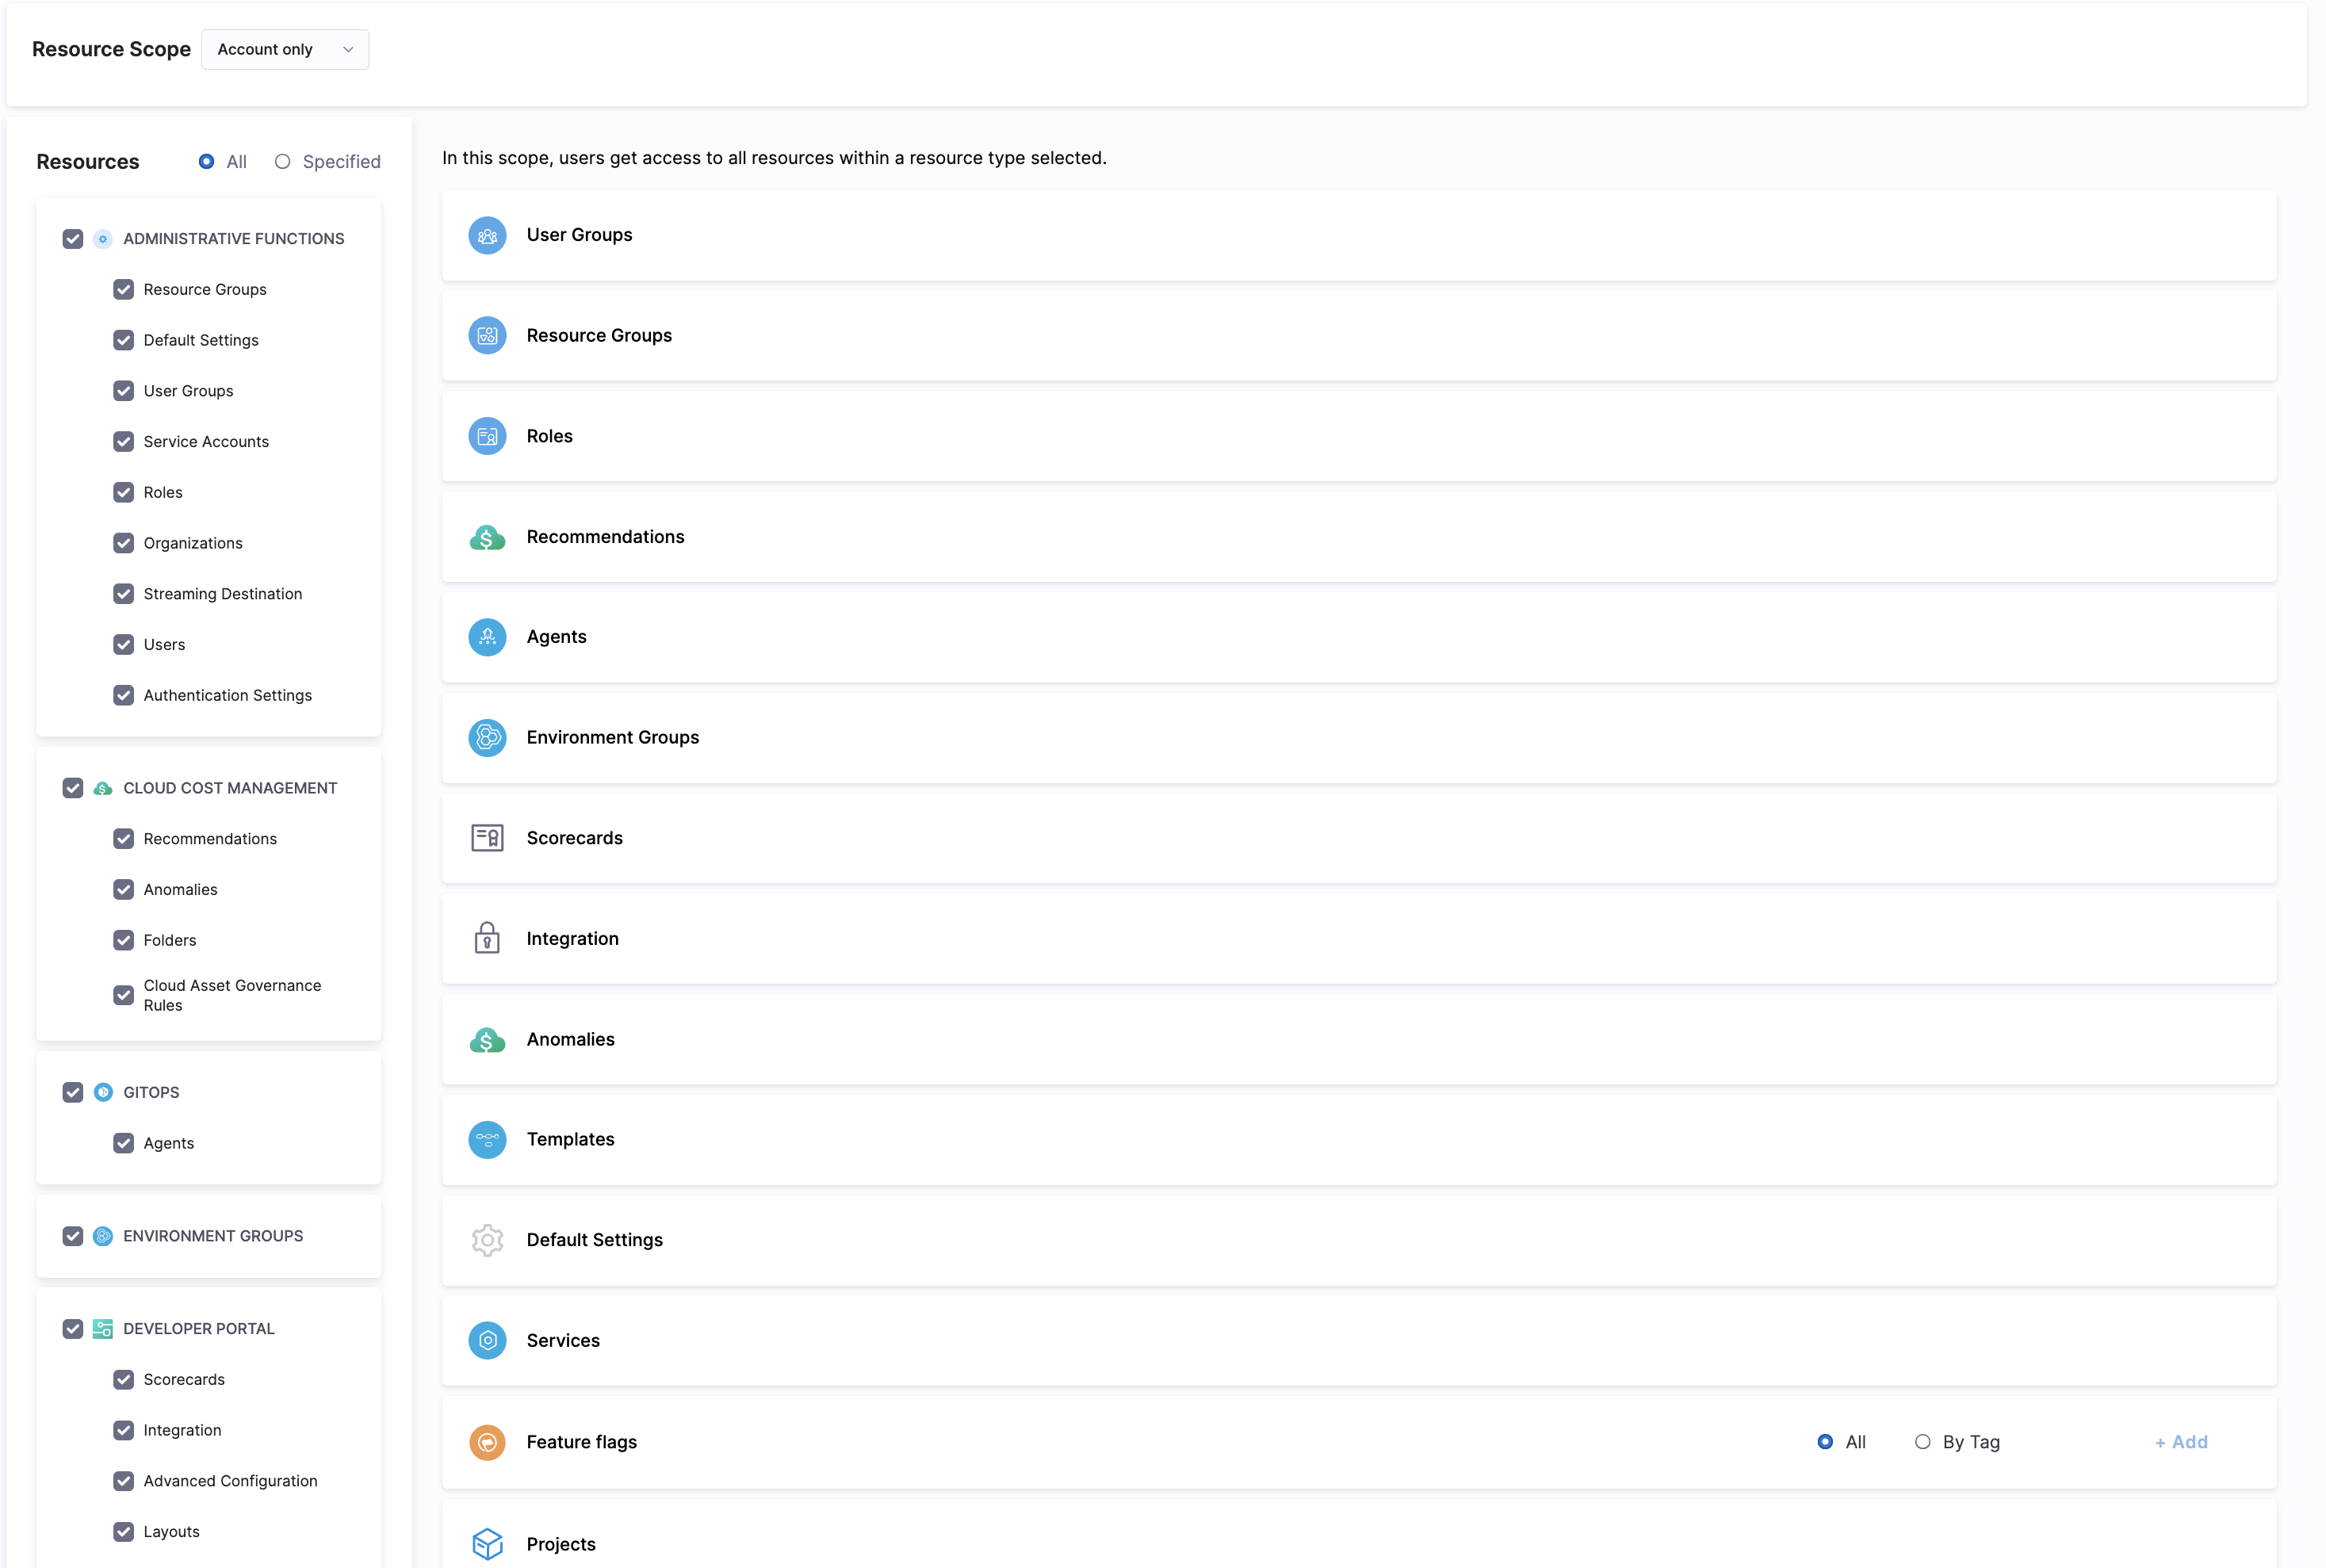
Resource Group – A Resource Group is a grouping of resources that are managed by the same set of users using the same set of access control policies. Resource Groups can be of two types:
-
All Resources – Groups all resources of a given type.
-
Named Resources – Groups together a specific set of individual resources.
-
When a User or a User Group is associated with a Role and a Resource Group, it provides them the permission as defined in the role to the resources as grouped together in the resource group. You need these permissions to set up RBAC in IDP.
Roles
Roles are sets of permissions that allow or deny specific operations on objects (resources). Roles are applied together with resource groups to create a complete set of permissions and access.
Harness IDP includes two built-in roles, and you can create your own custom roles, which are useful for limited and fine-grained access control.
Roles are scope-specific and can be created at only account scope in Harness IDP.
The two built-in roles are:
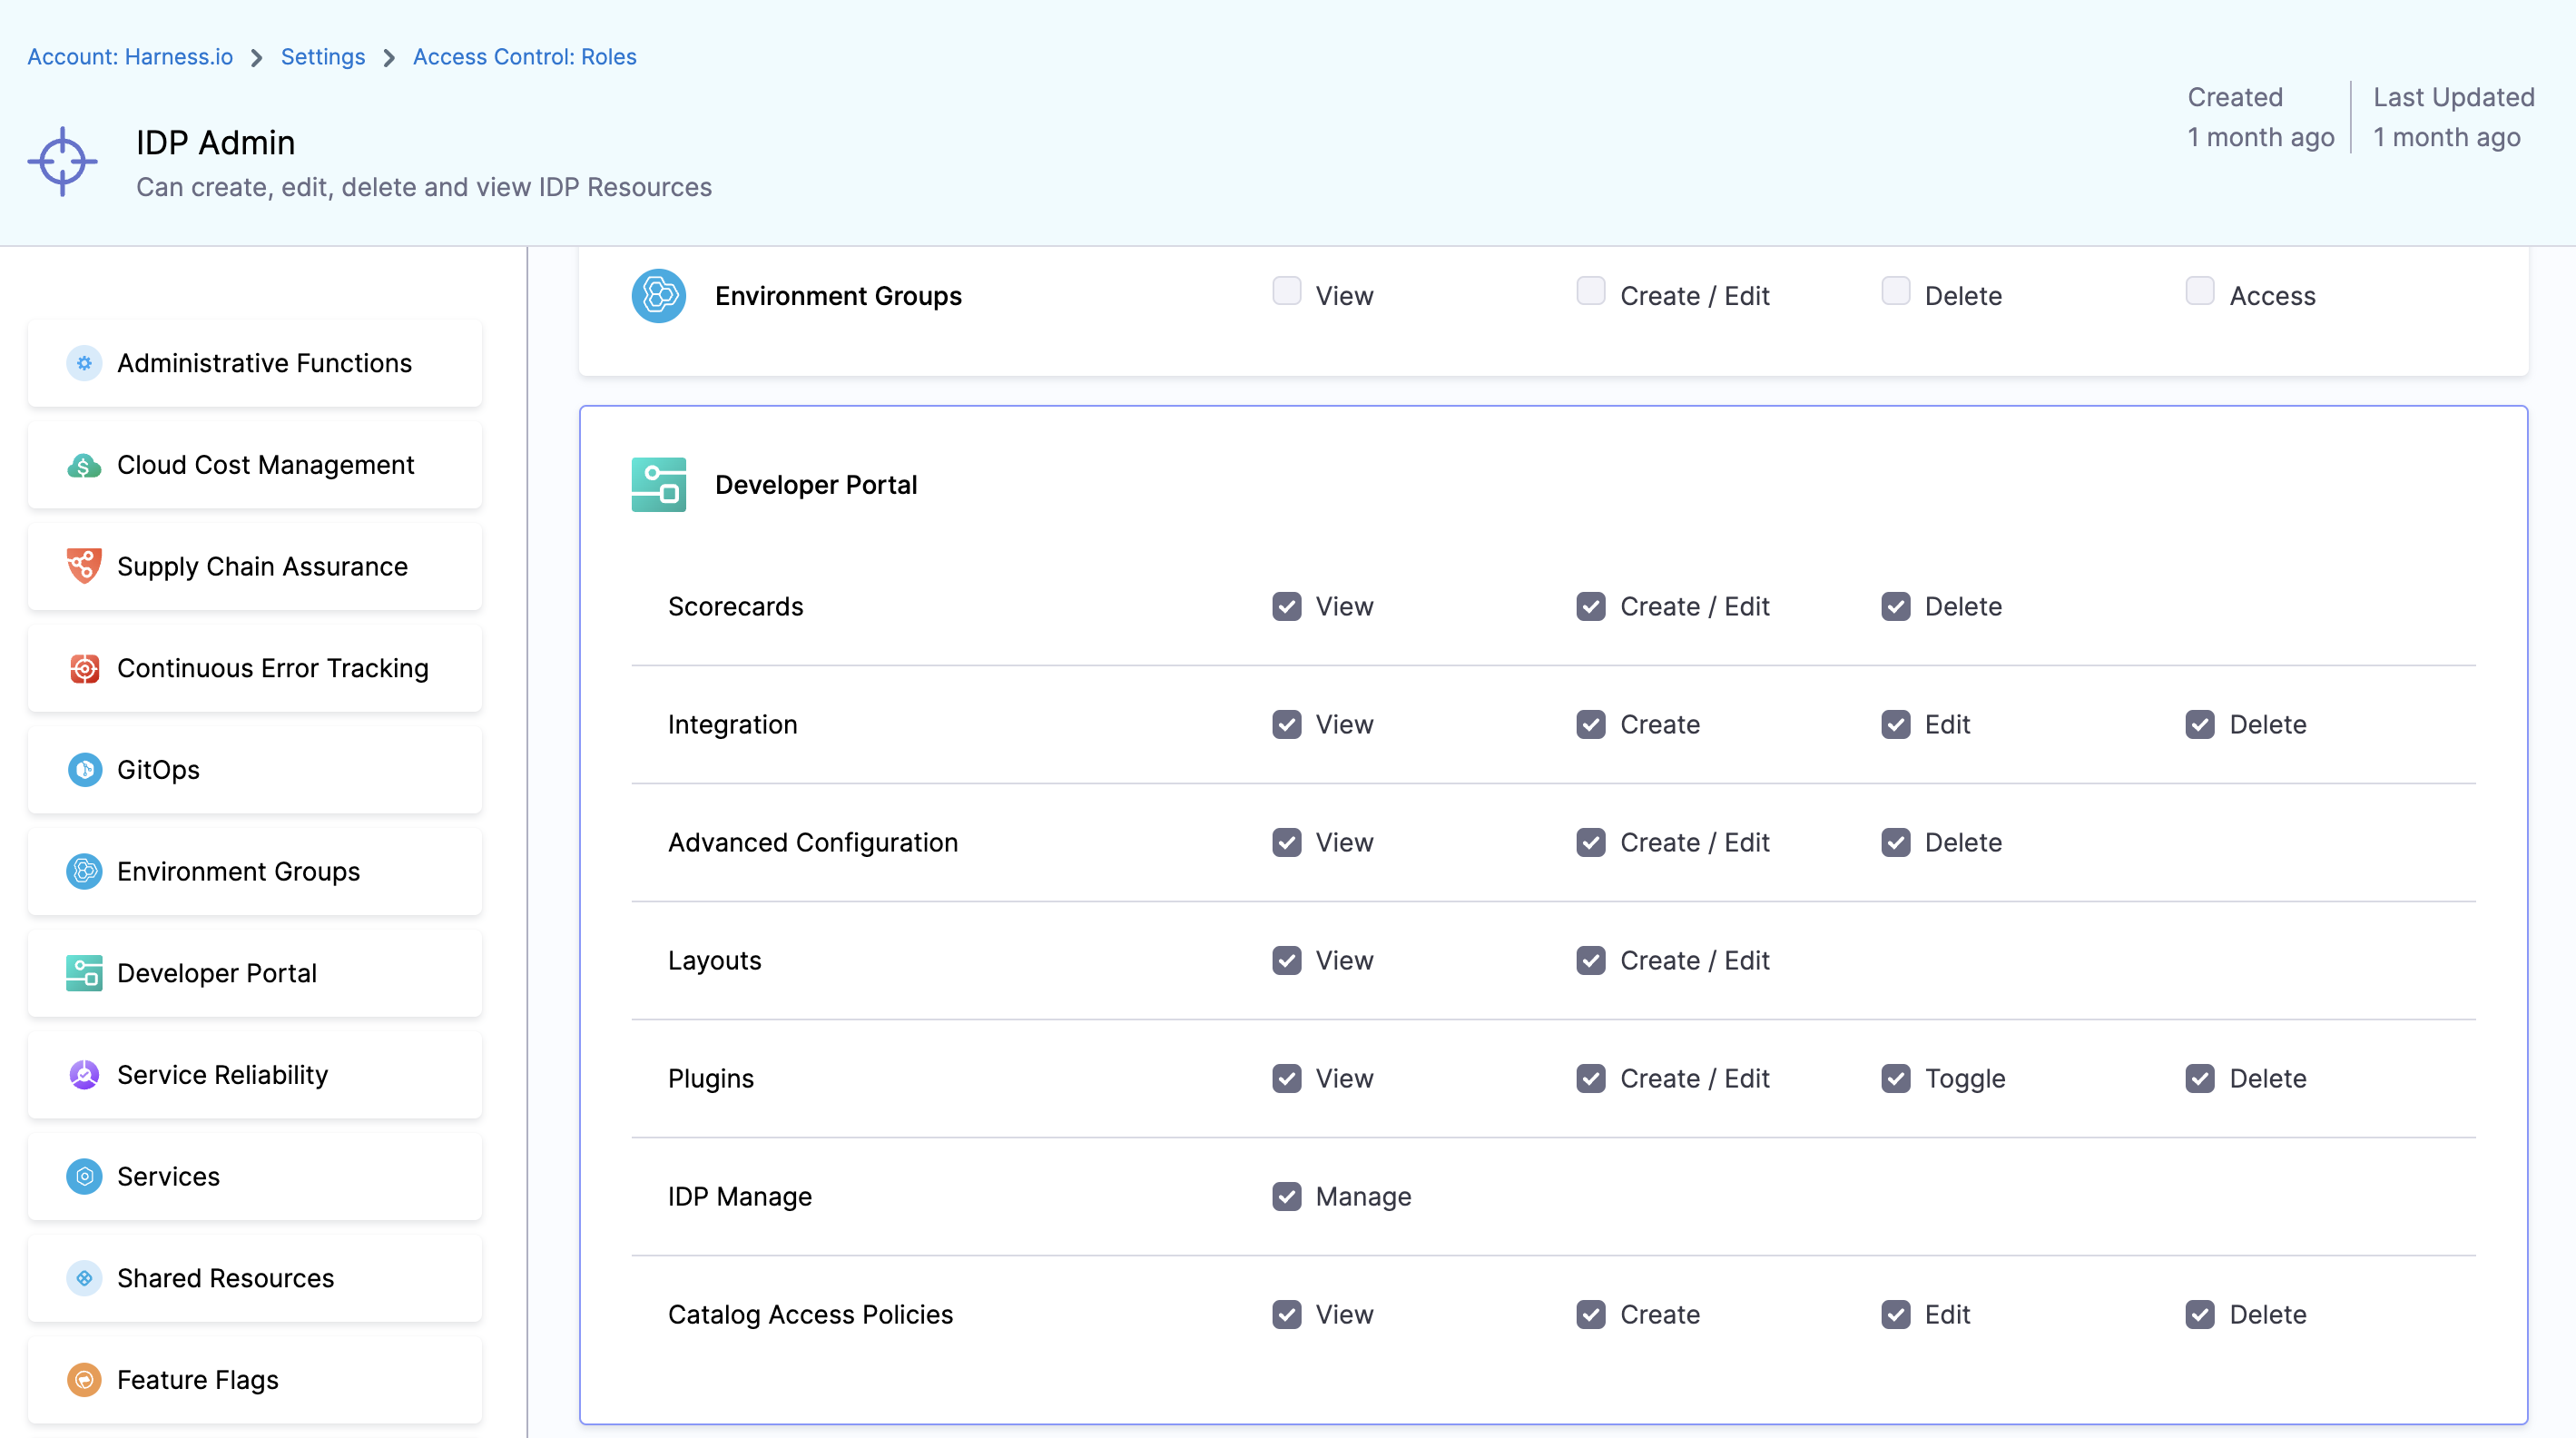
1. IDP Admin
This role can create, edit, delete and view all IDP Resources.
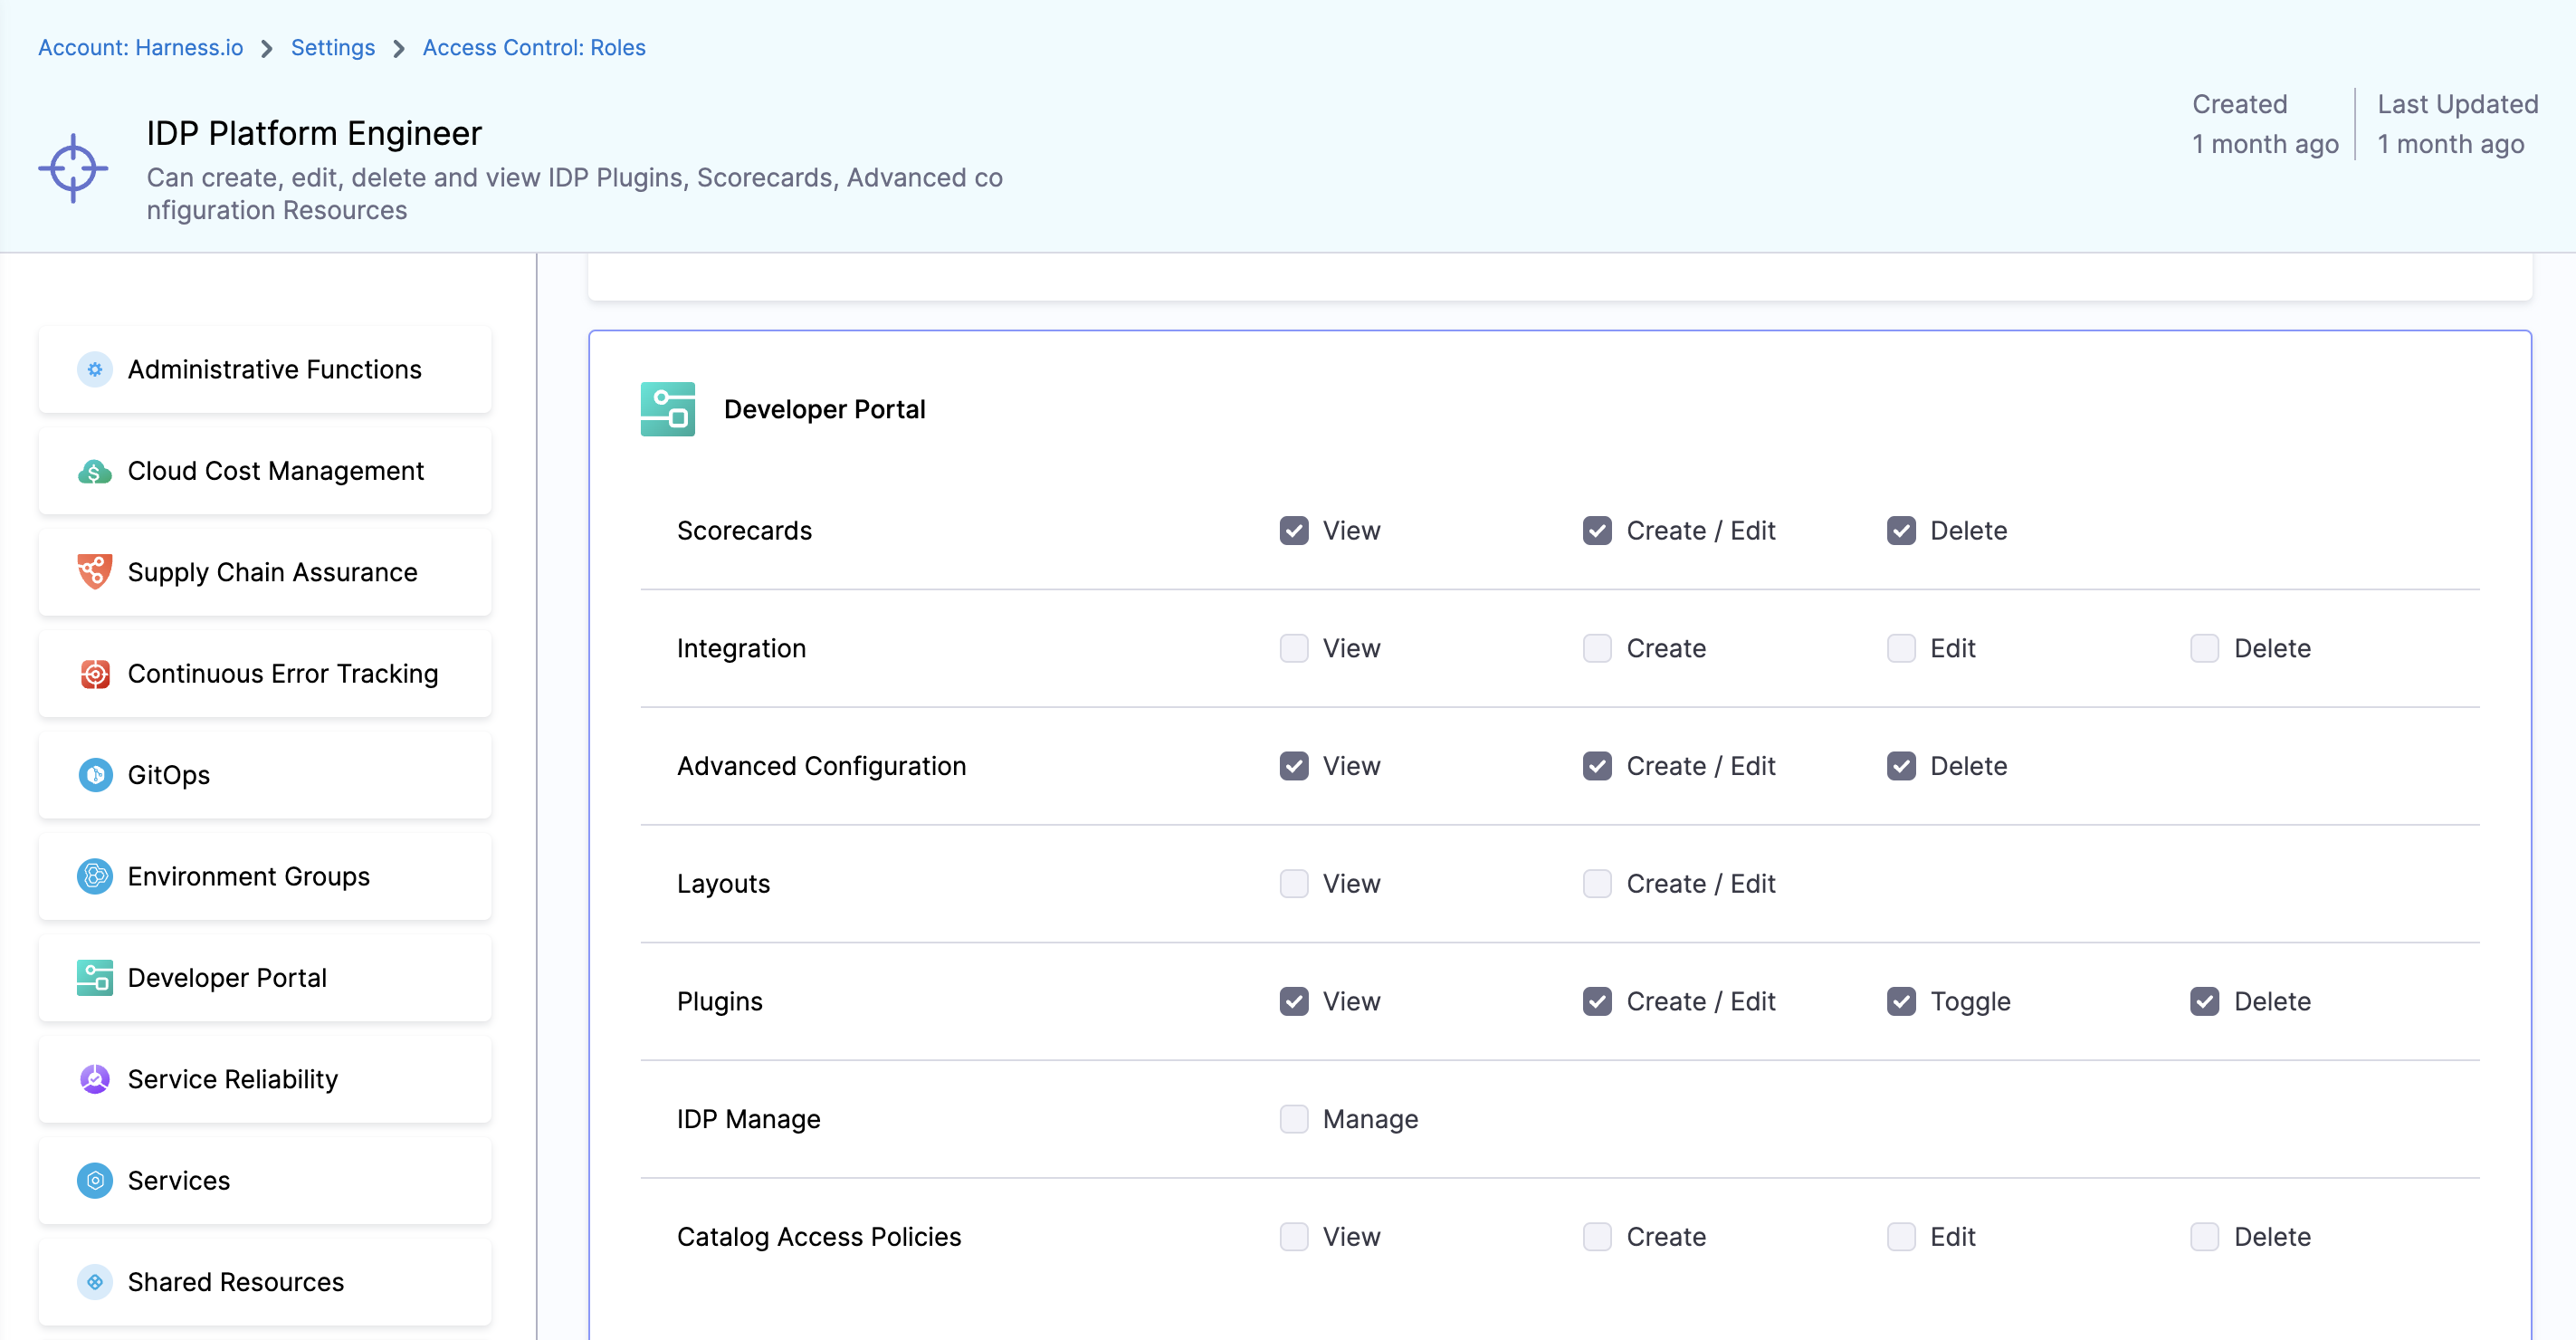
2. IDP Platform Engineer
This role can create, edit, delete and view IDP Plugins, Scorecards, Advanced configuration Resources.
Available Permissions
1. Scorecards
Permissions related to Scorecards, Checks and Datasources

1. View
View Scorecards, Checks and default Datasources
2. Create / Edit
Create or Edit scorecards, as well as add custom checks using datasources.
3. Delete
Delete Scorecards and Checks
2. Integration
Permissions related to integrations, like git providers based connectors, in IDP
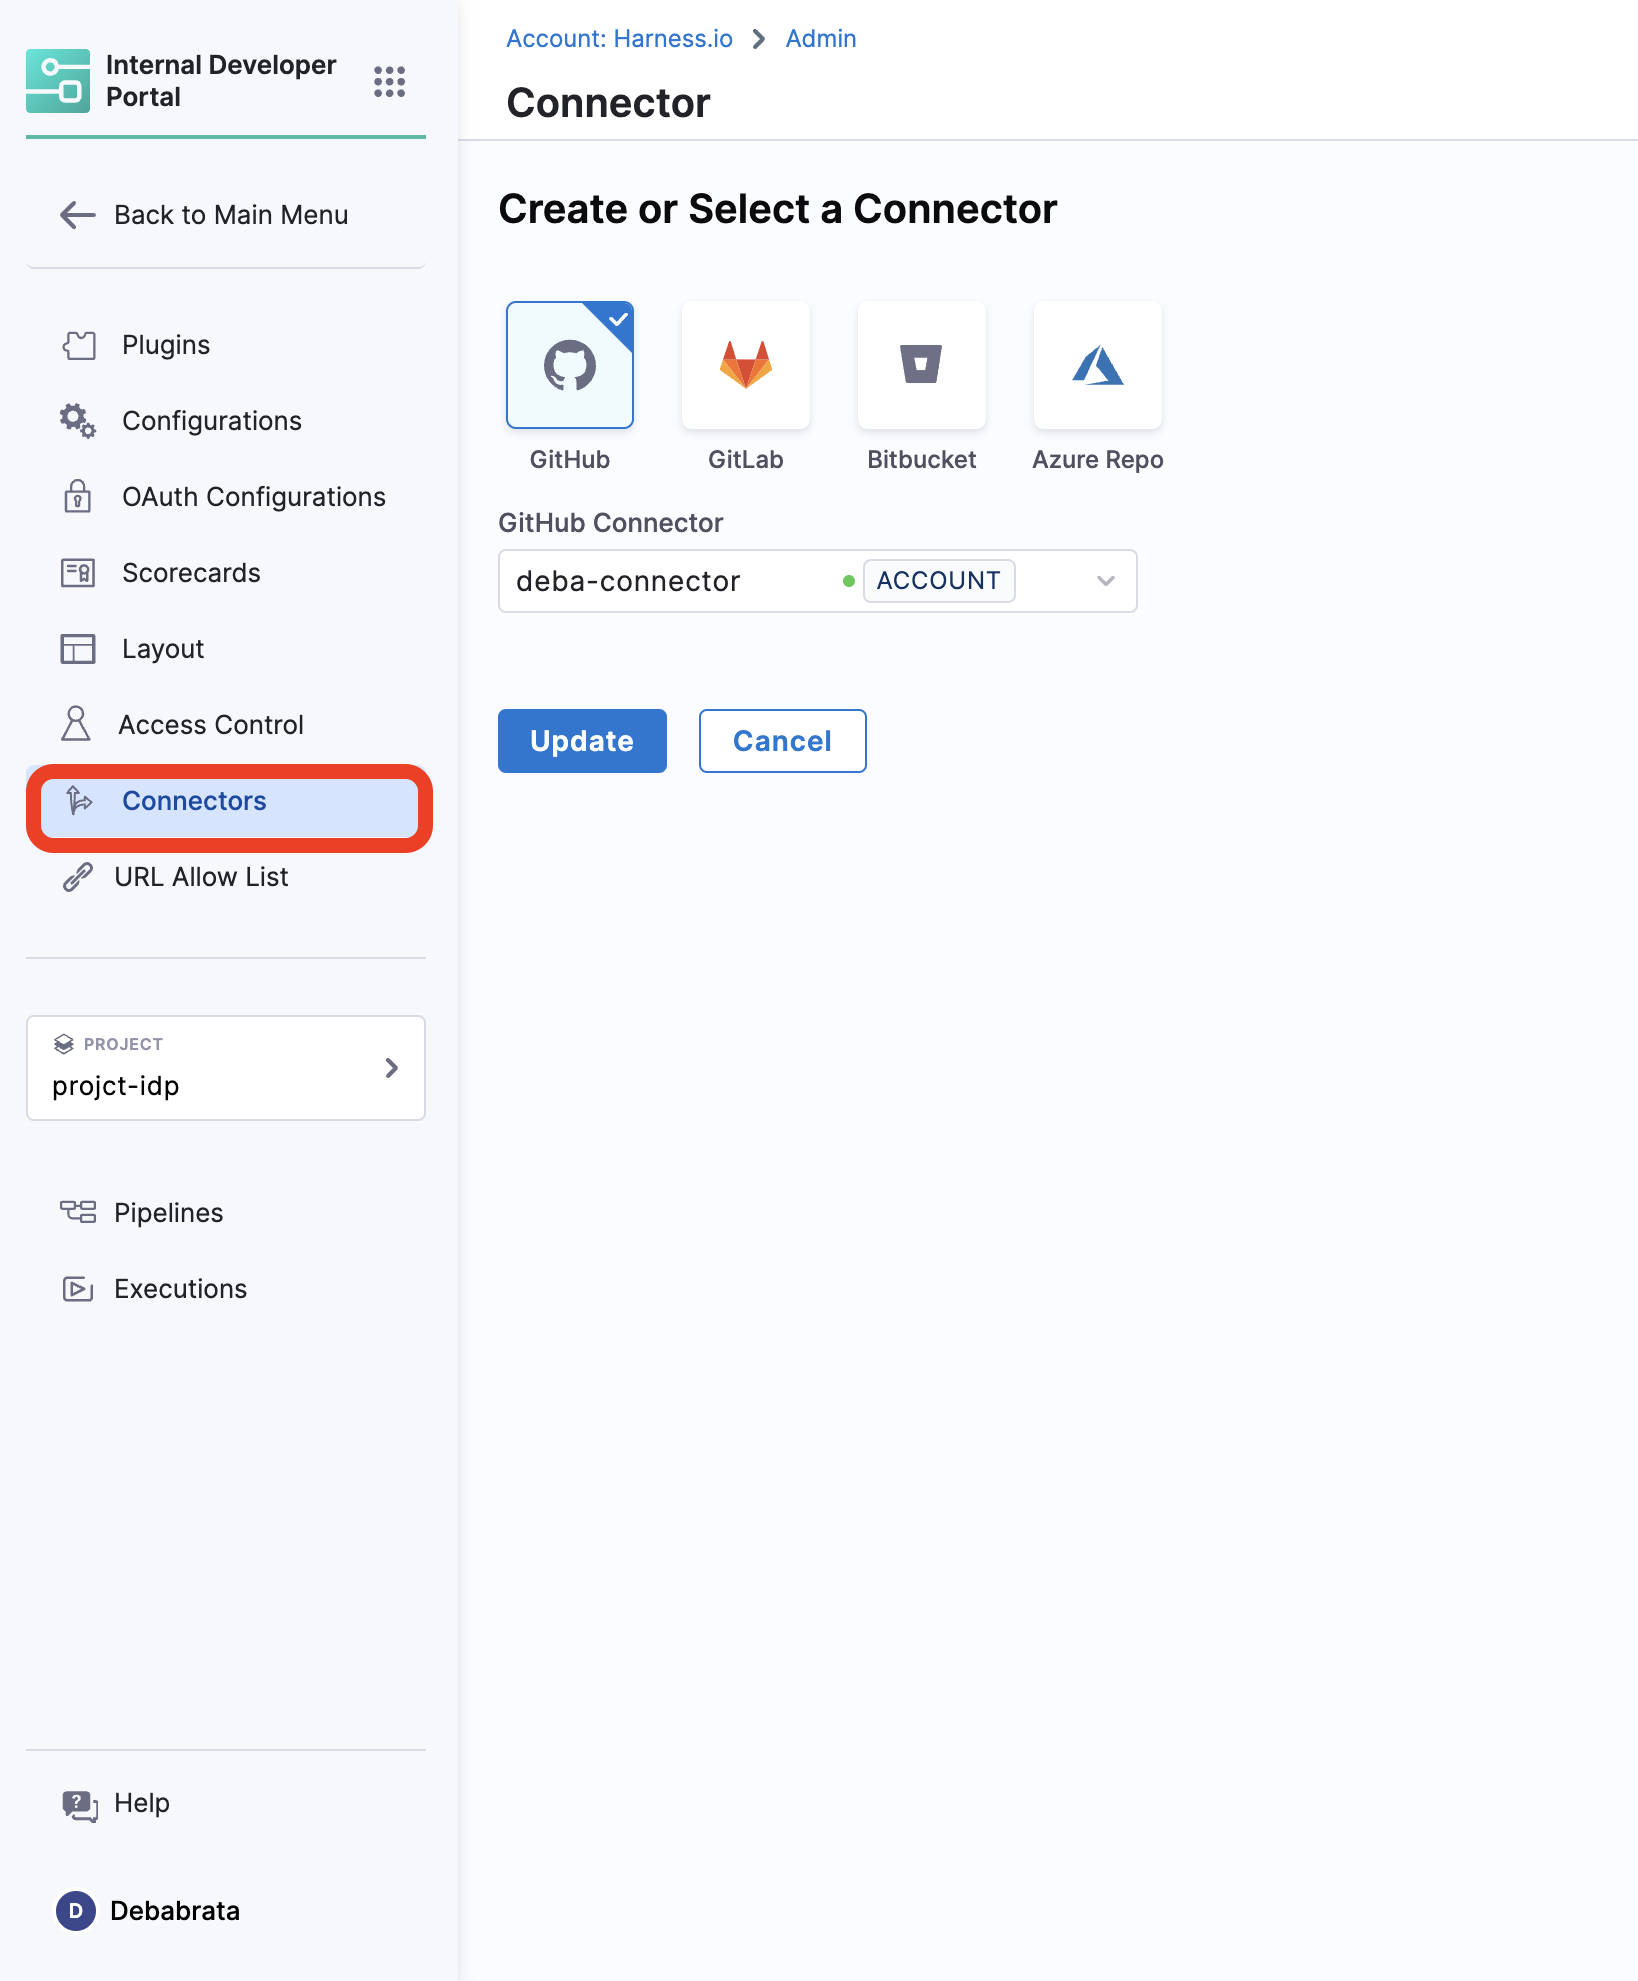
1. View
View all the connectors setup
2. Create
Create new connectors
3. Edit
Edit the already present connectors, like update the secrets.
4. Delete
Delete IDP Integrations
3. Advanced Configuration
Permissions for OAuth and URL Allow List

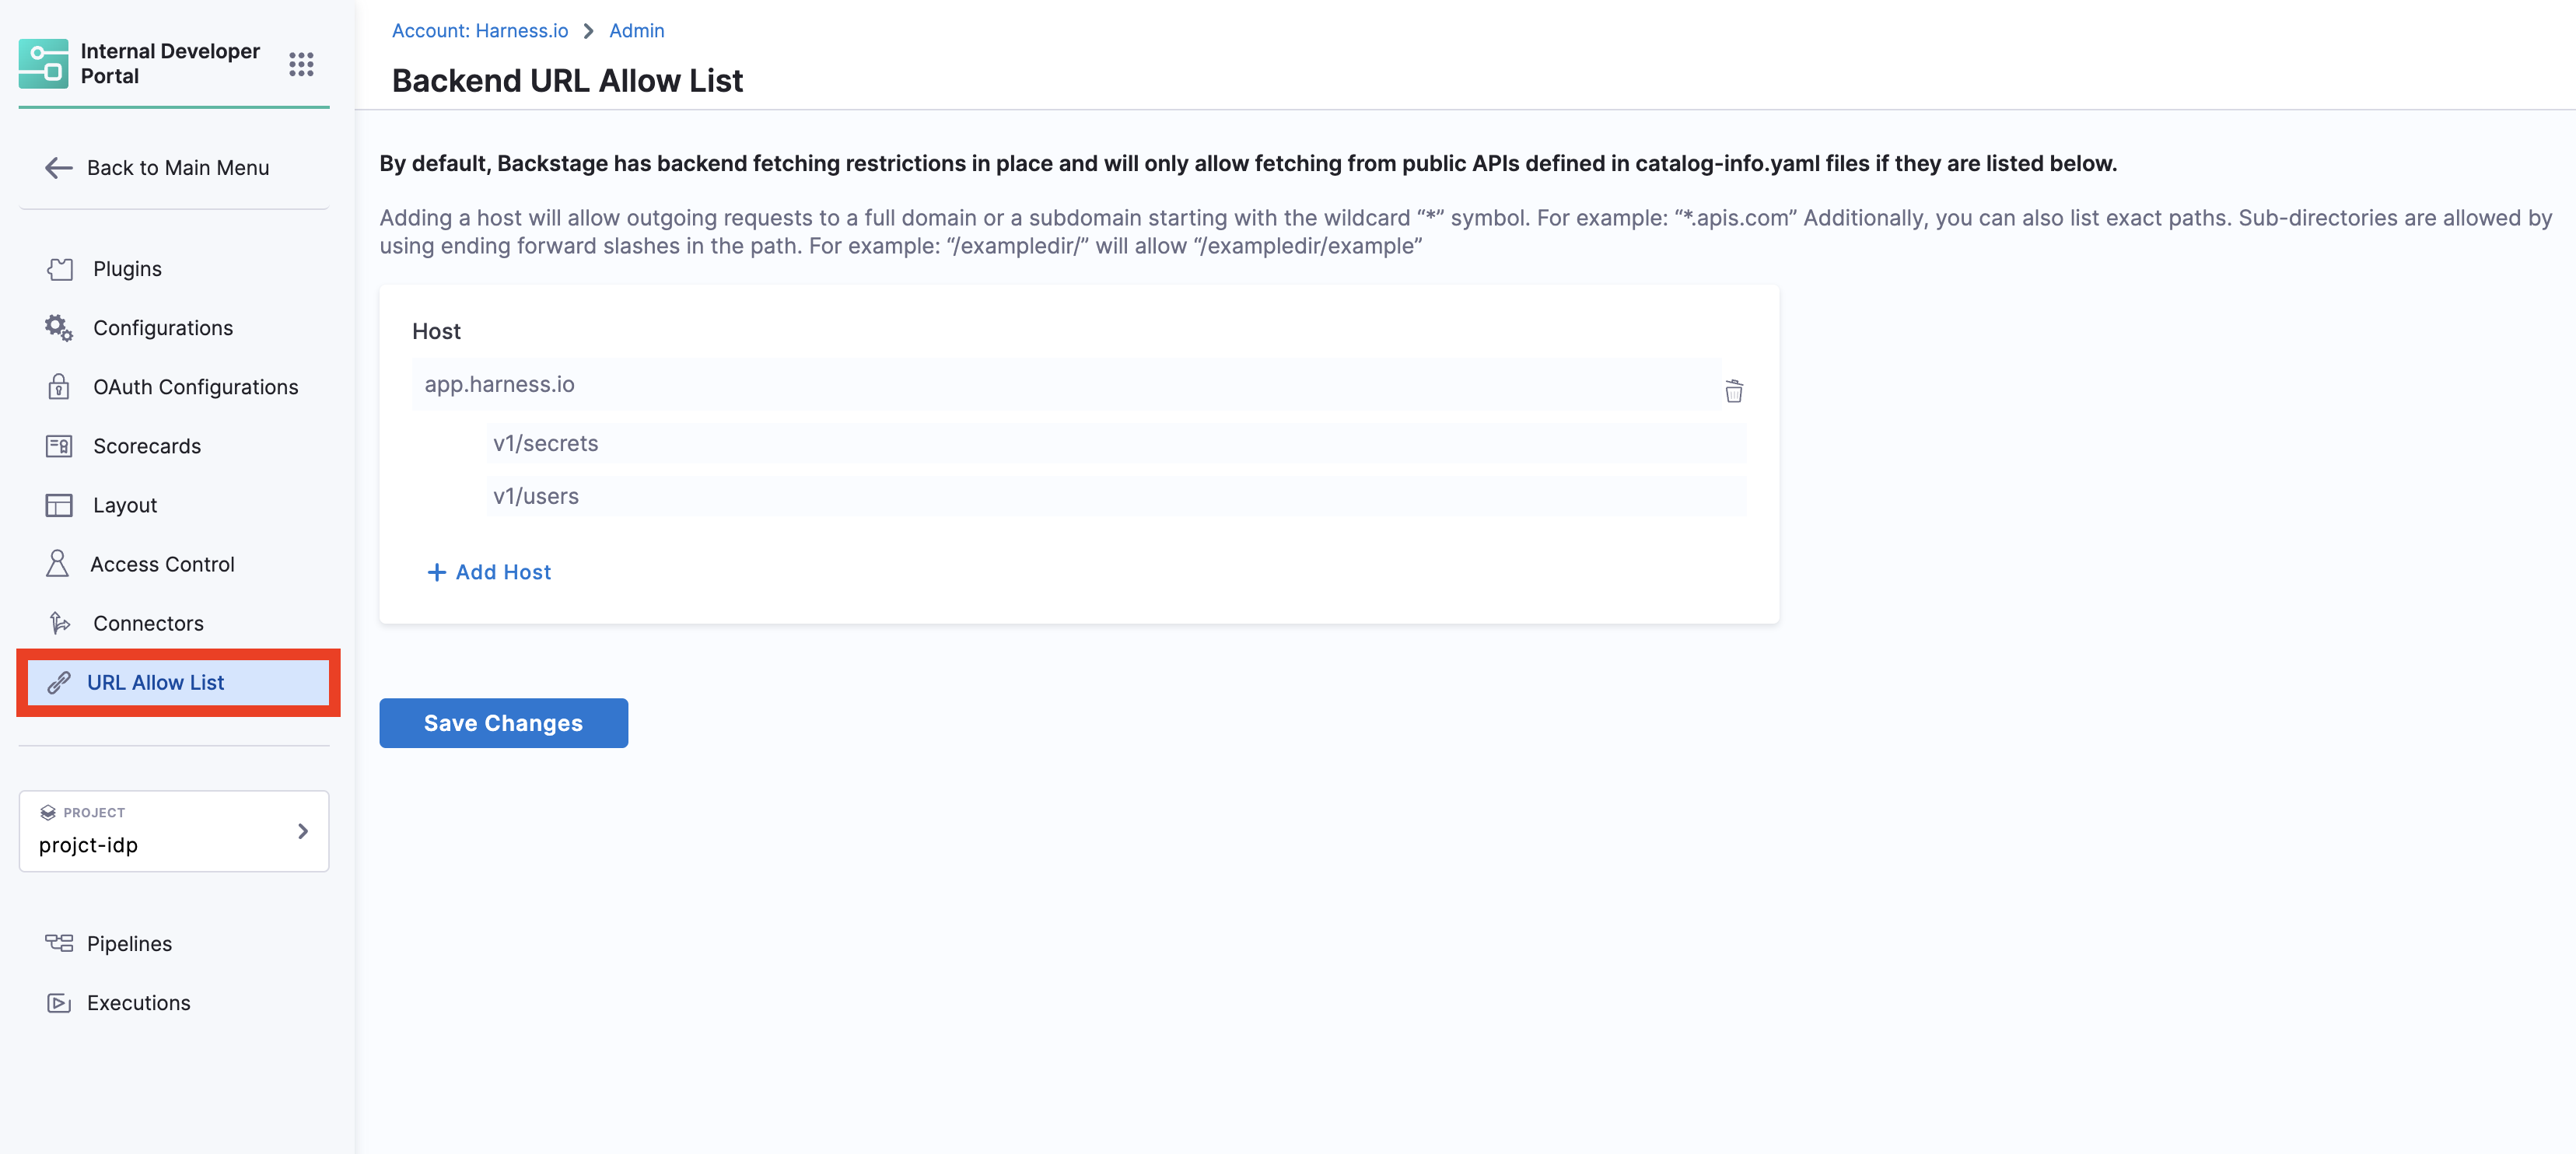
1. View
View OAuth configured and URL Allow list
2. Create / Edit
Create or Edit Advanced Configurations
3. Delete
Delete IDP Advanced Configurations
4. Layouts
Permissions for Layout Page
1. View
View IDP Layout Configurations
2. Create / Edit
Add or Edit IDP Layout Configurations
5. Plugins
Permissions for Plugins
1. View
View installed and available plugins
2. Create / Edit
Create a custom plugin or Edit configuration of installed IDP plugins
3. Toggle
Enable or Disable an IDP Plugin
4. Delete
Delete a Plugin