Add Google KMS as a Harness secret manager
You can use Google Cloud Key Management Service (Cloud KMS) as a Harness Secret Manager. Once Google KMS is added as a secret manager, you can create encrypted secrets in Google KMS and use them in your Harness account.
You can only use Harness Built-in Secret Manager to store authentication credentials for access to the corresponding secret manager.
Storing credentials from one secret manager within another can result in complex and challenging situations. Moreover, these configurations might introduce vulnerabilities, posing potential security risks.
The Harness platform has several validations, including the disabling of self-references.
This topic describes how to add a Google KMS Secret Manager in Harness.
Before you begin
Add a Secret Manager
To add Google KMS as a secret manager, you’ll need to set up a Harness Project. If you haven't already, refer to Create Organizations and Projects.
You can add connectors from any module in your Project under Project Setup, or in your Organization or Account Resources:
-
In Connectors, select Connector.
-
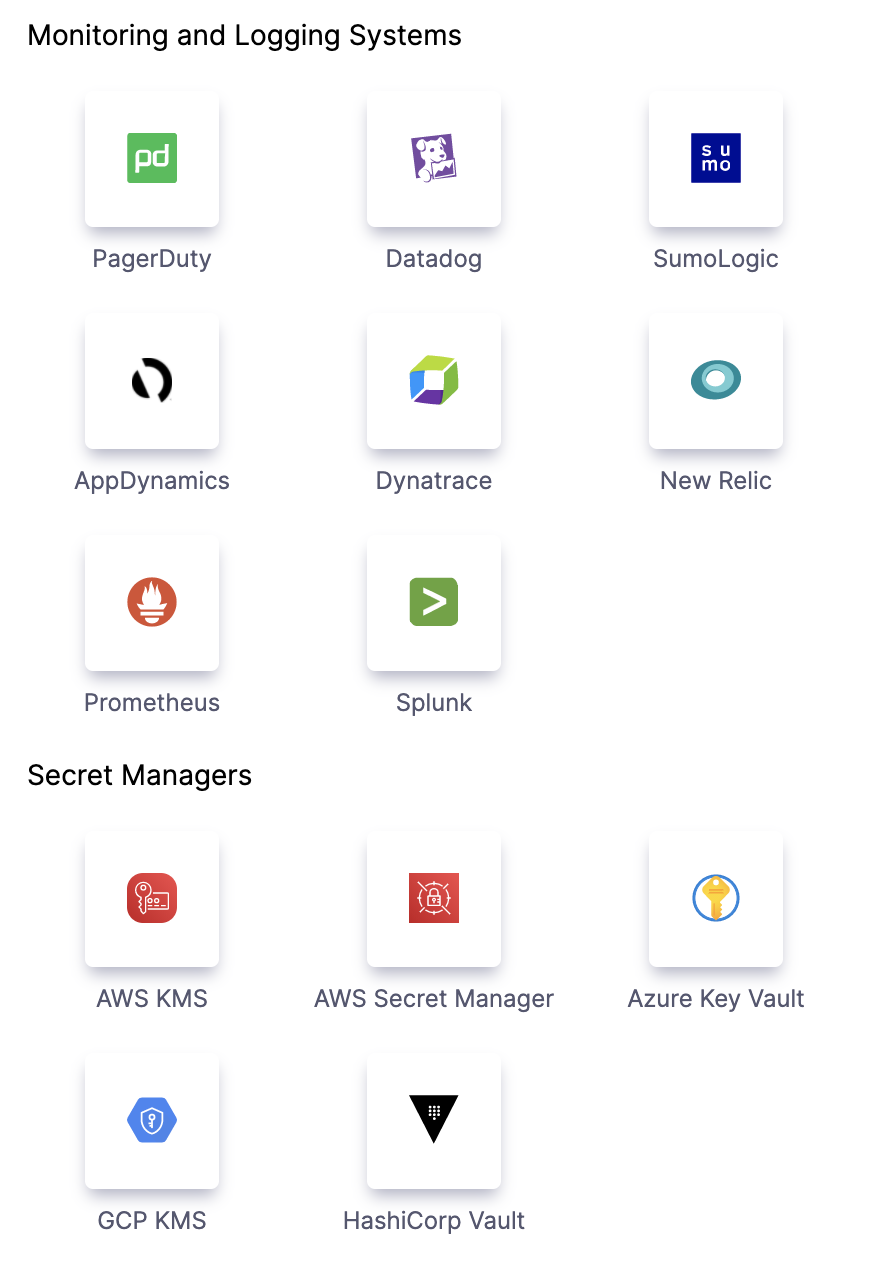
Under Secret Managers, select GCP KMS.
GCP Key Management Service Settings
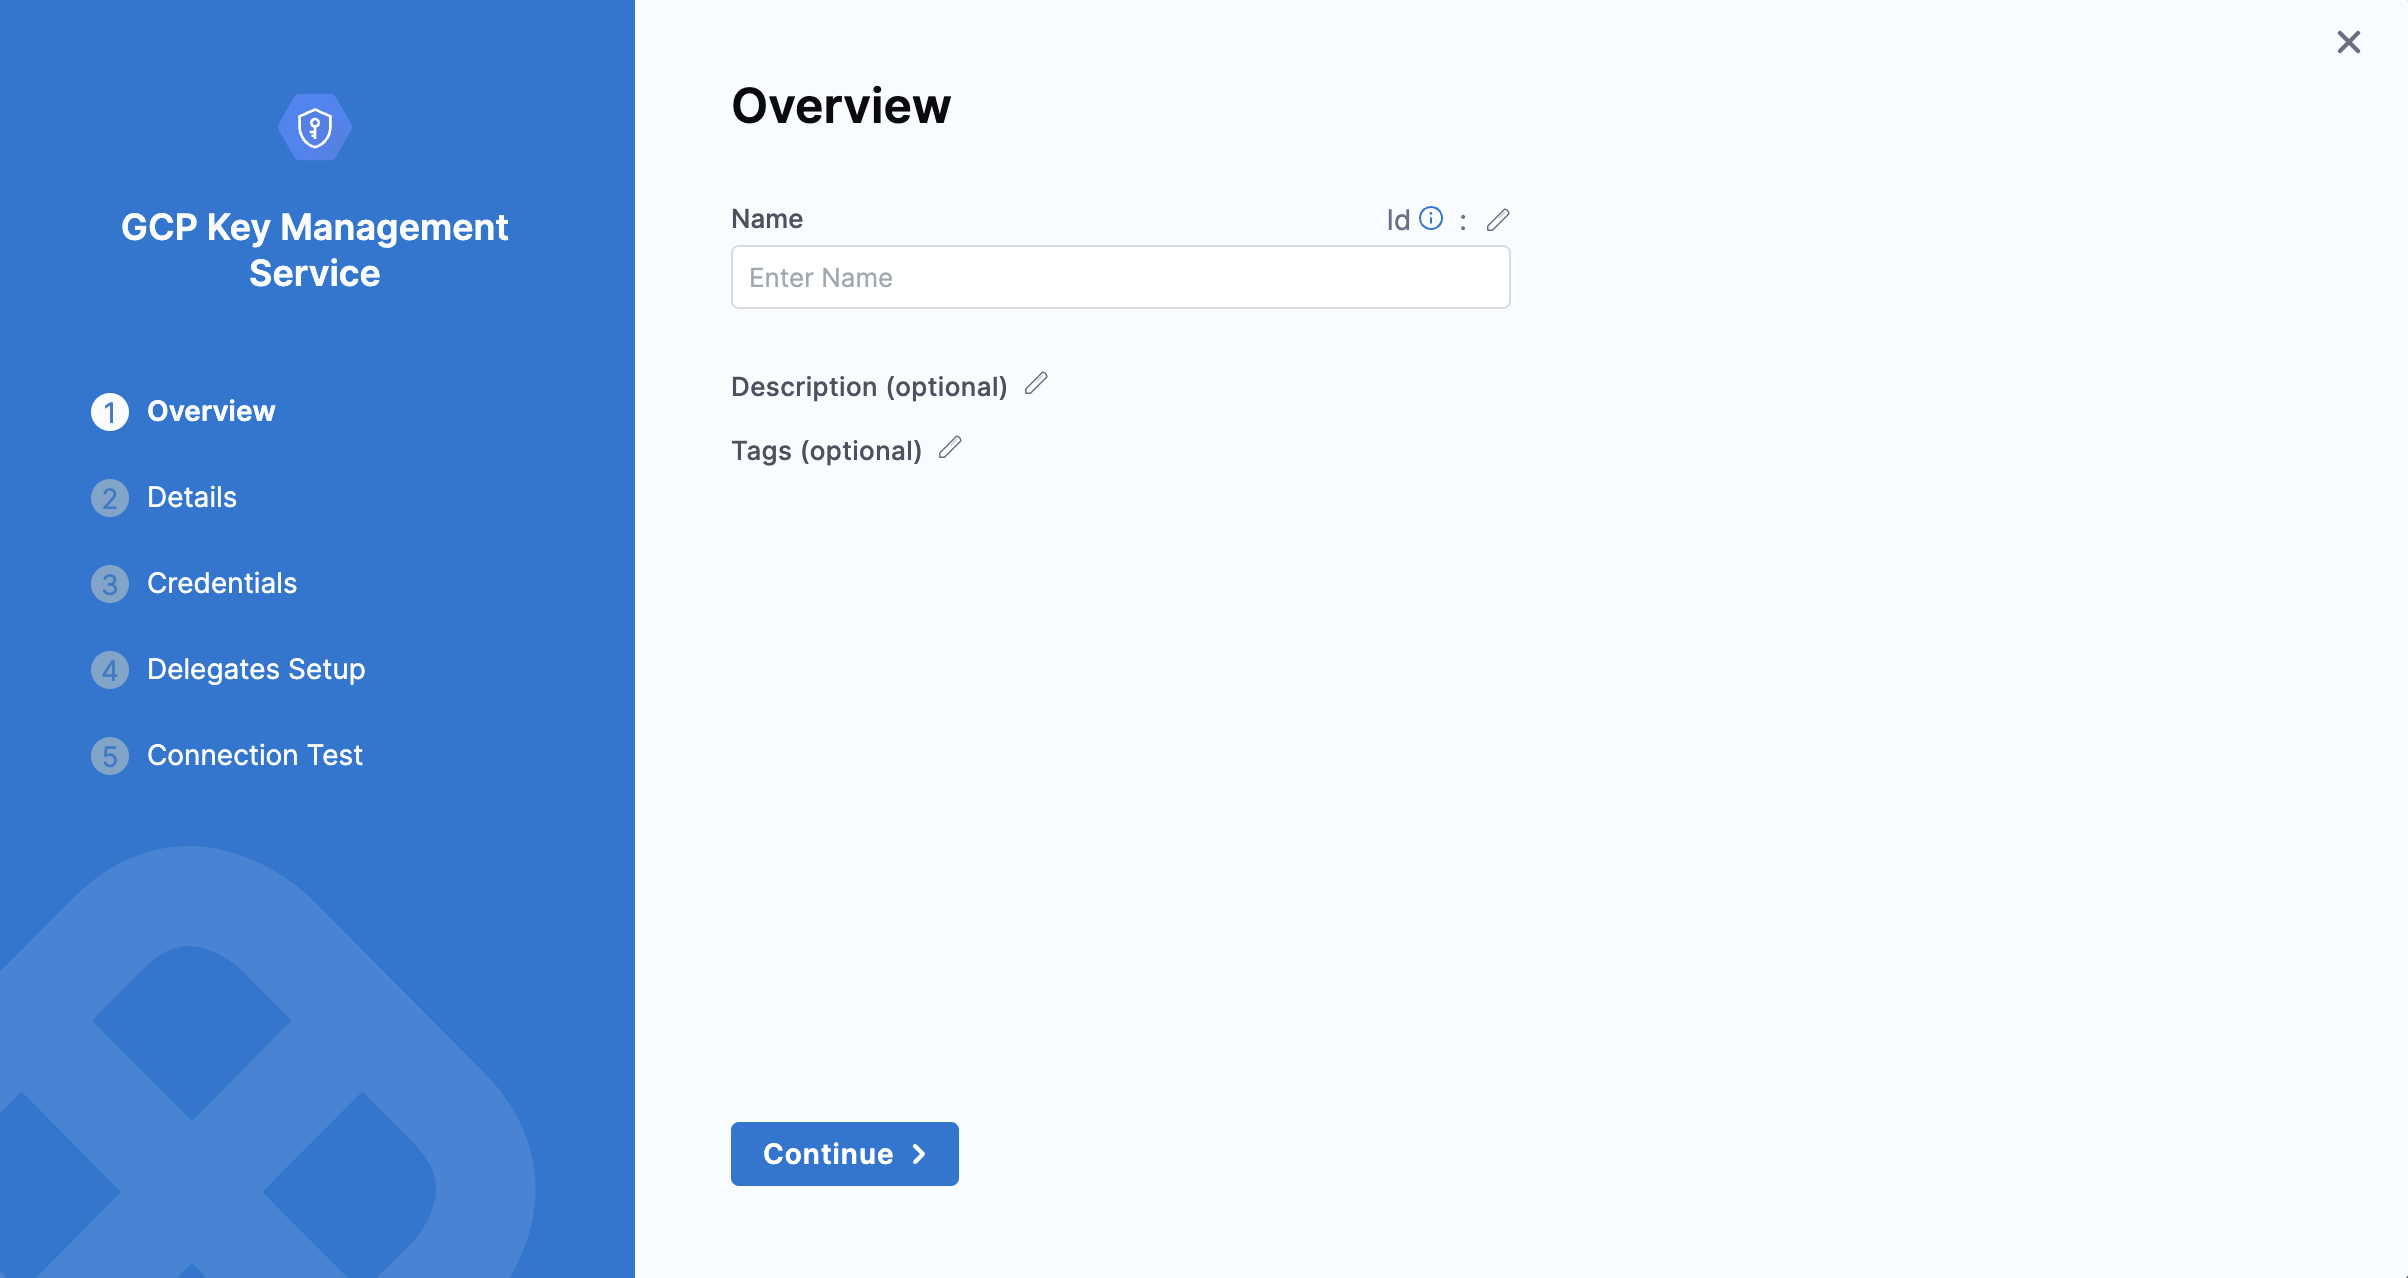
Basic Information:
-
Name: Enter a unique name for the secret manager.
-
ID: Harness will auto-generate an ID based on the name. You can edit this ID during initial setup but not after saving.
-
Description: Optional description of the secret manager.
-
Tags: Tag the secret manager for easy search and organization.
Details Settings
To obtain the values for the Details settings, you'll need a Google Cloud Symmetric Key.
-
In the Google Cloud Console, select your project.
-
Select Security > Key Management.
-
Select/create a key ring. Select/create a key in the key ring.
-
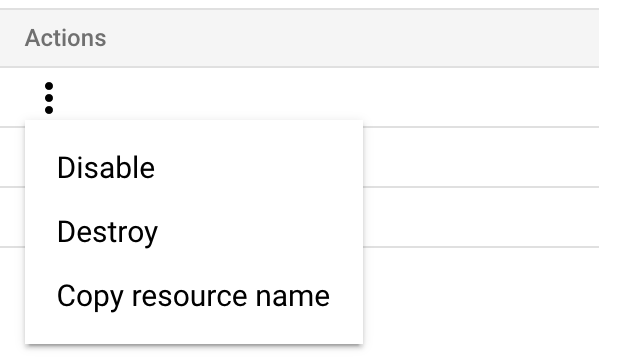
To create resources in this or the next step, go to Google Cloud's Creating Symmetric Keys topic. Open the Actions menu (⋮), and then select Copy Resource Name.
-
A reference to the key is now on your clipboard.
Paste the reference into an editor. You can now copy and paste its substrings into each of the Harness Secret Manager's Details settings as shown below.

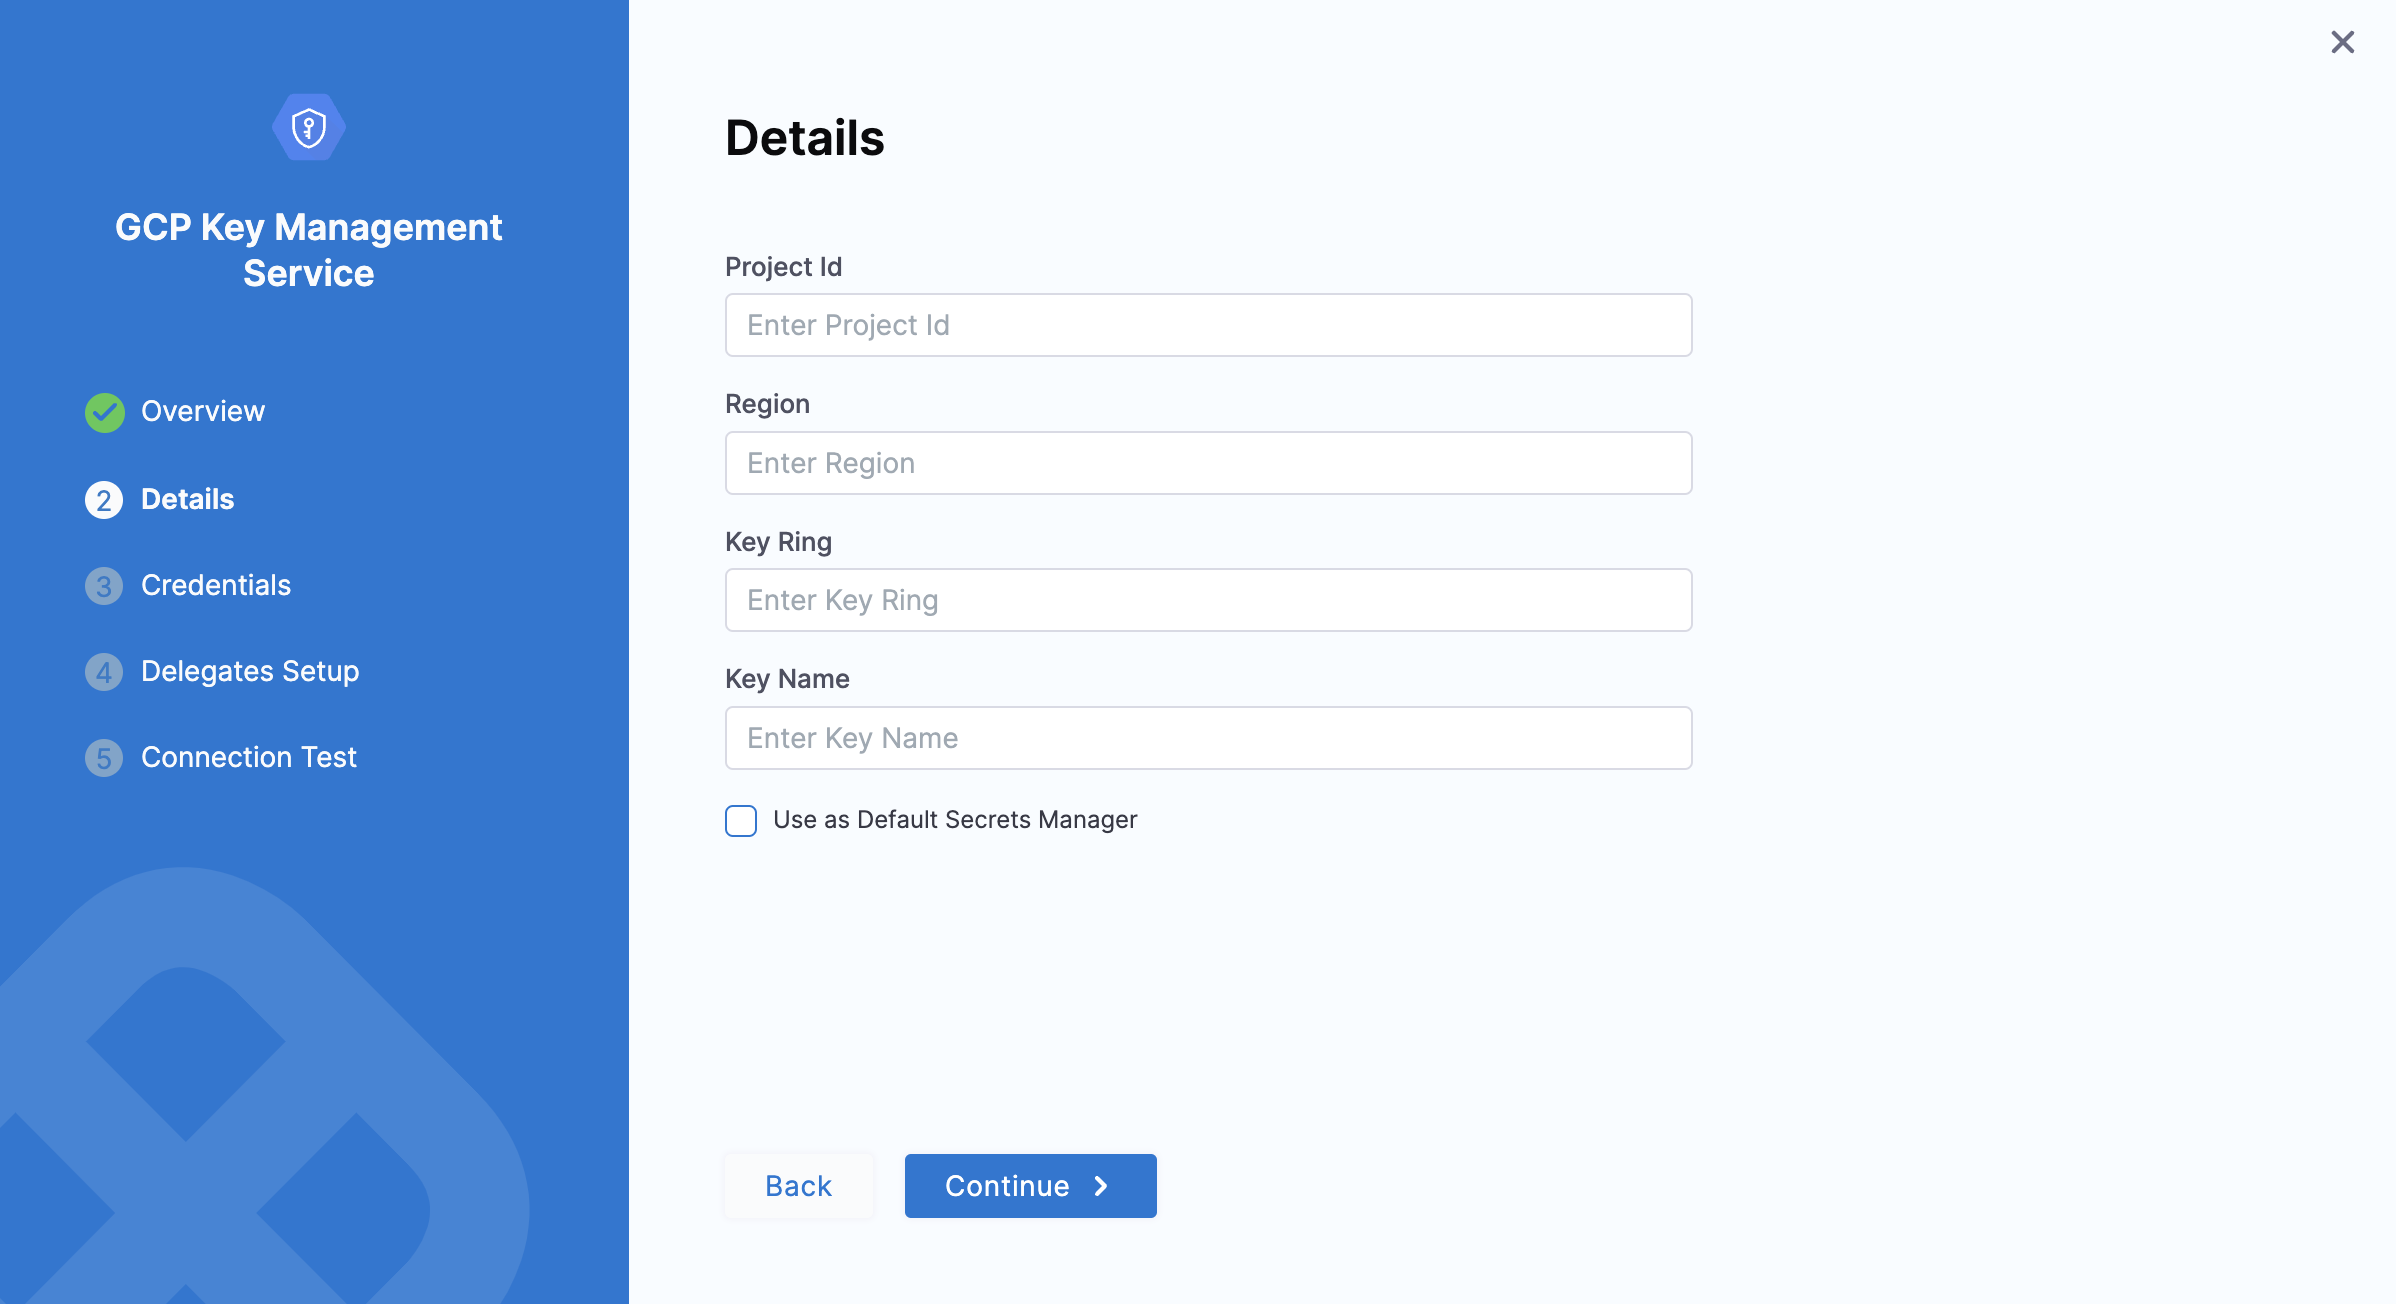
Configure Credentials
Harness supports two credential types for authenticating with Google KMS: Service Account Key and OpenID Connect (OIDC). Follow the steps below to configure the appropriate credentials for your setup.
1. Service Account Key
To configure a Service Account Key for Google KMS in Harness, refer to our Service Account Key Setup Guide. This guide covers all steps for creating and downloading the key file, uploading it to Harness, and attaching it to the GCP KMS connector.
Permissions Required: To use the Service Account Key with Google KMS, ensure the following role is assigned to the service account in Google Cloud:
-
Cloud KMS CryptoKey Encrypter/Decrypter (
roles/cloudkms.cryptoKeyEncrypterDecrypter): Allows the service account to encrypt and decrypt data using KMS keys.-
In Google Cloud Console, go to IAM & Admin > IAM.
-
Locate your service account, select Edit, and add the Cloud KMS CryptoKey Encrypter/Decrypter role.
-
2. OpenID Connect (OIDC)
For setting up OIDC, refer to our OIDC Setup Guide for detailed steps on configuring a workload identity pool and identity provider with Harness.
Permissions Required: When using OIDC with Google KMS, ensure the identity provider in Google Cloud is granted the following permissions:
-
Cloud KMS CryptoKey Encrypter/Decrypter (
roles/cloudkms.cryptoKeyEncrypterDecrypter): Grants encryption and decryption access to KMS keys within Google Cloud.-
In IAM & Admin > Workload Identity Federation, select your identity pool.
-
Assign the Cloud KMS CryptoKey Encrypter/Decrypter role to the identity provider associated with the workload identity pool.
-
Set up delegates
In Delegates Setup, use Selectors to select any specific delegates that you want this Connector to use. Select Save and Continue.
Test Connection
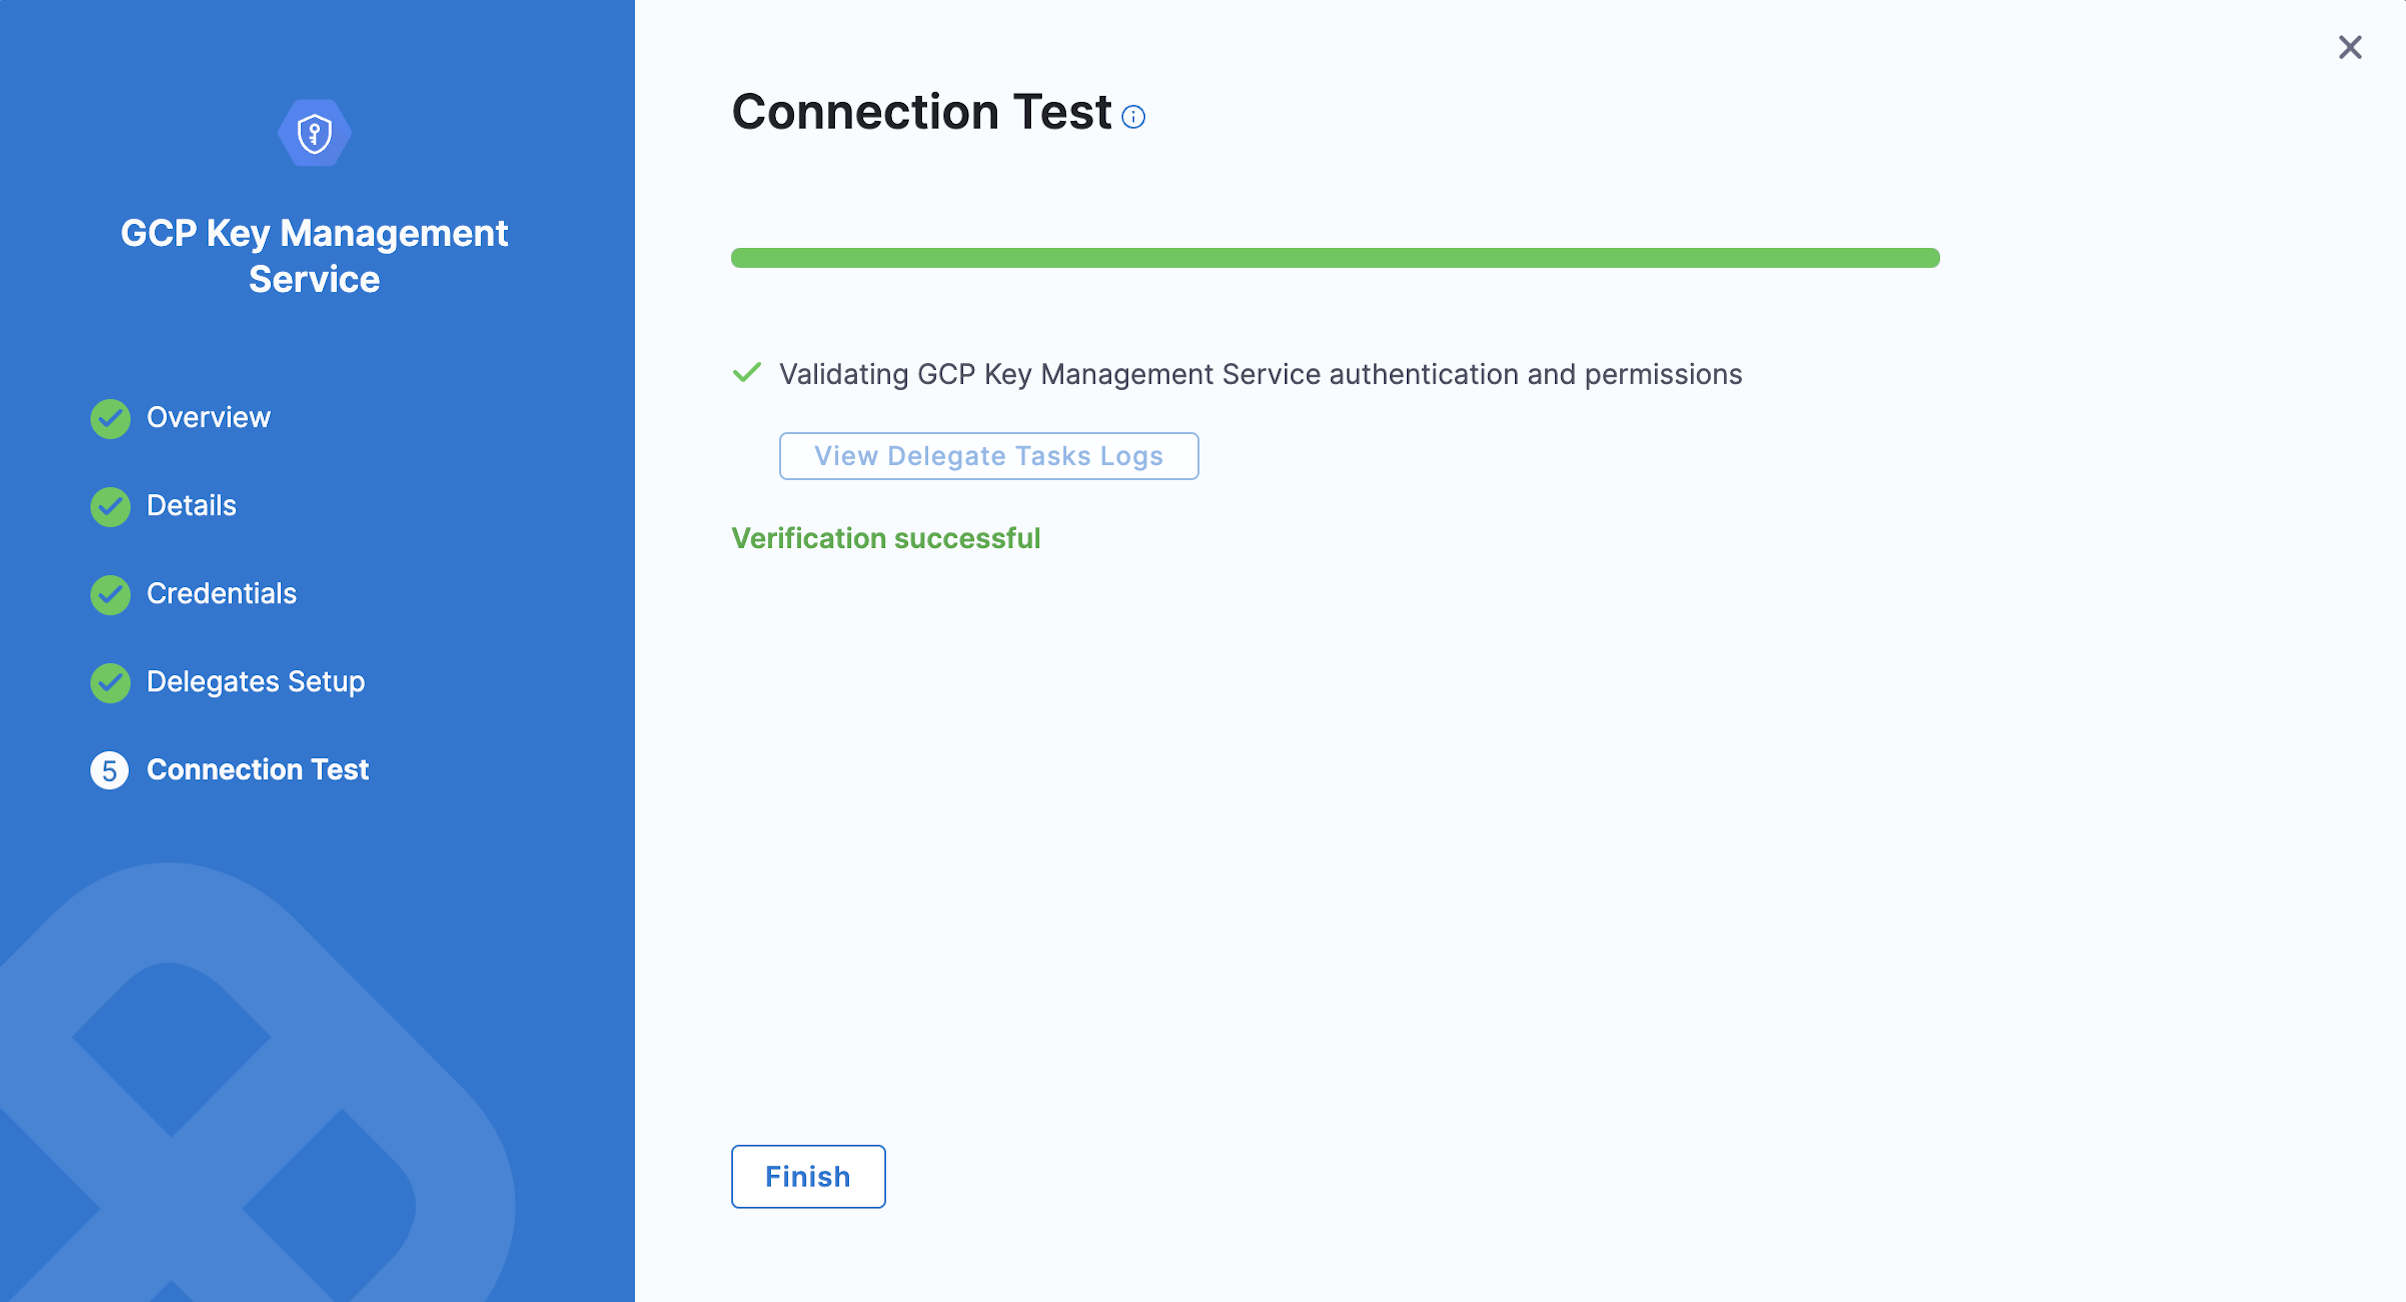
In Connection Test, select Finish after your connection is successful.
