Add a custom secret manager
Harness includes a built-in Secrets Management feature that enables you to store encrypted secrets, such as access keys, and use them in your Harness account.
You can also access your encrypted secrets stored in third-party Secret Managers using the Harness Custom Secret Manager.
You can only use Harness Built-in Secret Manager to store authentication credentials for access to the corresponding secret manager.
Storing credentials from one secret manager within another can result in complex and challenging situations. Moreover, these configurations might introduce vulnerabilities, posing potential security risks.
The Harness platform has several validations, including the disabling of self-references.
This topic explains how to add and use a Custom Secret Manager in Harness.
Before you begin
Permissions
The following permissions are required to create a custom secret manager. However, these permissions are not required to use the custom resource manager after it's created.
-
Create/Edit Secrets
-
Create/Edit Connectors

- Harness Custom Secret Manager is a read-only Secret Manager. It's not possible to create reference secrets. However, Harness Custom Secret Manager enables you to define templates that include logic to connect to and retrieve secrets from the secret manager. Your template specifies how the secret is retrieved and whether it's a string or JSON format.
- Harness can read/decrypt secrets, but it cannot write secrets to the Custom Secrets Manager.
Harness Custom Secret Manager Overview
Harness includes a built-in Secrets Management feature that enables you to store encrypted secrets, such as access keys, and use them in your Harness Account.
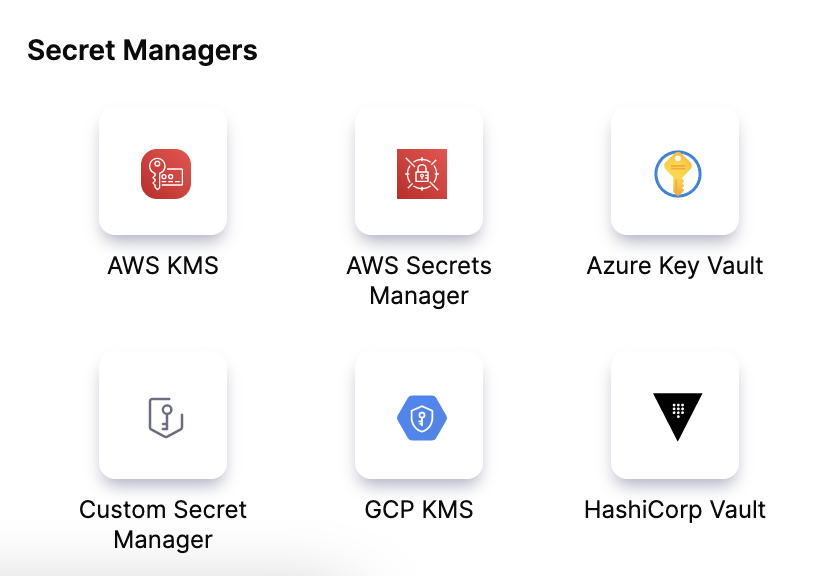
Harness integrates with the following third-party Secret Managers along with a built-in Secret Manager:
- AWS KMS
- AWS Secrets Manager
- Azure Key Vault
- GCP KMS
- HashiCorp Vault
You can use third-party Secrets Managers not integrated with Harness to store encrypted secrets. With Harness Custom Secret Manager, you can integrate Harness with your third-party Secret Managers and read or access your secrets.
Your Custom Secret Manager uses a shell script that you can execute either on a delegate or on a remote host which is connected to the delegate. Harness fetches and reads your secrets from the third-party Secret Manager through this shell script.
Step 1: Create a Secret Manager Template
You can create a Secret Manager Template at the account, org, or project scope.
This topic shows you how to create a Secret Manager Template at the Project scope.
-
In your Harness Account, go to your Project.
-
Select Project Settings, then under Project-level resources, select Templates.
-
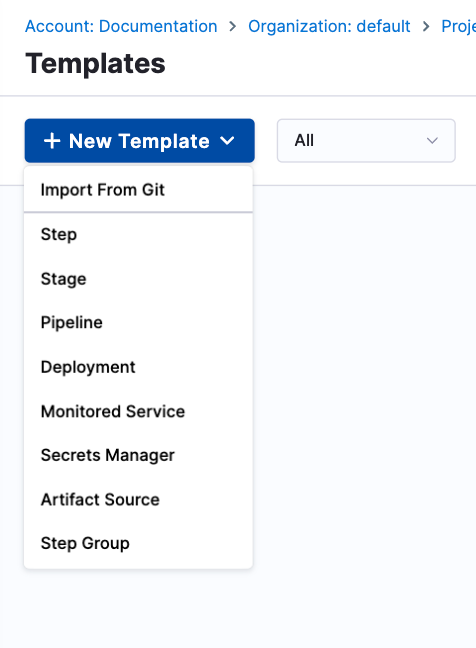
Select New Template, then select Secret Manager.
-
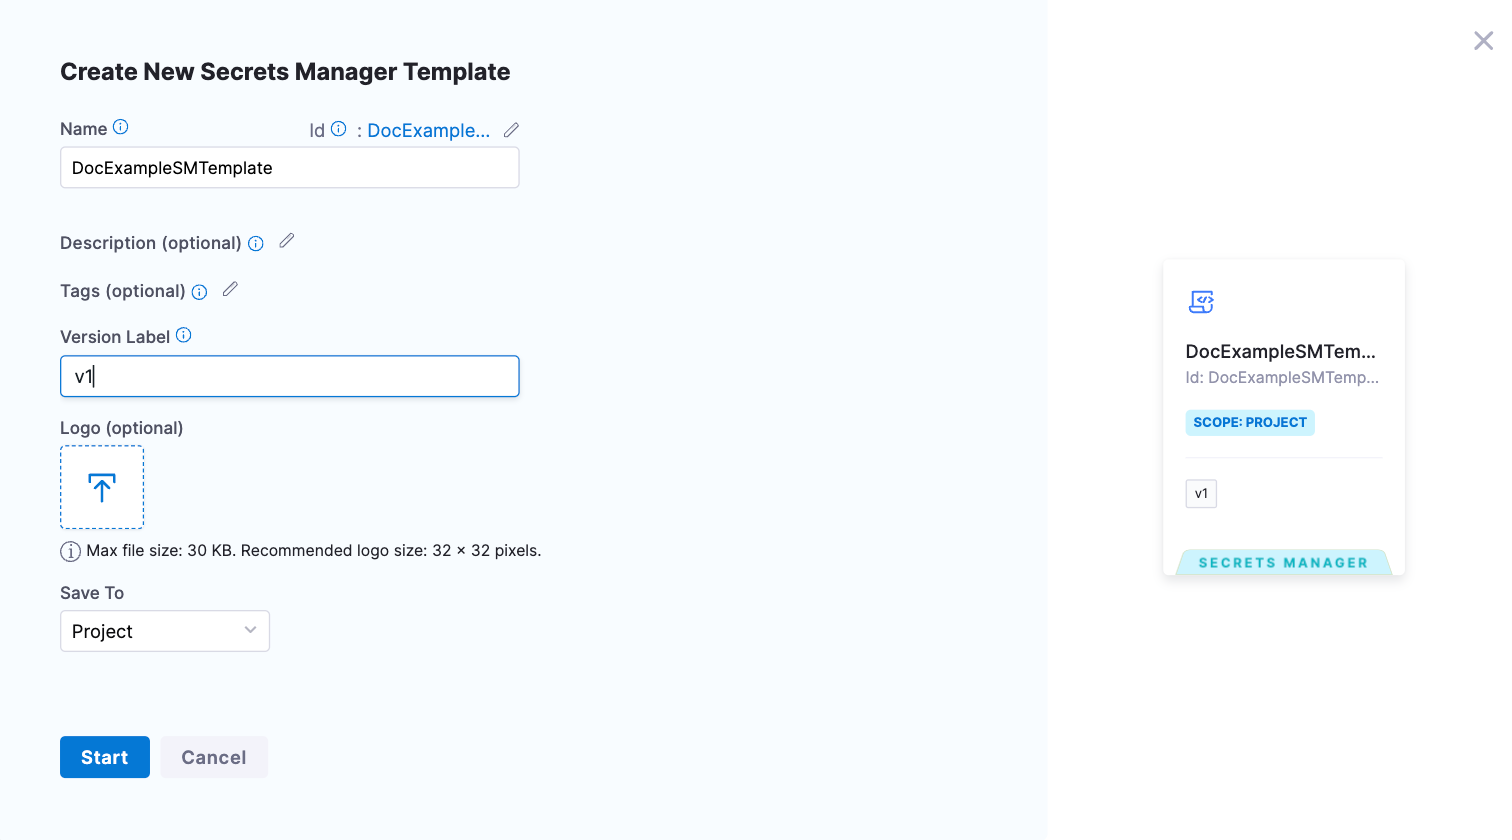
Enter a Name for your template.
-
(Optional) In Description, select the pencil icon and enter a description.
-
(Optional) In Tags, select the pencil icon and assign a tag.
-
Enter a Version Label.
-
(Optional) Select the upload icon and upload a Logo.
-
Under Save To, select Project, then select Start.
-
Select your Script Type, then select your script location.
-
Enter your script in Script, then select Save.
For detailed steps to create a Secret Manager Template, go to Create a Secret Manager Template.
Step 2: Add a Custom Secret Manager
You can add a Custom Secret Manager at the account, org, and project scope.
To do this, go to Project, Organization, or Account settings.
This topic shows you how to add a Custom Secret Manager in the project scope.
-
In your Harness Account, go to your Project.
-
In Project Setup, select Connectors and then select New Connector.
-
In Secret Managers, select Custom Secret Manager. The Custom Secret Manager settings open.
-
Enter a Name for your Custom Secret Manager. Select Continue.
-
Select Select Template. The Template Library appears with all the Secret Manager Templates listed.
-
Select the desired scope and select a Secret Manager Template from the Template Library.
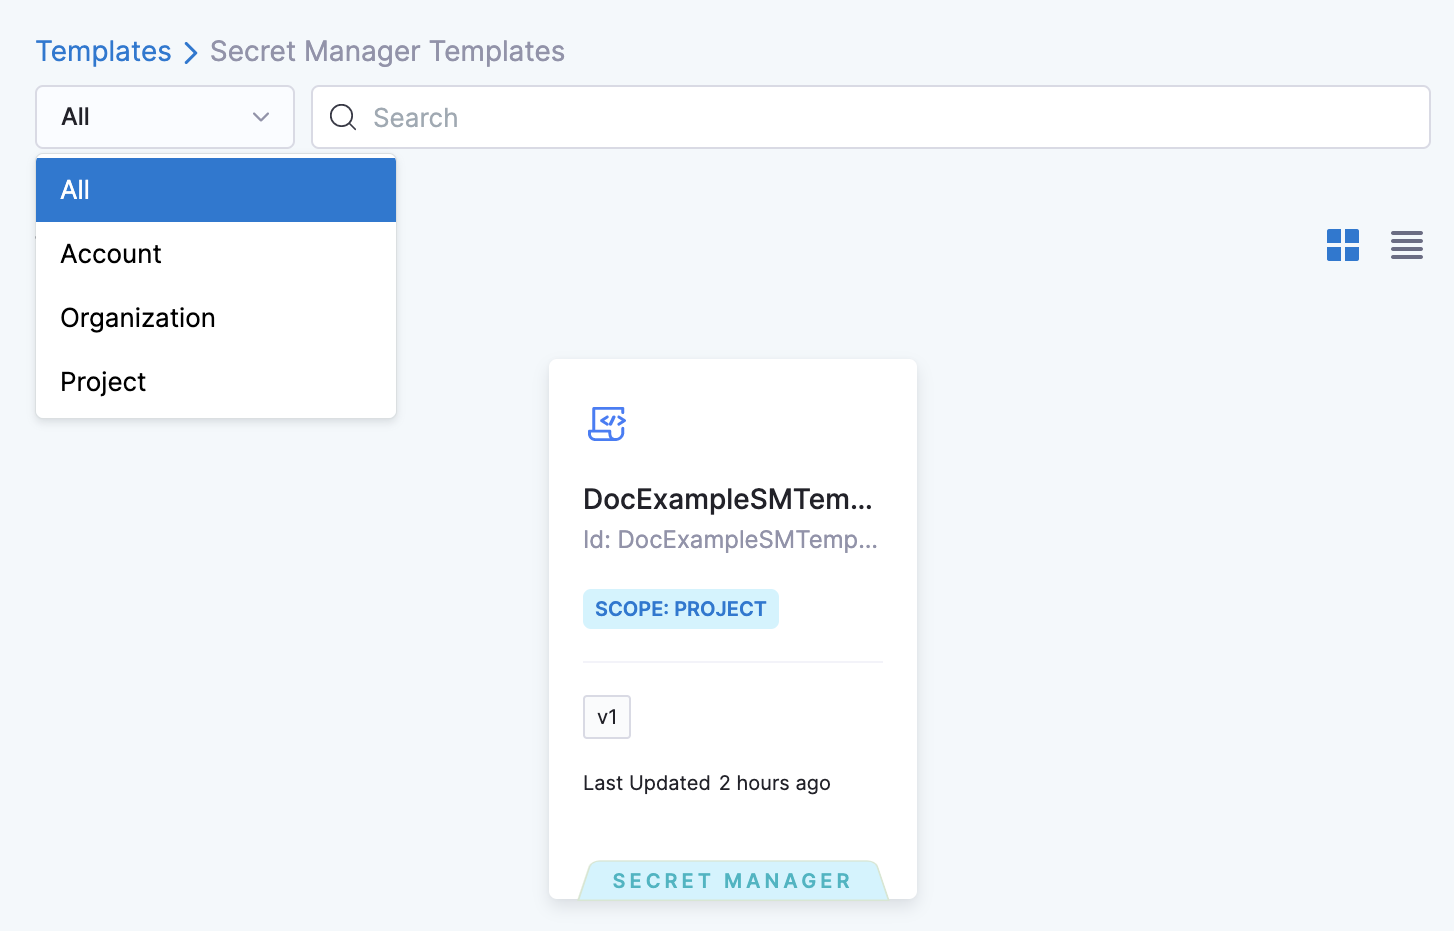
You can also search for a specific Secret Manager Template by entering its name in Search. Once you select the Secret Manager Template, the details are displayed in the Template Studio.
-
Select Use Template.
-
Enter values for the required Input Variables. Harness allows you to use Fixed Values and Runtime Inputs.
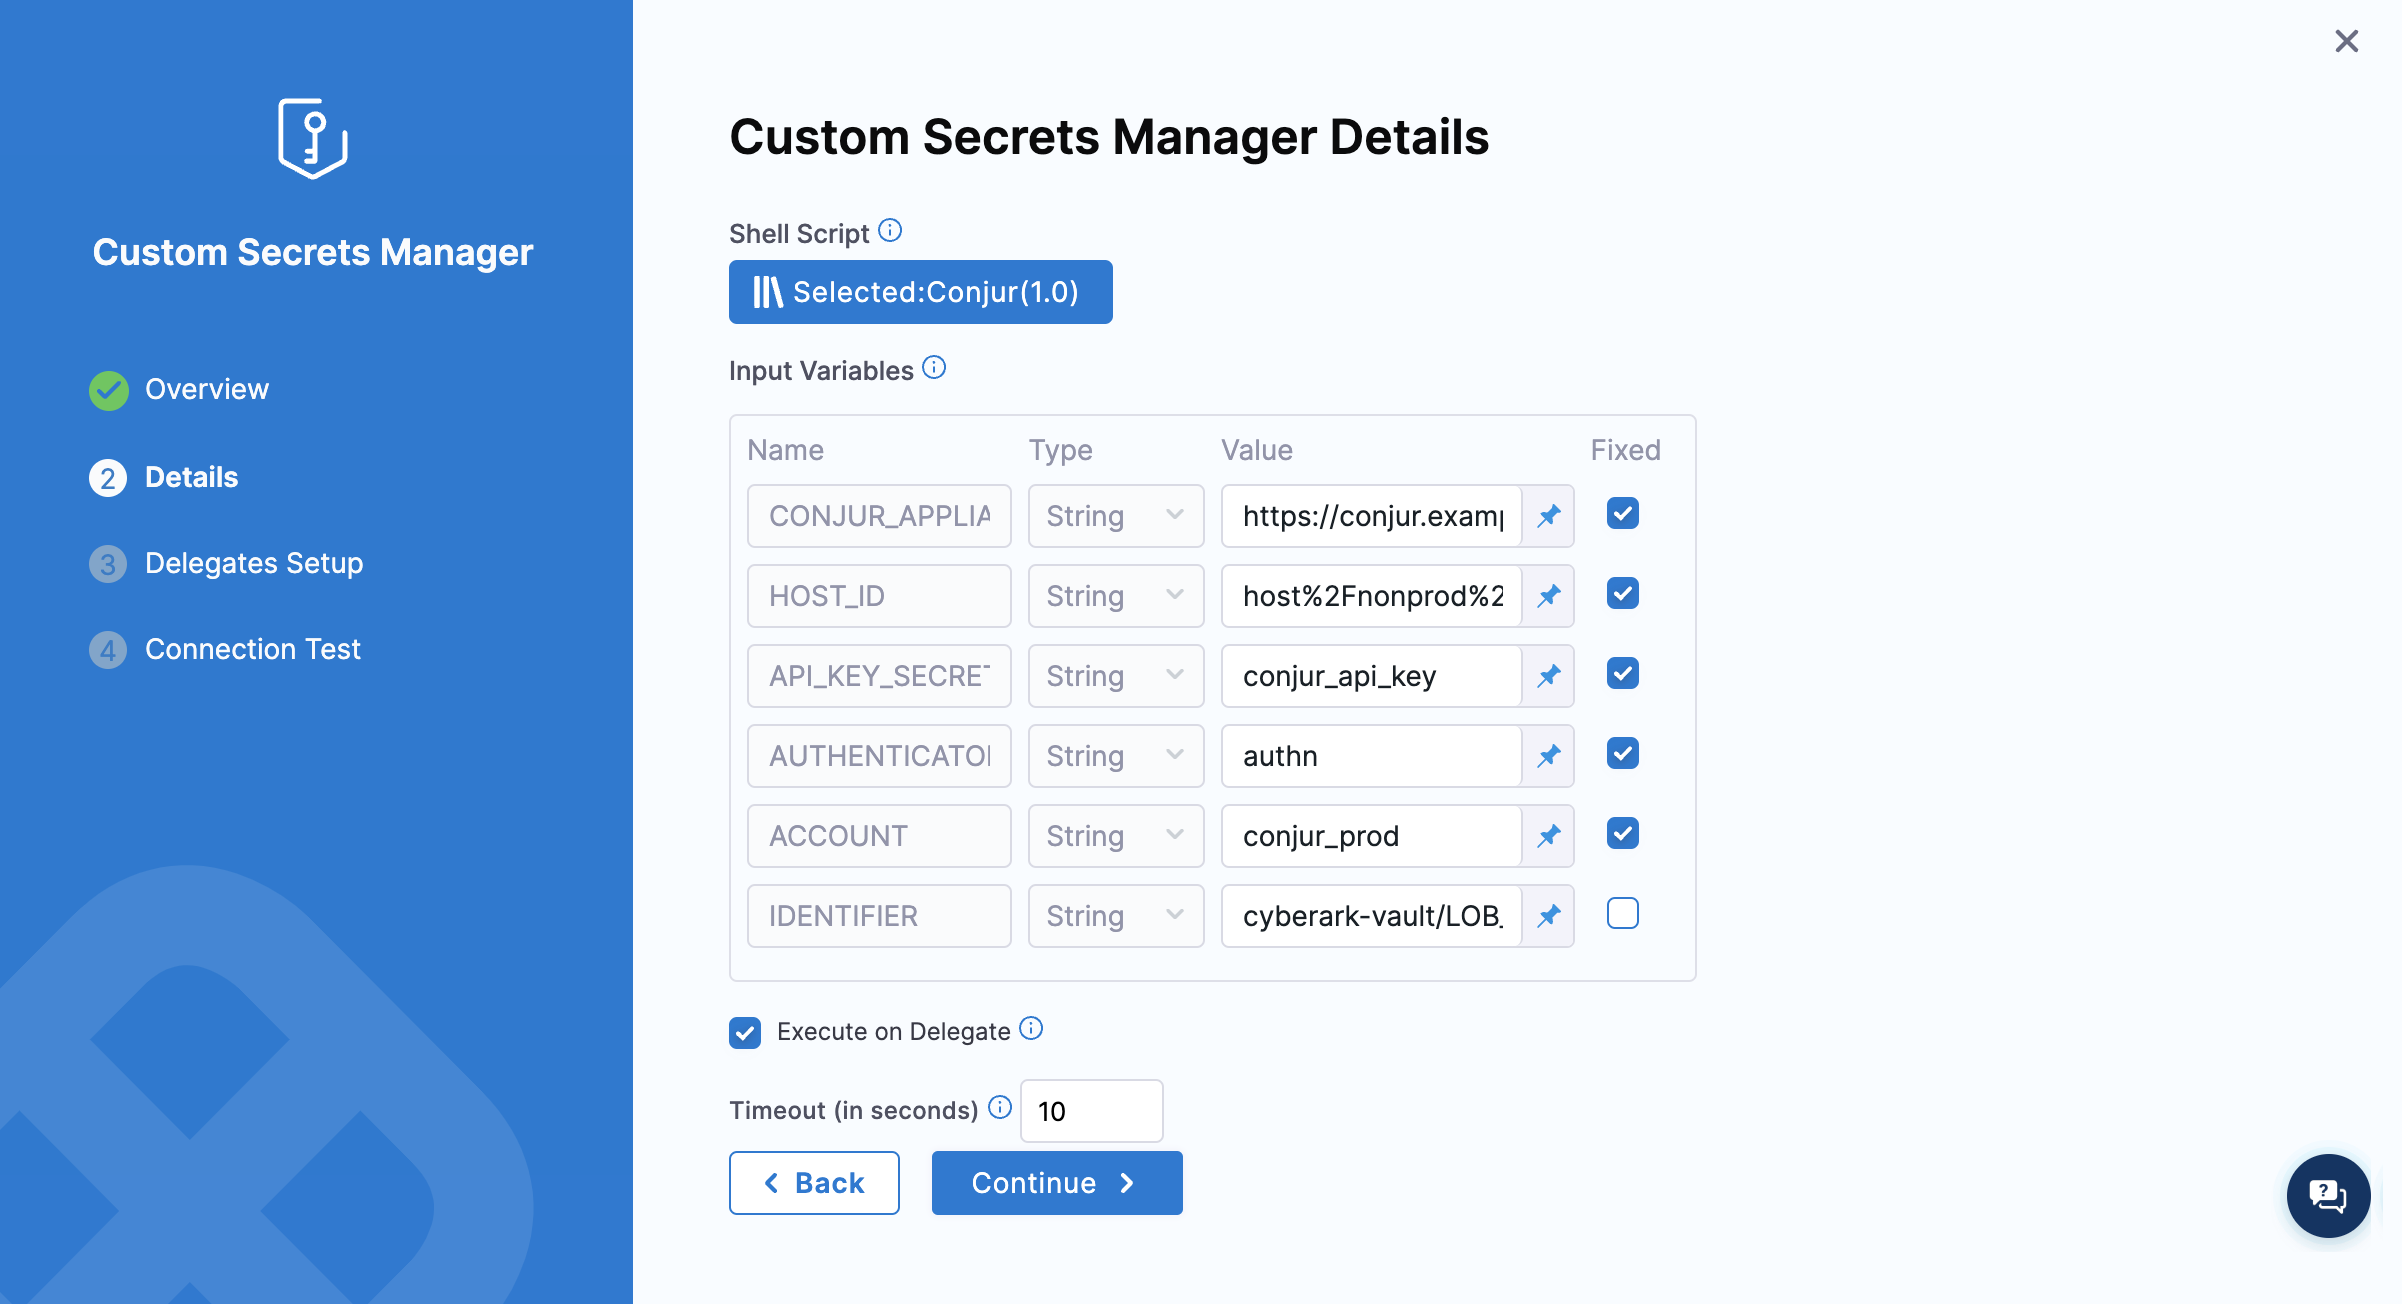
-
Select Fixed to make the variable values fixed. Harness won't ask you these values when you create Secrets.
-
Select Continue.
-
In Delegates Setup, enter Selectors for specific Delegates that you want to allow to connect to this Connector. Select Save and Continue.
-
In Connection Test, select Finish after your connection is successful.
Step 3: Use the Custom Secret Manager
Create an Encrypted Text using the Custom Secrets Manager you created earlier. Enter the name and values of all the Input Variables defined while creating the Shell Script Template.
For more information on creating Encrypted Text Secret, go to Add Encrypted Text.
If you want to create a secret on a Target Host Custom Secrets Manager, you must also select the Connection Attribute.