Jira
| Plugin details | |
|---|---|
| Created by | Roadie |
| Category | Agile Planning |
| Source | GitHub |
| Type | Open-source plugin |
Configuration
Application configuration YAML
This plugin requires a backend proxy configuration to make calls to Jira with authentication. In the following configuration, replace <your-jira-url> with the Jira instance project (for example https://mycompany.atlassian.net):
proxy:
  endpoints:
    /jira/api:
      target: "<your-jira-url>"
      headers:
        Authorization: Basic ${JIRA_TOKEN}
        Accept: application/json
        Content-Type: application/json
        X-Atlassian-Token: nocheck
        User-Agent: Harness-IDP
      pathRewrite:
        api/proxy/jira/api/?: /
Secrets
Since the JIRA_TOKEN variable is used in the application configuration, you must generate a Jira API key and set it as the value of JIRA_TOKEN. For information about how to generate a Jira API key, go to the instructions.
- Select Create API token, give some label and copy the generated token
- Base64 encode API token: We need to prefix the token with the Jira user email and base64 encode it.
echo -n "jira-mail@example.com:hTBgqVcrcxRYpT5TCzTA9C0F" | base64
base64 encoding is mandatory for the API Token and you need to add your email address followed by : as a prefix to the token generated e.g.: jira-mail@example.com:hTBgqVcrcxRYpT5TCzTA9C0F
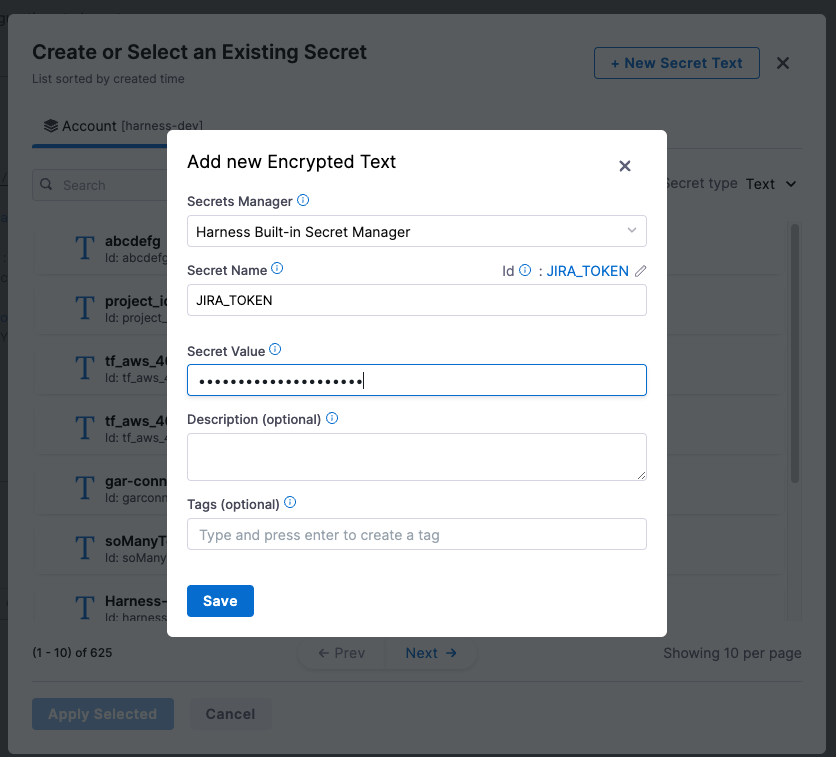
- Create secret in Harness to store API token: Once token is generated, click on the “input field” next to
JIRA_TOKENand you will see a pop-up to create or chose existing secret

- To create new secret, click on New Secret Text and enter values like below. Make sure you save Secret Value with “Basic” as prefix.
Example of the secret to be added: Basic xxxxYYYYYYXXXxxxxxxxYxx==

- After selecting the new secret, click on Save Configurations and then followed by Enable Plugin button. This will take few seconds to reflect the changes in the components.
Delegate proxy
No action required
This plugin does not require a delegate proxy to be set up because Jira is publicly accessible.
Layout
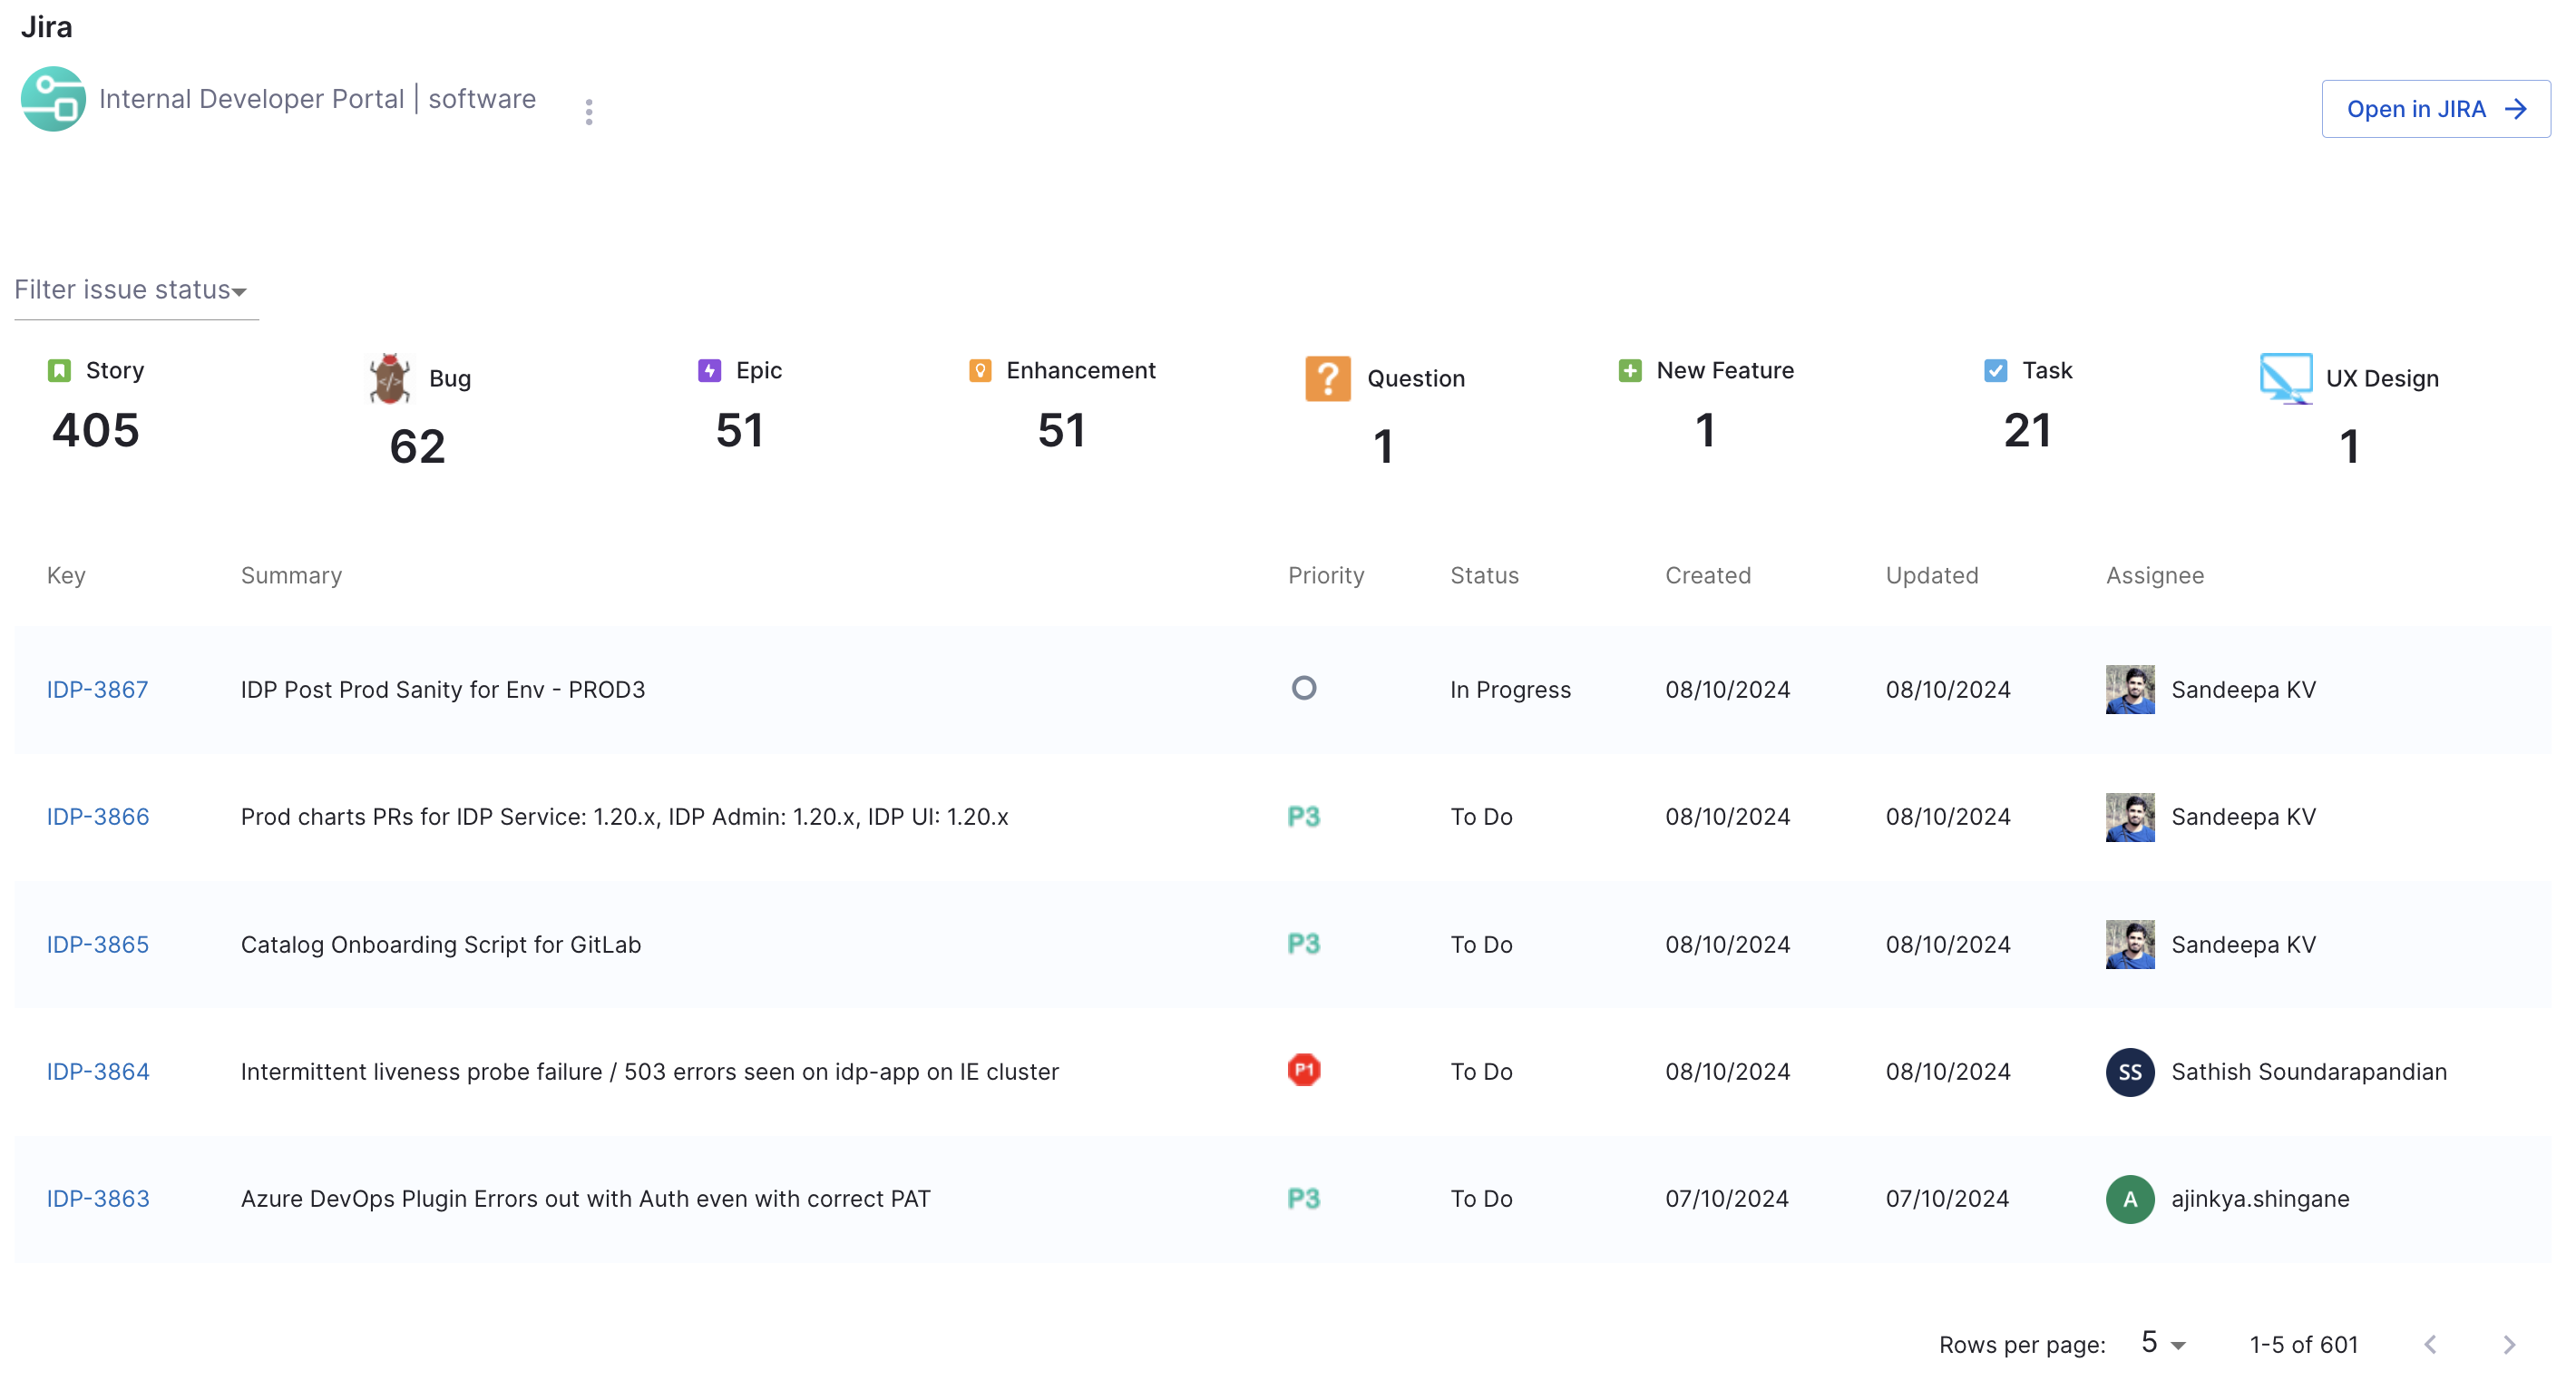
This plugin exports several UI cards that you can show on the Overview tab of a service or any other layout page. Go to Admin > Layout, select Service in the dropdown menu, and then add the following in the Overview section:
EntityJiraOverviewCard
For displaying a general overview of Jira issues:
- component: EntityJiraOverviewCard
EntityJiraActivityStreamCard
For viewing the activity stream particularly:
- component: EntityJiraActivityStreamCard
EntityJiraQueryCard
For displaying issues based on a specific JQL query:
- component: EntityJiraQueryCard
This component uses the jira/all-issues-jql annotation from the entity's metadata (see Annotations section below). You don't need to provide JQL in the component configuration.
The JQL query is specified in the entity's annotations.
Conditional Display
You can make these cards appear conditionally based on whether the required annotations are present. Each card type has its own condition:
For EntityJiraOverviewCard:
- component: EntitySwitch
  specs:
    cases:
      - if: isJiraAvailable
        content:
          component: EntityJiraOverviewCard
For EntityJiraQueryCard:
- component: EntitySwitch
  specs:
    cases:
      - if: hasJiraQuery
        content:
          component: EntityJiraQueryCard
For EntityJiraActivityStreamCard:
- component: EntitySwitch
  specs:
    cases:
      - if: isJiraAvailable
        content:
          component: EntityJiraActivityStreamCard
This ensures that the components only appear when the necessary Jira data is available for that entity.

Annotations
To configure the plugin for a service in the software catalog, set one or more of the following annotations in its catalog-info.yaml definition file:
metadata:
  annotations:
    jira/project-key: <example-jira-project-key>
    jira/component: <example-component> # optional, you might skip this value to fetch data for all components
    jira/label: tech-debt # optional, for filtering issues by label
    jira/all-issues-jql: project = "IDP" AND assignee = currentUser() AND status IN ("In Progess", "In Progress") ORDER BY created DESC # for specifying JQL queries used by EntityJiraQueryCard
Support
The plugin is owned by Roadie and managed in the Roadie plugins repository as an open-source project. Create a GitHub issue to report bugs or suggest new features for the plugin.